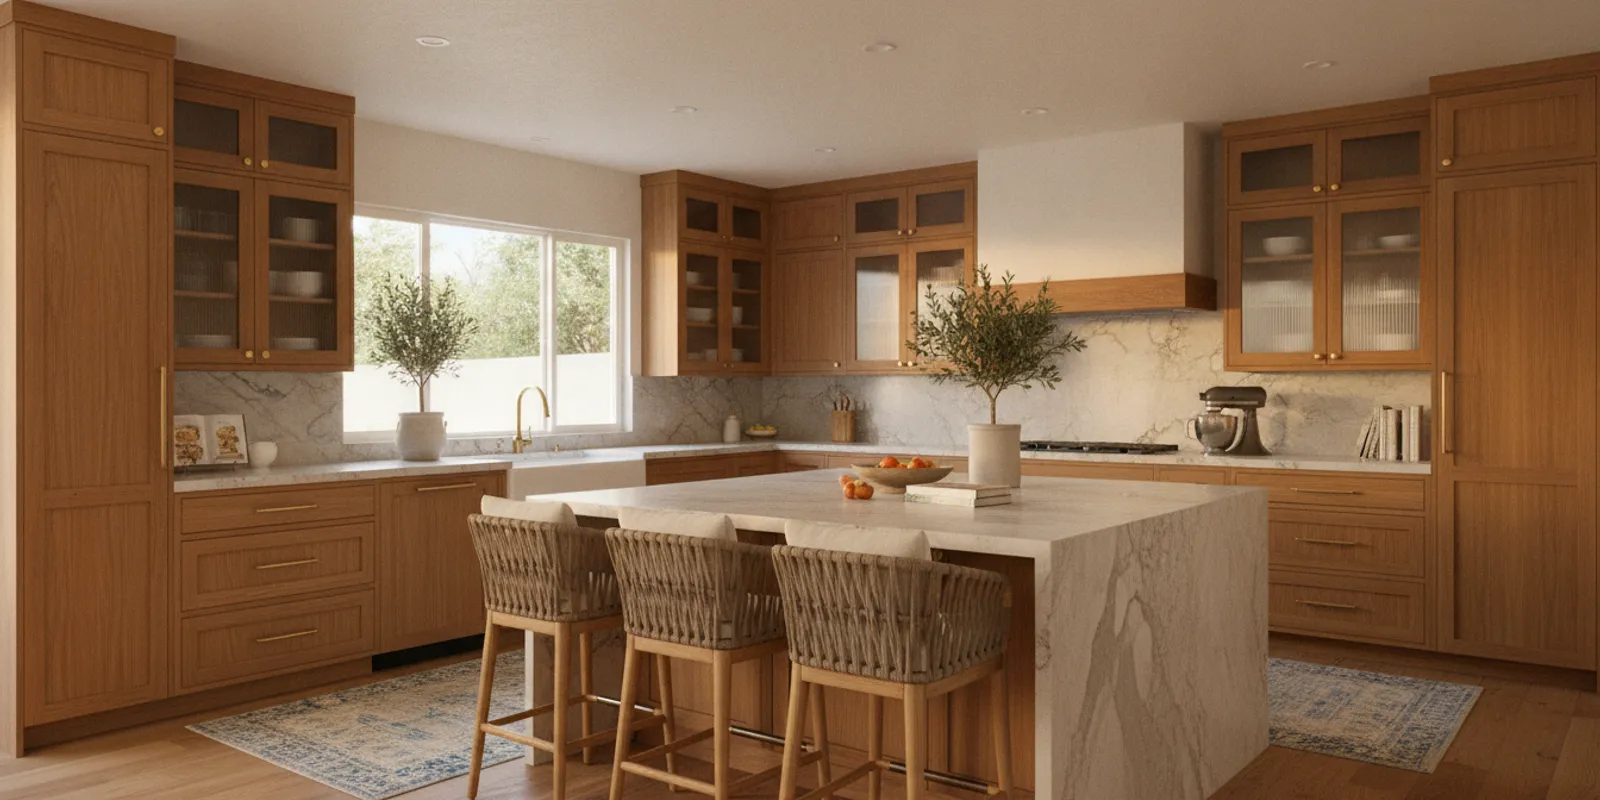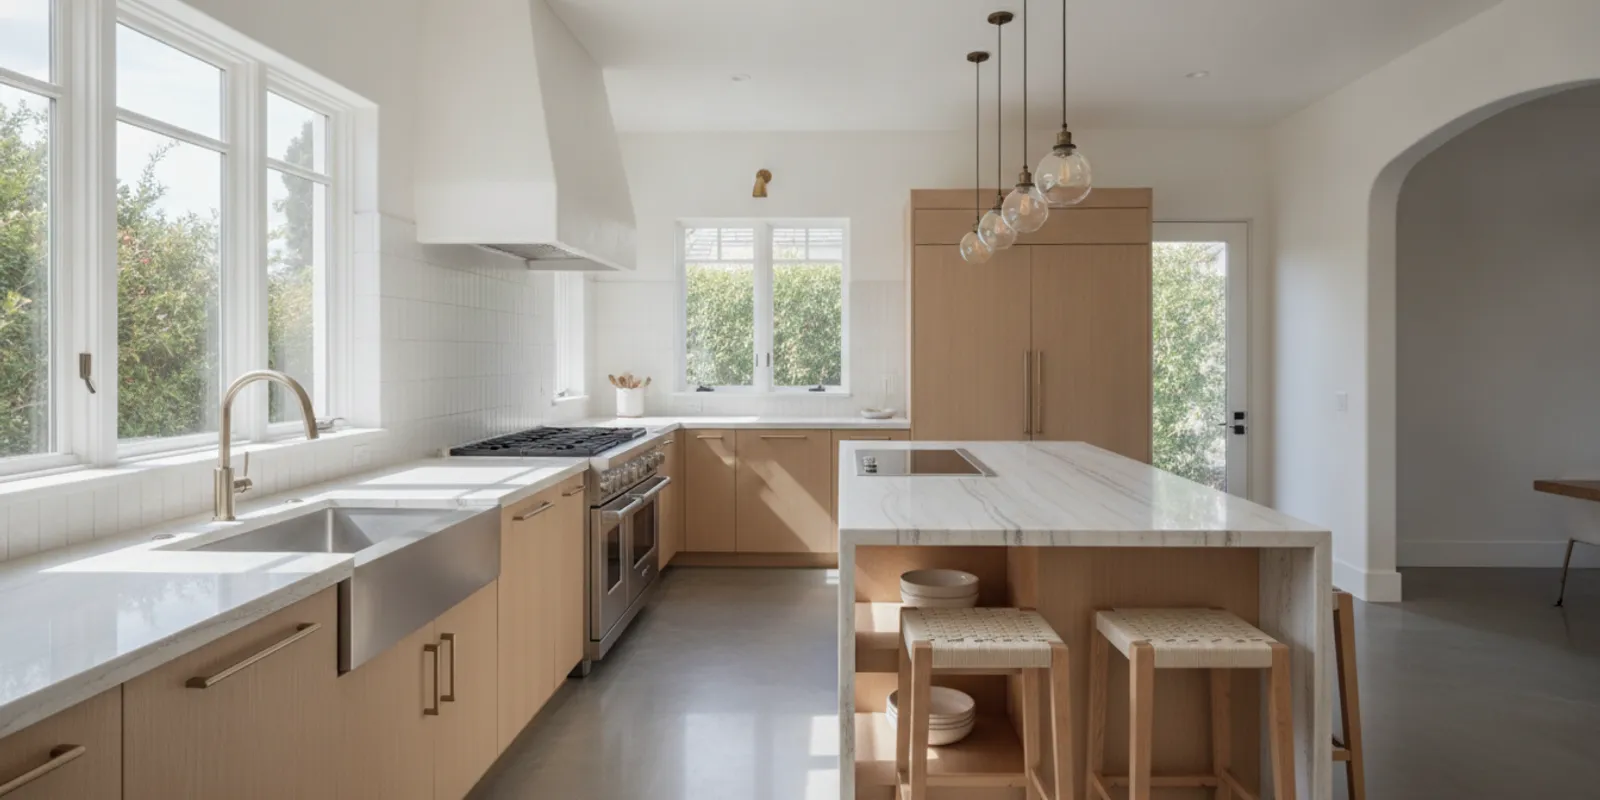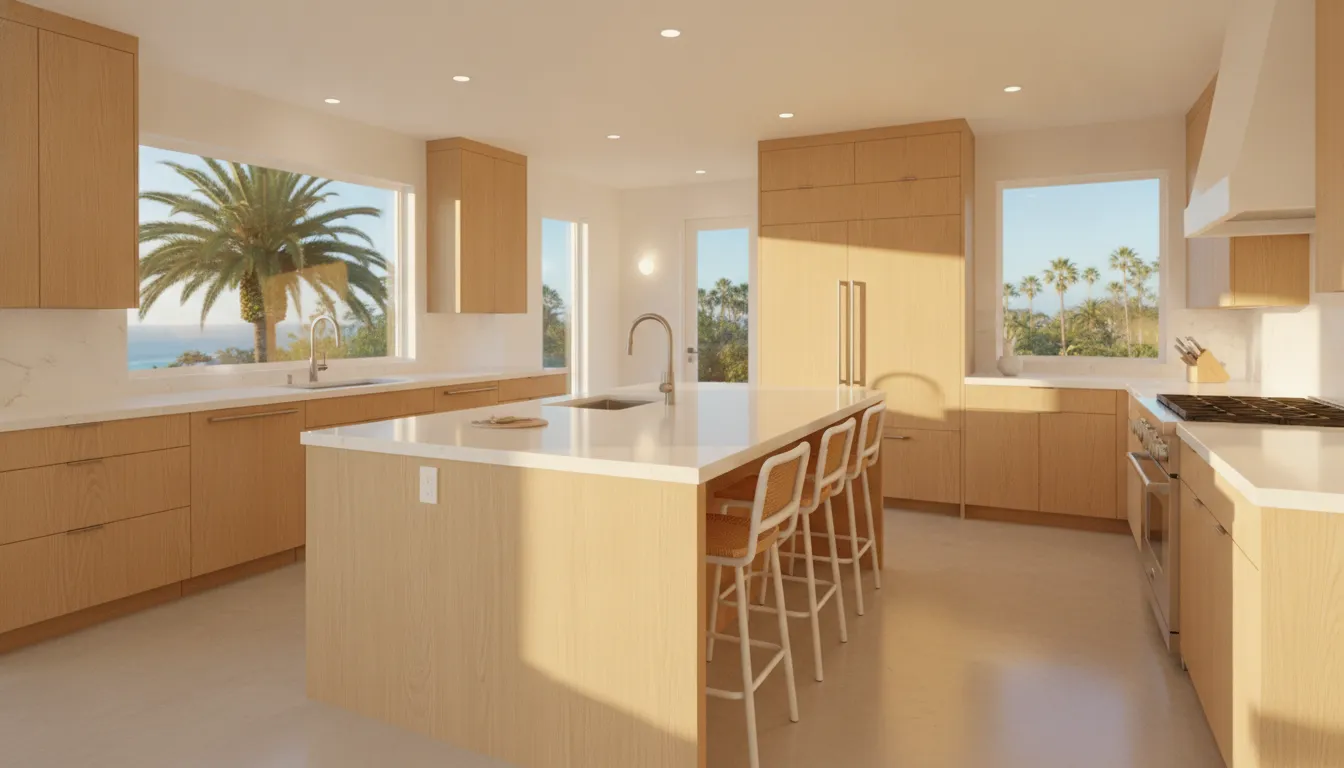
Island kitchen layout design starts with a job for the island, not a picture of a bigger kitchen. The island has to leave a clear path, keep the sink, cooktop, and refrigerator usable, and still leave room for seating or storage if you want those. If the room cannot do that, a peninsula or a longer run of counter is the better plan. Settle the island’s role before you pick cabinets, lighting, or flooring, because those choices follow the layout.
Call (858) 299-7700 to talk through island kitchen layout design, or see kitchen remodeling options before you lock the island size and placement.
What an island should do in the room
Give the island one primary job, then add a second only if the clearances still work. A prep island holds a stretch of counter next to the sink. A cleanup island holds the sink and dishwasher. A cooking island holds the range, which also means a vent and landing space on both sides. A social island is mostly a place to sit and set things down.
Homes in San Diego often ask the island to do all four. That is where layouts fail. A cooktop, a sink. And a row of stools can fit on paper and still leave no place to stand while a pan is hot or a dishwasher door is open. Write the primary job in one sentence before anyone draws cabinet boxes.
A useful test is the Tuesday-night path. Someone is at the sink, someone opens the refrigerator, and someone sets plates down for dinner. If those three moves cross in the same gap, the island is too large or it is in the wrong place. The kitchen work triangle layout is a check on those paths, not a reason to force a triangle through the island.
Keep the island out of the main walk from the garage, pantry, or dining table. The National Kitchen and Bath Association planning guidelines say major traffic should not cut through the basic work triangle. An island that sits in that path becomes a table people bump while they cook.
How much room the island needs
Measure the clear space between the island and the counters, tall cabinets, and appliances, not the size of the island itself. NKBA Kitchen Planning Guideline 6 recommends a work aisle of at least 42 inches for one cook and at least 48 inches when more than one person cooks there. A walkway that is only for passing, not for working, should be at least 36 inches under Guideline 7.
Those numbers are planning recommendations, not a local permit rule. San Diego and your city still control what gets permitted. Use the NKBA widths as the starting point, then confirm anything that moves a wall, a gas line, or an electrical panel.
A 42-inch work aisle sounds generous until a dishwasher door swings into it. Guideline 13 asks for at least 21 inches of standing room at the open dishwasher, measured so a person can load it without backing into the island. If the dishwasher faces the island, add that swing to the aisle in your sketch. Do not assume the door tucks out of the way.
Seating changes the math again. If nobody walks behind the stools, NKBA Guideline 8 allows 32 inches from the counter edge to the wall or obstruction. If people need to edge past a seated diner, use at least 36 inches. If they need to walk past, use at least 44 inches. That is why a seating side should face the room, not the only path to the pantry. Seat dimensions and stool counts belong in the kitchen island seating guide, so this article stays on where that seating side can go.
Here is a simple way to test the footprint before you fall in love with a length:
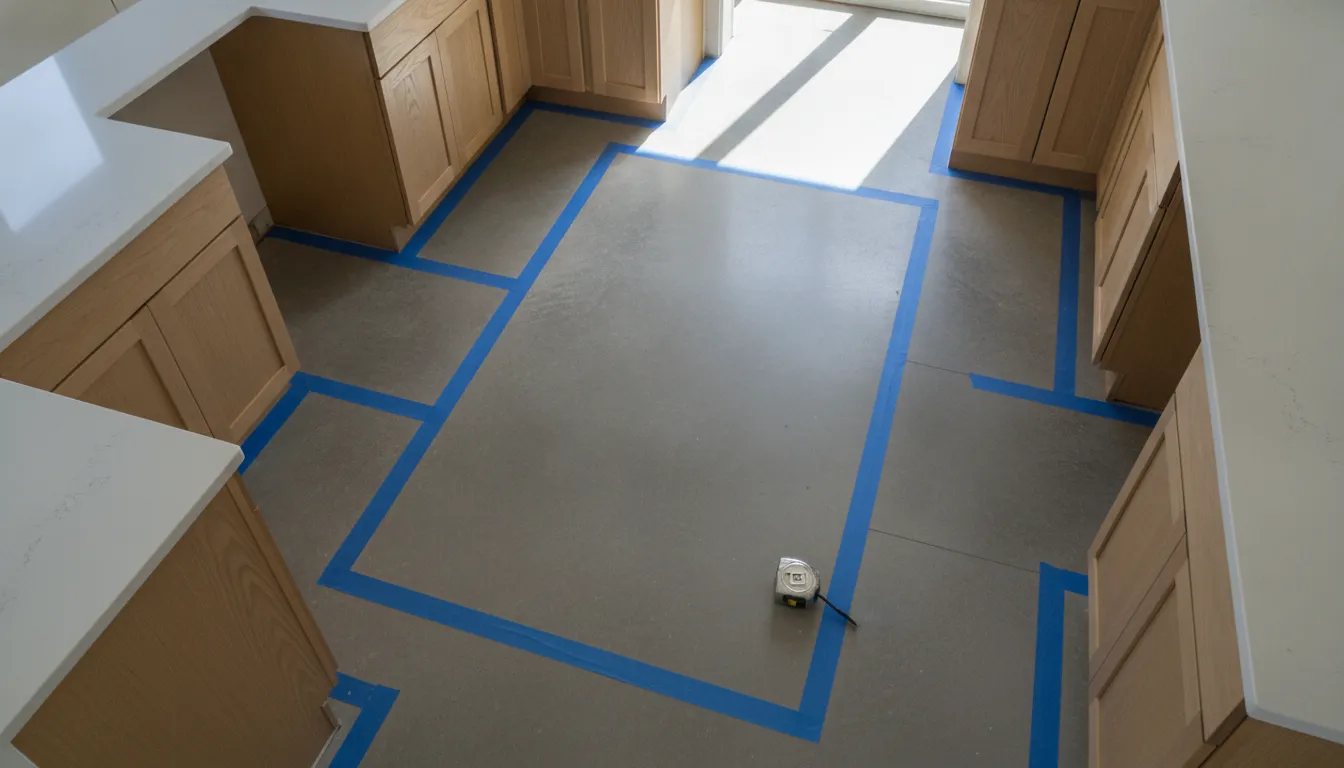
- Tape the island outline on the floor, including any overhang where stools will sit.
- Mark 42 inches on the working sides and 36 inches on the pass-through sides.
- Open the real refrigerator and dishwasher, or tape their door swings if they are not installed yet.
- Walk the path from the entry to the sink, the refrigerator, and the dining table with a laundry basket or a sheet pan.
- Shrink the tape until every working side still has its aisle. If it will not shrink, drop the island.
A common miss is counting the overhang as part of the aisle. The overhang is for knees. The aisle starts at the outer edge of that overhang. A 12-inch overhang on the seating side can erase the walkway you thought you had.
Island kitchen layout design around the work zones
Place the island so the busiest landing areas stay on the perimeter or on the island face that people actually stand at. NKBA Guideline 11 asks for at least 24 inches of landing counter on one side of the sink and 18 inches on the other. Guideline 12 asks for a continuous prep surface at least 36 inches wide and 24 inches deep next to a sink. Guideline 16 asks for at least 15 inches of landing area at the refrigerator, usually on the handle side. Guideline 17 asks for 12 inches of landing on one side of a cooking surface and 15 inches on the other, at the same height as the cooktop.
If the island steals those landings, the layout looks open and cooks poorly. A sink in the island still needs that 24-inch and 18-inch pair. A cooktop in the island still needs both side landings. NKBA also recommends 9 inches of counter behind a cooktop when the counter is the same height and the cooktop sits on an island or peninsula. That rear strip is a safety buffer, not a place to set a cutting board.
Use the table below to match the island’s job to the clearance that usually decides it. The figures are NKBA recommendations from the Kitchen Planning Guidelines with Access Standards. Those guidelines cite the International Residential Code for several appliance clearances. Your appliance manual and local code still win if they ask for more.
| Island job | What must stay clear | NKBA starting point | Layout risk if you ignore it |
|---|---|---|---|
| Prep only | Aisle to the sink and refrigerator | 42 in. for one cook. 48 in. for two. | Prep happens in the walkway. |
| Sink and dishwasher | Landing at the sink, plus room at the open door | 24 in. and 18 in. at the sink. 21 in. at the dishwasher. | The door blocks the only path around the island. |
| Cooktop | Side landings and space behind the burners | 12 in. and 15 in. beside it. 9 in. behind it on an island. | Hot pans have nowhere to land. |
| Seating | Space behind the stools | 32 in. with no traffic. 36 in. to edge past. 44 in. to walk past. | Guests sit in the path to the pantry or the table. |
| Refrigerator nearby | Landing on the handle side | 15 in., or a landing within 48 in. across from the doors. | Groceries land on the floor or on the seating overhang. |
The island does not have to hold an appliance to be worth building. Many of the best layouts keep water and cooking on the wall and use the island as the 36-inch prep run. That choice also avoids moving a drain, a gas line, or a hood. Moving those utilities is a remodel decision, not a furniture decision.
Open kitchens need one more check. The island should not sit in the sight line you actually use. Such as the path from the family room to the yard, if that path is how people cross the house. A shorter island set to one side often works better than a long island centered on the room for the sake of symmetry.
Storage, power, and the services the island pulls in
Storage follows the job you already chose. A prep island wants deep drawers for bowls, boards, and everyday tools, facing the side where you stand to chop. A seating island wants the drawer faces kept off the knee space. A cooking island wants the cabinet next to the cooktop to hold pots, not the holiday platters you use twice a year.
Do not design the cabinet interiors in this step. Door style, drawer stacks, and finish are a separate choice, covered in the kitchen island cabinet design guide. What matters for the layout is which face of the island is for standing and which face is for knees. Once those faces are set, the cabinet plan has a front.
Power is part of the layout, not a detail for later. A receptacle on the island has to be reachable without crossing a hot cooktop. And the code that applies in your city sets how many are required and where they can sit. The current National Electrical Code has changed how island and peninsula receptacles are handled compared with older editions. So a plan copied from a past remodel can be wrong. Have the electrician confirm the adopted code before the cabinet shop builds a panel with no legal place for an outlet.
Water and gas have the same timing problem. A sink needs a drain path with slope, a dishwasher needs a nearby sink. And a gas cooktop needs a line and combustion air that the hood can serve. If any of those cannot reach the island without crossing a beam or a finished floor you plan to keep, keep the appliance on the wall. The layout is allowed to say no.
Lighting should mark the work zone, not just the decorative objects. Task light belongs over the prep or cook surface. A row of pendants over the seating side can mark that zone, as long as the fixtures do not hang in the sight line of the person cooking. For the layers and dimming, use the kitchen lighting design guide after the island location is fixed.
When the room should not get an island
Skip the island when the working aisles would drop below 42 inches. Also skip it when the only way around it crosses the dishwasher or the refrigerator door. Skip it when seating would put people in the path from the kitchen to the table. A peninsula can give you the same overhang and extra counter while leaving one side open for traffic. A galley with a 48-inch aisle can cook better than a cramped island in a room that is really a hallway.
Small kitchens are the usual case. If the taped outline only works when every door is closed and nobody is sitting, you do not have an island layout. You have a collision. The broader kitchen layout ideas page is the place to compare an L-shape, a U-shape, and a galley. This decision is narrower: does this room support an island without breaking the work zones?
Also skip a full island when the project is a finish update. New counters, cabinet paint, and flooring do not create the aisle you are missing. Forcing an island into that scope usually means moving plumbing or a wall, which is a different project. Compare that scope in writing before you demo. The notes on how to compare kitchen remodeling estimates help you see whether two bids are pricing the same layout.
There is a middle path. A narrow island with no seating, no sink. And no cooktop can still earn its space if it holds the 36-inch prep run and leaves 42 inches on the working sides. That is a layout. A furniture-style cart that rolls away is not a built island, and it should not be drawn as if it were permanent.
What to decide before cabinets and flooring
Bring a measured plan to the first design meeting, not a saved photo. Note the direction of door swings, the window you want to keep, and the side of the room where people enter with groceries. Those three facts decide more than the cabinet color.
Decide these items in order:
- The island’s one primary job, and whether a second job still fits.
- Which sides are work aisles and which side, if any, is seating.
- Whether the sink, dishwasher, or cooktop stays on the wall.
- Where the landing areas from the table above will live.
- Whether a drain, a gas line, or a new circuit has a real path to that spot.
- What you are willing to give up if the tape layout fails the walk-through.
Flooring comes after that, because the island footprint changes transitions and whether a slab needs to be patched. Cabinets come after the faces are known, because the seating side cannot grow a stack of drawers into the knee space. Counter material comes after the spans and seams are known. The material itself is a later choice. If you want the cost range for a built island, read the custom kitchen island cost guide once the size is real, not before.
King Remodeling plans kitchens as part of a full remodel, with design, materials, and construction handled together from the Scripps Ranch showroom. The useful moment for layout help is before orders are placed. A measured drawing and a taped floor plan will show, in one visit. Whether the island you want can keep a 42-inch work aisle and still reach the sink and the refrigerator.
If the answer is no, that is a good result. You will spend the budget on the work zones you use every day instead of on an island that blocks them.
A short checklist before you commit
Read this once with the tape still on the floor.
- The primary job is written down, and it is not “everything.”
- Work aisles are at least 42 inches for one cook, or 48 inches if two people cook together.
- Pass-through sides are at least 36 inches, measured outside any overhang.
- Sink landings are 24 inches and 18 inches, and a prep run of 36 by 24 inches is real counter, not the seating overhang.
- A cooktop, if it is on the island, has 12 inches and 15 inches beside it and 9 inches behind it.
- The refrigerator handle side has 15 inches of landing, or a landing within 48 inches across the aisle.
- The dishwasher door can open with 21 inches of standing room and does not close the only path.
- Stools are out of the grocery path and the path to the table.
- Power, water, and gas have a confirmed route, or the appliances stay on the wall.
- You have a peninsula or no-island option if the tape fails.
That list is the layout. Finishes, hardware, and decor can wait. If you want a second set of eyes on the clearances. Bring the measurements to a consultation and walk the same path in the showroom samples you are considering.
Book a kitchen layout consultation and bring your taped measurements, or call (858) 299-7700.
Frequently Asked Questions
How do I choose an island size?
Size the aisles first. Leave at least 42 inches where one person cooks and 48 inches where two people work, then fit the island into what remains. If seating is part of the plan, add the overhang and the space behind the stools before you pick a length. A shorter island that keeps those widths will cook better than a longer one that pinches them.
What is a good distance around a kitchen island?
NKBA recommends at least 42 inches for a one-cook work aisle. 48 inches when more than one person cooks, and 36 inches for a walkway that is only for passing. Measure from the counter edge, or from the outer edge of an overhang, to the facing cabinet or appliance. Then check the dishwasher and refrigerator doors in the open position.
Can a small kitchen have an island?
Only if the taped outline still leaves a 42-inch work aisle and does not put the refrigerator or dishwasher door into the only path. Many small kitchens are better with a peninsula or with no island at all. A cart that rolls out of the way is not the same as a built island.
Should the sink or cooktop go in the island?
Put them there only when the landing space still exists and the utilities can reach that spot. A sink needs 24 inches of counter on one side and 18 inches on the other. A cooktop needs 12 inches and 15 inches beside it, plus 9 inches behind it when it sits on an island at the same counter height. If either landing disappears, keep the appliance on the wall.
What is replacing the kitchen island?
Nothing has replaced a well-planned island. What has changed is that designers are more willing to skip one when the room is a corridor. Or to use a peninsula so one side stays open for traffic. The better question is whether this room can keep its work aisles. If it cannot, do not build the island to match a photo.