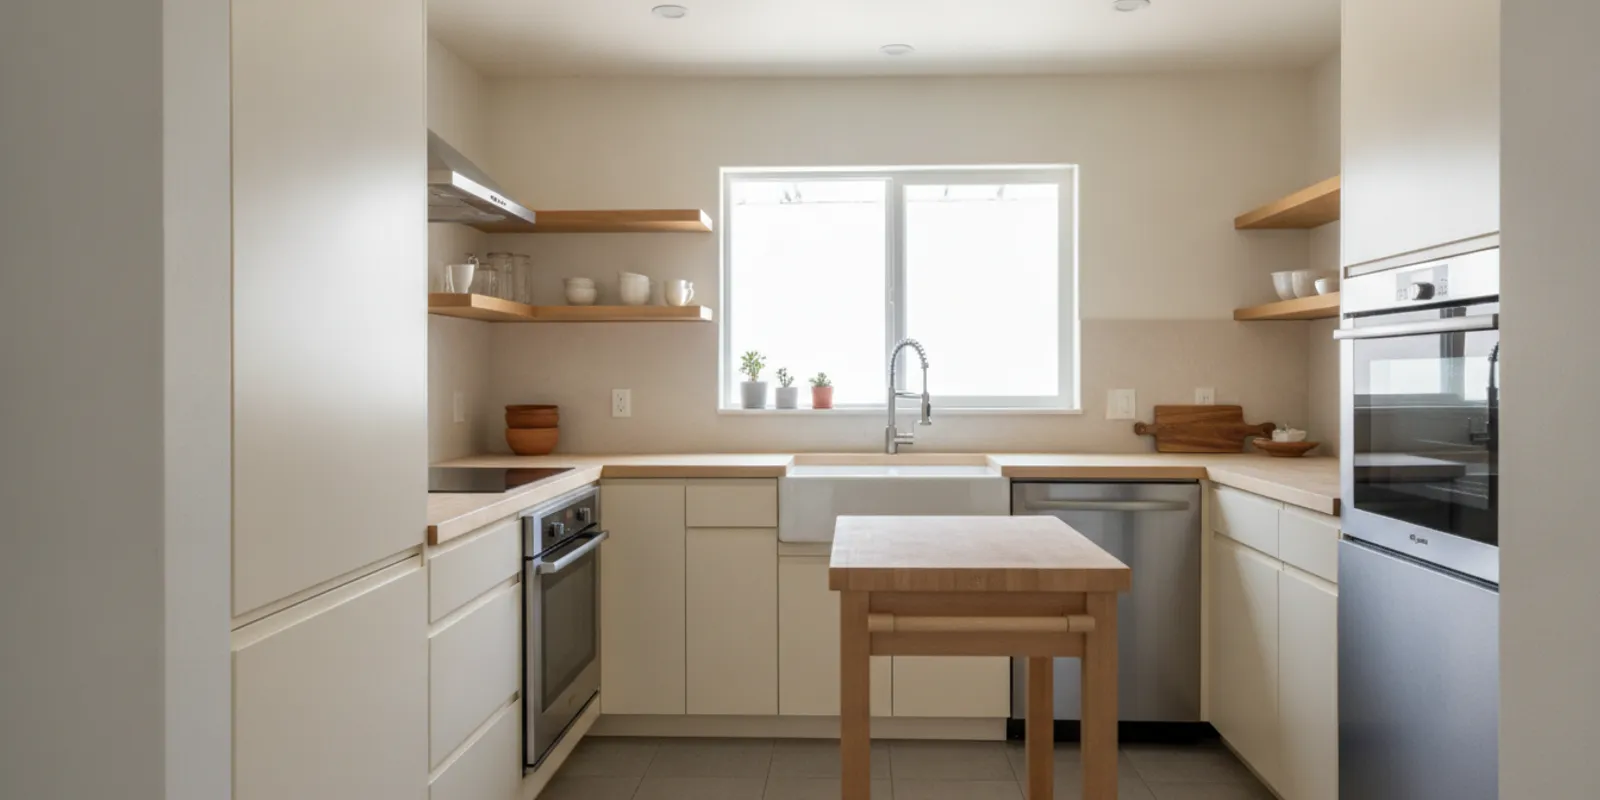
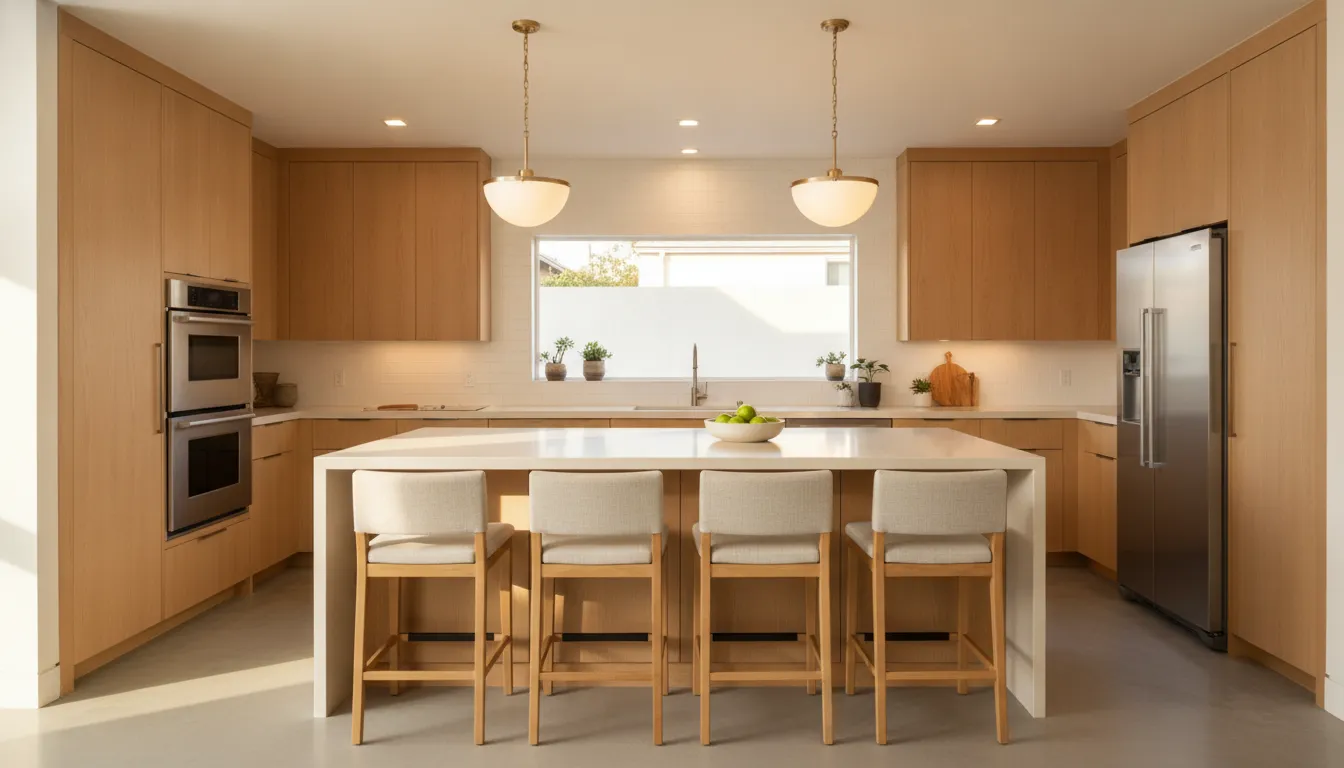
A kitchen island with seating can become the most useful part of a remodel. It works best when the island fits the room instead of interrupting it.
The right plan balances comfortable knee space, safe walkways, practical work zones, storage, lighting, and the way your household gathers. This guide explains the key decisions San Diego homeowners should make before choosing stools, countertops, or appliances.
Schedule a kitchen remodeling consultation with King Remodeling.
What Should a Kitchen Island With Seating Do for Your Home?
Start with the island’s primary job. Seating may be the main purpose, or it may share space with meal preparation, homework, serving, or casual conversation. Trying to make one island perform every job often produces a crowded countertop and blocked circulation.
Choose one or two primary functions before you set the dimensions. For example, an island might be designed to:
- Provide a comfortable breakfast and conversation spot for two to four people.
- Add a generous prep surface near the refrigerator and cooking area.
- Store cookware, baking supplies, recycling, and small appliances.
- Create a serving zone between the kitchen and an adjacent dining or living area.
- Anchor an open-concept remodel without making the room feel divided.
In a San Diego home, the best answer depends on the existing room footprint, window and door locations, ceiling height, and whether walls or plumbing will change. A design professional can test the layout before construction, rather than asking the island to solve problems after cabinets are installed.
How Much Clearance Does a Kitchen Island With Seating Need?
Clearance determines whether an island feels comfortable or constantly in the way. Measure from the finished edge of the island to the nearest cabinet, appliance, wall, or traffic path.
Do not measure only from cabinet boxes. Countertop depth and overhang reduce the usable passage.
- Work aisle: Begin with about 42 inches where one person needs to work between the island and another counter. A wider aisle can be more comfortable when two people cook together or appliance doors open into the space.
- Walkway: Preserve about 36 inches for a normal passage. Increase that space when it is a main route to a patio, dining room, or family room.
- Behind stools: Allow enough room for a seated person, the stool itself, and anyone walking behind it. A narrow gap may work in a dead-end eating area, but a busy traffic route needs more room.
- Appliance doors: Open the refrigerator, dishwasher, oven, and trash pull-out on the plan. The door swing should not collide with a stool or trap a person at the island.
These are planning starting points. They are not a substitute for a field measurement or current code review.
A scaled drawing or temporary cardboard outline can reveal problems that are hard to see on paper. Test the route from the refrigerator to the sink, cooktop, and seating before committing to a large island.
Explore completed kitchen projects for practical island layout inspiration.
What Kitchen Island Dimensions Work Best for Seating?
The ideal size is the smallest island that supports your chosen functions while preserving clear circulation. Bigger is not automatically better. An oversized island can reduce work aisles, make the room harder to clean, and leave stools in the path of cabinet doors.
Length and seat count
Plan on roughly 24 inches of width per seated person as a comfortable starting point. That space gives each diner room to pull in a stool and use the countertop without crowding the next person.
Children may fit more closely, but a family island should be planned for everyday comfort rather than the tightest possible count.
A short island may accommodate two seats on one long side. A longer island can support three or four, provided the room has enough clearance. End seating can be useful when the island is too short for a full row, but check the corner dimensions and the direction of nearby traffic.
Depth and overhang
A standard cabinet run with a countertop can work for one-sided seating when the overhang creates knee space. Many designs begin with a 12-inch overhang for counter-height stools.
Adjust the overhang based on the actual stool, support requirements, and desired comfort. A deeper overhang may need hidden brackets or other structural support.
If you need storage or appliances on both sides, the island will need more depth than a simple cabinet plus seating overhang. Draw the cabinets, drawers, panels, countertop, and legroom together. This prevents a plan from calling an island 36 inches deep when the finished seating side needs additional knee space.
Height and stool fit
Most kitchen islands use a counter-height surface around 36 inches, while a bar-height section is taller. Use the countertop height, not the stool label alone, to confirm the seat will tuck in comfortably. Armrests, thick cushions, and a footrest can change the amount of space a stool needs.
Before ordering stools, bring their measurements into the design. Confirm seat height, overall width, arm width, back height, and how far each stool projects when occupied. A beautiful stool that blocks a walkway is the wrong stool for the room.

| Planning detail | Starting point | What to confirm |
|---|---|---|
| Work aisle | About 42 inches | Two-cook traffic and appliance doors |
| Walkway | About 36 inches | Main routes to dining, living, or patio areas |
| Seat width | About 24 inches per person | Stool width, arms, and elbow room |
| Seating overhang | Often starts near 12 inches | Knee space, supports, and countertop material |
Which Seating Layout Fits Your Kitchen?
Seating location should follow the room’s traffic pattern and the island’s work zones. These layouts cover the most common options:
- One-sided seating: Stools line the outer edge while the working side faces the kitchen. This is efficient for conversation and keeps diners away from prep activity.
- End seating: One or two stools sit at the short end. This can preserve a long prep surface and suit a narrow room, but confirm that the end does not face a doorway or pinch a main walkway.
- L-shaped seating: Seats wrap around a corner when the island is wide enough. This creates a social arrangement but needs careful corner planning so knees and stools do not collide.
- Two-sided seating: Seats face each other across a raised or split-level surface. It can separate dining from prep, but the added depth may make the room feel crowded.
- Banquette or built-in seating: A connected bench can use space efficiently in an open plan. It requires a clear plan for access, cleaning, and the transition between the island and the seating surface.
For most remodels, one-sided seating is the easiest place to begin. It keeps the prep zone visually clean and connects the kitchen to the rest of the home.
A designer can compare alternatives against a scaled plan and the way your household moves through the room.
Before choosing a configuration, walk through these questions:
- Where do people enter and leave the kitchen?
- Which side should face the living or dining area?
- Will stools remain clear of the refrigerator and dishwasher doors?
- Does the seating side have enough knee room for the stools you prefer?
How Should You Plan Storage and Appliances Around Seating?
Seating should not force every drawer, outlet, or appliance into the opposite side of the island. Assign each cabinet a job before finalizing the layout. Frequently used items deserve the easiest access, while occasional items can use deeper or less central storage.
- Use wide drawers for pots, pans, and everyday cookware instead of relying only on low shelves.
- Place trash and recycling pull-outs near prep space, but away from the diners’ knees and the main seating entry.
- Reserve a drawer or cabinet for baking sheets, cutting boards, and serving pieces if those items currently create clutter.
- Keep a microwave, beverage station, or small appliance from competing with the primary knee space.
- Plan outlets and charging locations early, especially if the island will include a sink, cooktop, or high-use prep area.
- Check that drawers and doors can open fully without striking stools, legs, or an adjacent appliance.
Adding a sink or cooktop can change the island’s required depth, clearances, and utility needs. It can also affect electrical work, plumbing, ventilation, and permit scope.
Review those decisions as part of the complete kitchen plan. Do not finalize seating first and treat utilities as an afterthought.
See kitchen island cabinet design ideas for a more detailed storage plan.
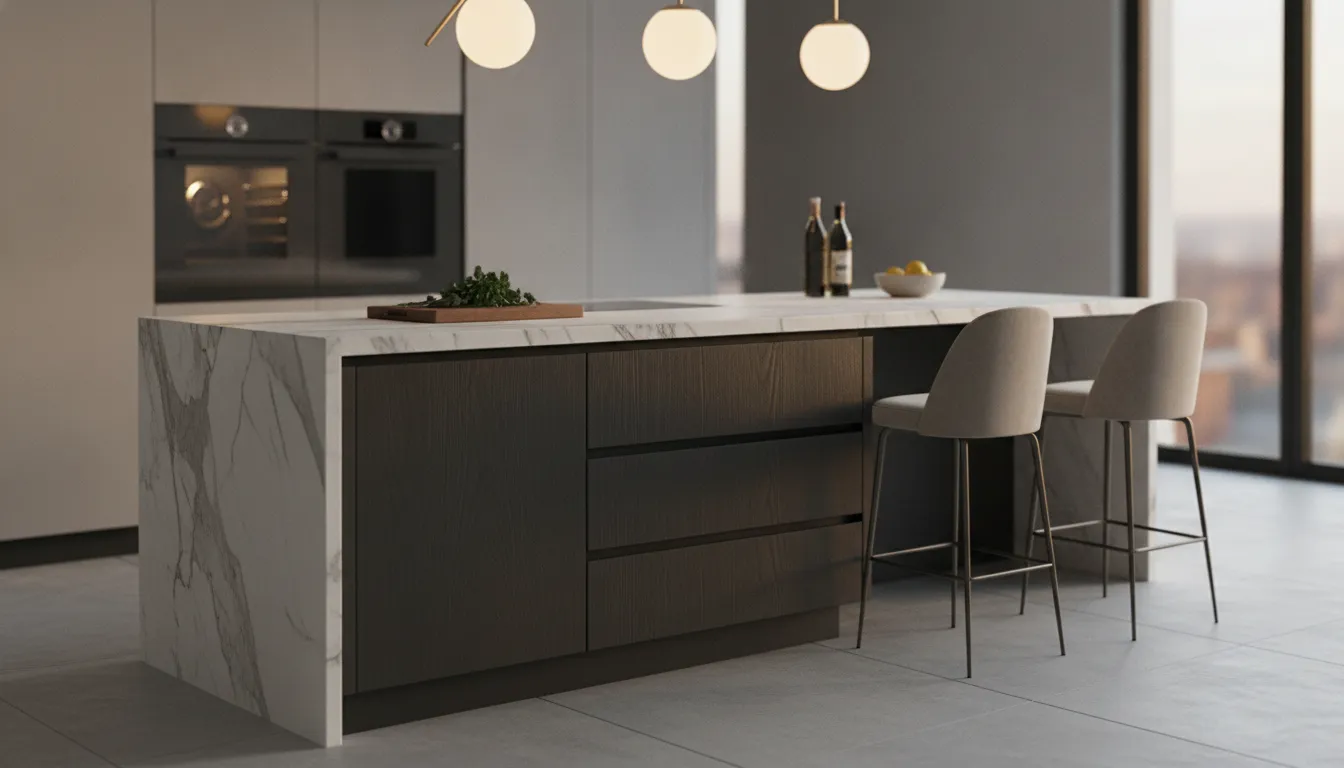
What Lighting Works Best Over a Seated Island?
Island lighting needs to support both work and conversation. A layered plan usually works better than a single bright fixture. Coordinate the lighting with cabinet height, sightlines, and the location of the seated side.
- Ambient light: General ceiling lighting keeps circulation and work aisles visible.
- Task light: Focused light helps with chopping, serving, and other countertop work.
- Pendant light: Pendants can define the island and add visual warmth above seating. Their size, number, and hanging height should fit the island length and sightlines.
- Accent light: Under-cabinet or interior cabinet lighting can highlight materials and make the kitchen more welcoming in the evening.
Place fixtures so they illuminate the work surface without shining directly into a seated person’s eyes. Dimmers can make the same island comfortable for morning breakfasts, meal preparation, and evening gatherings. Coordinate electrical locations with the cabinet and ceiling plan before finishes are ordered.
When Does a Kitchen Island With Seating Need Custom Remodeling?
A freestanding cart may be enough when you need temporary prep space or a movable surface. Custom remodeling becomes more useful when the island must fit an unusual room, carry integrated storage, coordinate with new cabinets, or support plumbing and electrical work.
Consider a design-build consultation when:
- The existing kitchen has narrow or uneven clearances.
- You want seating without losing a primary work aisle.
- The island must include a sink, cooktop, dishwasher, microwave, or dedicated outlets.
- You are moving walls, windows, doors, or major appliances.
- You need cabinetry, countertop, flooring, and lighting to be coordinated as one design.
- You want to compare materials in person before making a fixed project plan.
King Remodeling combines kitchen design, material selection, and construction under one roof. Homeowners can review cabinet, countertop, tile, flooring, and hardware options at the Design Center and Showroom before the build begins. Visit the San Diego Design Center and Showroom to see how guided selections can support a coordinated remodel.
A complete plan also clarifies which work is included, how the island will be built, and how the finished space should function. King Remodeling’s remodeling process helps homeowners move from consultation and design to material selection and construction with one accountable team.
Talk with King Remodeling about a custom island layout for your San Diego kitchen.
Frequently Asked Questions
How much space should be left around a kitchen island?
Start with about 42 inches for a work aisle and 36 inches for a walkway, then adjust for traffic, appliances, and local requirements.
How many seats fit on a kitchen island?
Plan on roughly 24 inches of island length per person, then confirm the stool width, overhang, and circulation space.
What is a comfortable overhang for island seating?
A 12-inch overhang is a common starting point for counter-height seating, but support and stool dimensions may require more.
Should seating go on the work side or the opposite side?
Opposite-side seating usually keeps diners clear of prep activity, but the best location depends on traffic and the room’s shape.