
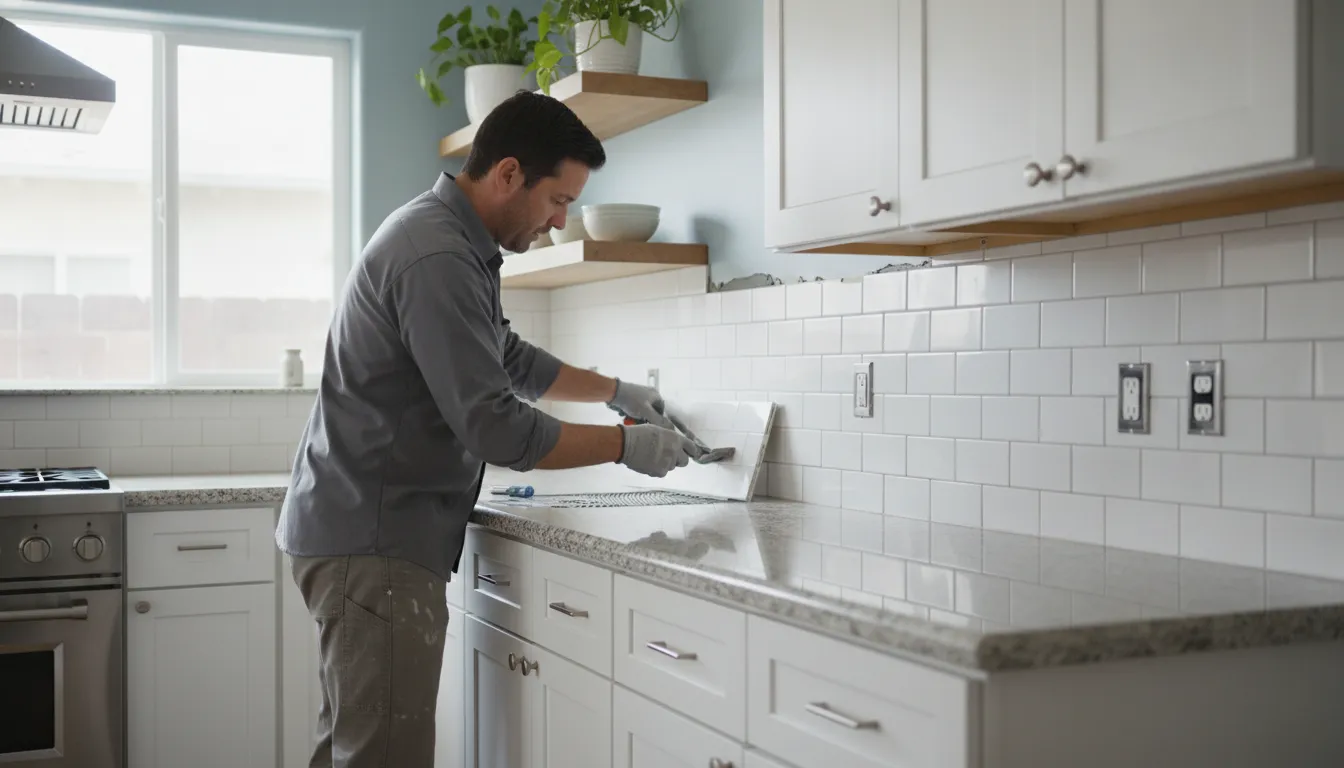
A backsplash does more than protect the wall behind a sink or range. It also connects your cabinets, countertops, lighting, and finish choices, so small installation decisions can affect the entire kitchen. In San Diego County homes, careful planning matters whether you are updating one wall or coordinating tile with a larger remodel.
Ready to plan your kitchen backsplash installation? Contact King Remodeling through the online form.
A successful kitchen backsplash installation includes checking the wall, choosing compatible tile and setting materials. Planning the layout around cabinets and outlets, setting the tile, treating the joints, and finishing the transitions. The right sequence depends on the existing surface, selected products, and the requirements of the surrounding kitchen.
California’s C-54 tile contractor study guide identifies plan review, material selection, quantity estimates, substrate preparation, and joint treatment as parts of tile work. That practical framework helps homeowners evaluate the scope before any tile is cut. Start by looking at what the installation actually includes, then work through the preparation, material, layout, electrical, and finishing decisions in order.
What Does Kitchen Backsplash Installation Include?
Kitchen backsplash installation is more than attaching tile to a wall. The work typically begins with reviewing the plan, measuring the installation area, selecting a material. Estimating quantities, and confirming how the backsplash will meet cabinets, countertops, appliances, outlets, and exposed wall edges. The California Contractors State License Board’s C-54 study guide identifies plan review, material selection, and quantity estimating as part of tile work planning.
Installation also includes evaluating the surface before tile is set. The wall may need cleaning, repair, leveling, or other substrate preparation. Depending on the location and products selected, the plan may also address membranes or barriers. These conditions should be resolved before adhesive is applied, rather than concealed behind a finished surface. The CSLB guide includes substrate preparation, membranes, and barriers among tile-installation preparation considerations.
Once the surface and layout are ready, the installer applies the appropriate adhesive. Places and cuts the tile, and works carefully around corners, outlets, windows, cabinets, and countertop transitions. The finishing scope includes joint treatment, grout, perimeter details, cleanup, and sealing when the selected product requires it. Adhesive, grout, cure times, and sealing should follow the manufacturer’s instructions.
Homeowner checklist for the installation scope
- Confirm the wall areas, endpoints, corners, and exposed edges included in the work.
- Choose the tile, grout color, trim or edge treatment, and any accent material together.
- Verify cabinet, countertop, appliance, outlet, and lighting locations before ordering tile.
- Ask whether the existing wall needs repair, substrate work, or a membrane.
- Confirm who handles electrical adjustments and how outlet covers will be finished.
- Review quantity estimates, product instructions, cure requirements, and final cleanup.
This scope is different from choosing backsplash height, which is a separate design decision. A coordinated kitchen remodeling service can connect material selection and construction details so the finished backsplash supports the larger kitchen plan.
How Should You Prepare the Wall and Work Area?
Good preparation gives the tile a clean, stable surface and keeps the rest of the kitchen protected. Before setting the first piece, work through the area in a deliberate sequence rather than trying to correct problems after adhesive is on the wall.
- Clear and protect the work area. Remove small appliances, cookware, outlet covers, and anything else that could interfere with access. Cover countertops, flooring, cabinets, and nearby appliances with suitable protection. Leave enough room to measure, cut, and move safely without leaning tools against finished surfaces.
- Shut off power before working near outlets. Turn off the appropriate circuit at the breaker before removing faceplates or preparing the wall around receptacles. Do not rely only on a switch, and confirm that the circuit is no longer energized. If an outlet needs to move, extend, or be repaired, stop and involve a qualified electrician. Electrical requirements can vary, so verify current local requirements rather than assuming a general backsplash guide covers your situation.
- Clean the wall thoroughly. Remove grease, dust, loose paint, and residue. A clean surface helps the approved adhesive bond consistently. Allow the wall to dry fully before continuing, and follow the cleaner and adhesive manufacturers’ instructions.
- Correct visible imperfections. Fill appropriate holes, remove loose material, and address ridges or uneven areas that could telegraph through the finished tile. A backsplash can hide a wall temporarily, but it will not make a badly uneven substrate flat.
- Check the substrate and moisture conditions. Confirm that the wall is sound, reasonably flat, and suitable for the selected tile and adhesive. Tile-installation preparation can include substrate preparation plus membranes or barriers, as recognized in the California Contractors State License Board’s C-54 tile contractor study guide. Ask whether a membrane or barrier is needed if the wall has moisture exposure, questionable existing materials, or a condition outside a typical dry kitchen backsplash.
Before moving on, look for these practical checkpoints:
- The work surface is protected, accessible, clean, and dry.
- Power near the work zone is safely isolated when electrical work is involved.
- Wall repairs are cured, and the substrate is compatible with the planned installation system.
- Manufacturer instructions and any applicable local requirements have been reviewed.
If the wall condition is uncertain, resolving that question before layout is part of a dependable kitchen backsplash installation, not an unnecessary delay.
Which Backsplash Materials Fit Your Kitchen?
Material selection affects more than appearance. The tile you choose influences how the surface feels, how it responds to daily cooking. How much maintenance it needs, and how easily an installer can work around outlets, corners, and countertop transitions. King Remodeling’s showroom includes ceramic, porcelain, and natural stone backsplash tile alongside cabinet, quartz, and granite selections, so you can assess these elements together.
Ceramic tile: flexible and design-friendly
Ceramic tile is available in many colors, shapes, finishes, and textures. That range makes it useful when you want the backsplash to add pattern or character without competing with the cabinets. It is also a practical choice for many standard wall applications. Review the surface texture before committing, since heavily textured tile can require more attention during grout cleanup.
Porcelain tile: dense and durable
Porcelain is a denser tile option that can suit homeowners who want a durable, substantial finish. Its hardness may affect cutting complexity, especially around receptacles, windows, or uneven corners. Confirm the recommended adhesive, grout, and cutting method for the specific product rather than assuming every tile can be installed the same way.
Natural stone: texture with added care
Natural stone brings variation that can make a kitchen feel more layered and distinctive. Because stone can differ from piece to piece, review several samples in the actual room’s light. Some stone products also require sealing or other care specified by the manufacturer. Ask about those requirements before installation so maintenance expectations are clear.
As you compare samples, look at the backsplash beside your cabinet door, countertop, hardware, and lighting finish. If you are considering quartz, this guide can help you choose a complementary countertop material. You can also arrange guided material selection at the showroom for practical coordination support. The goal is not to guarantee one material will fit every kitchen, but to choose a surface whose durability. Texture, maintenance, and installation demands match the room and the way you use it.
How Do You Plan Tile Layout Around Cabinets and Countertops?
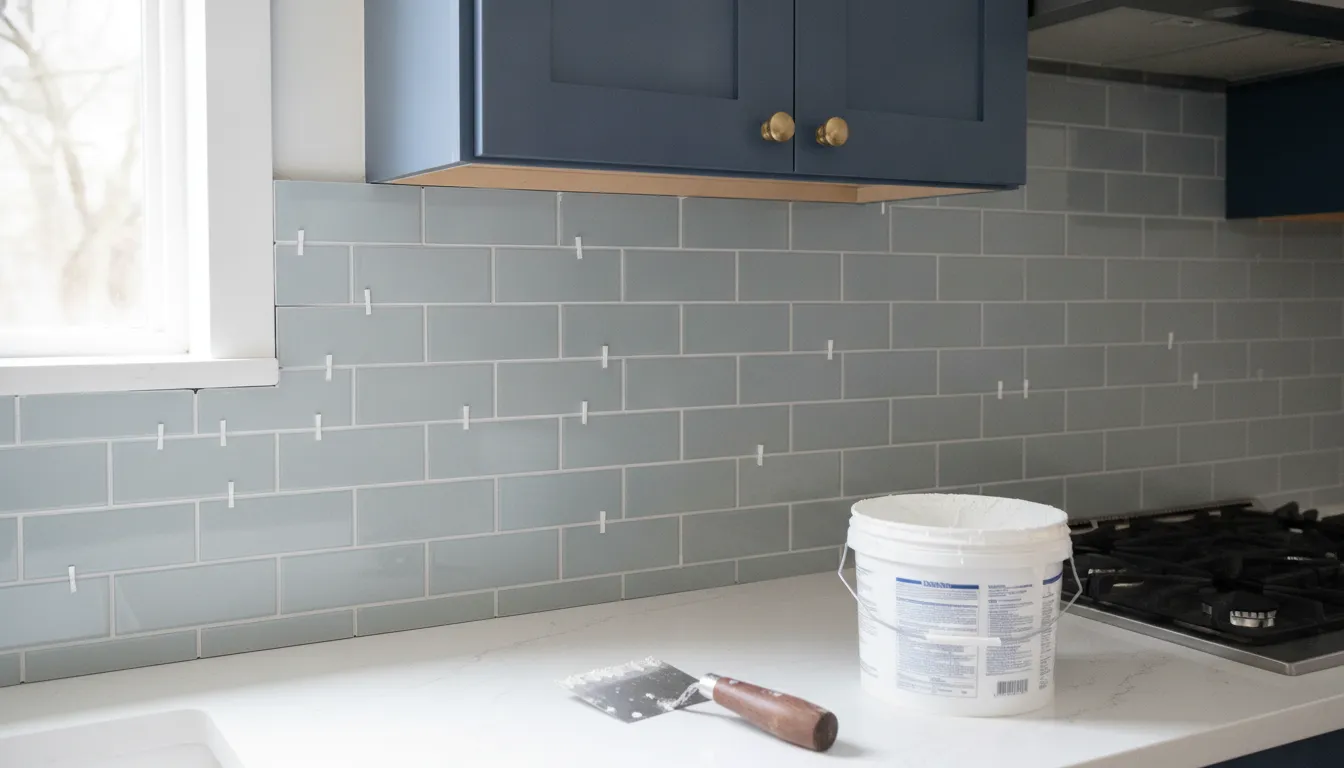
A clean layout starts before the first tile is set. Mark the main wall’s center point, then measure outward to see how full tiles, narrow cuts, outlets, and cabinet edges will align. A centerline can create symmetry around a range or sink, but it should be adjusted when a nearby cabinet, window, or appliance creates a more important visual boundary.
Use a dry layout to test the arrangement without adhesive. Lay out several rows on a flat surface or hold tile sections against the wall, including spacers and trim where applicable. Review both the horizontal and vertical pattern. A running-bond layout, stacked pattern, or vertical orientation can change where seams land and how much of each cut tile is visible. Treat center-point, horizontal, and vertical planning as separate checks before committing the design to the wall.
Where should the cuts go?
Place cut tiles where they are least distracting. Full tiles often look best in the most visible field, while equal-sized cuts at opposite ends can make a short wall feel intentional. Avoid leaving a sliver beside a cabinet when shifting the layout slightly would create wider pieces. Mark around outlets, corners, cabinet returns, and appliance openings before cutting, and keep the pattern aligned across those interruptions whenever possible.
The countertop is another visual and movement transition. Tile should meet the counter with a consistent perimeter gap rather than being forced tightly against it. Lowe’s describes an 1/8-inch gap at cabinet and countertop edges; the exact joint and treatment should follow the tile, adhesive, grout, and manufacturer requirements. For a better handoff between surfaces, review coordinating backsplash with countertops before finalizing the layout. Also review kitchen lighting and finishes, since under-cabinet lighting can make uneven cuts, lippage, or strong grout lines more noticeable.
What Should You Do Around Outlets and Appliances?
Outlets, switches, and appliances deserve extra planning because they create some of the most visible cuts in a backsplash. Before tile is set, identify every receptacle, switch, range hood, microwave, and appliance edge that meets the work area. Remove outlet and switch cover plates during installation, but keep them organized so they can be reinstalled after the tile, grout, and any required trim are complete.
Use the appliance layout to guide the tile layout rather than treating each opening as an afterthought. Around a range, plan for heat, splashes, ventilation equipment, and cleanable transitions. At a sink, check how the backsplash meets the counter, faucet, window trim, or adjacent wall. The goal is to avoid narrow slivers of tile and awkward cuts while keeping access to controls and receptacles practical.
A 2025 kitchen-remodel handout from the City of San Bruno describes receptacle guidance for countertop spaces at least 12 inches wide. Including a maximum 24-inch horizontal distance from a point along the wall line to an outlet and GFCI protection for countertop receptacles. This is local-government guidance from San Bruno, not San Diego law. Electrical requirements can vary by jurisdiction and project, so verify current requirements with the applicable authority or a qualified electrician before covering or relocating any electrical device.
Do not loosen, extend, relocate, or rewire an outlet simply to make a tile cut fit. Have a qualified electrician handle electrical changes, and involve that professional early if the new backsplash changes box depth, outlet placement, or appliance connections. Anyone cutting or setting tile should also use appropriate eye and hand protection. OSHA’s personal protective equipment guidance provides general safety information. Once the work is complete, reinstall plates securely and confirm that appliances, switches, and receptacles remain accessible and function as expected.
How Are Tile, Grout, Sealing, and Transitions Finished?
Once the layout is established, the installation moves from planning to controlled placement. The installer applies the specified adhesive to the prepared wall, works in manageable areas. And sets the first tile carefully so the rest of the field follows the intended line. Spacers help maintain consistent joints, while tile cuts are measured around outlets, corners, cabinets, and other fixed elements rather than left to the final few inches.
Adhesive selection and application should follow the tile and product manufacturer’s instructions. Tile size, material, wall conditions, and the installation environment can affect which setting material is appropriate. The California Contractors State License Board’s C-54 study guide identifies both tile and stone installation and joint treatment as part of the trade’s work. Reviewing the C-54 guide provides useful context, but it does not replace the product directions for a specific installation.
Why are grout joints and perimeter gaps treated differently?
Grout fills the planned joints between tiles and gives the finished surface a clean, unified appearance. Perimeter and movement joints serve a different purpose. Where the backsplash meets cabinets, a countertop, or another change in plane. The installer needs to preserve the specified gap and use the appropriate flexible treatment rather than rigidly packing the space with grout. This helps the transition accommodate ordinary movement and keeps the edge easier to maintain. The exact gap and sealant should follow the tile system and manufacturer requirements.
Sealing is product-dependent, not an automatic step for every backsplash. Some grout, tile, or stone products may require a sealer, while others may not. The installer should confirm the requirement, wait for the adhesive and grout to cure as directed, then apply sealer only when the product calls for it. Final cleanup includes removing grout residue without disturbing the joints, checking that edges are neat. And confirming that cut pieces, outlet openings, and transitions align with the surrounding work.
Contact King Remodeling to discuss the finishing details for your backsplash.
When Should Backsplash Installation Be Coordinated With a Remodel?
Backsplash work is easiest to manage when it is planned as part of the kitchen, not added after every other finish has been chosen. In a broader remodel, the cabinet elevations, countertop plan, lighting, appliances, and tile layout should be reviewed together. King Remodeling includes backsplash installation within its kitchen remodeling services, allowing design and construction decisions to stay connected.
Coordinate the major surfaces first
Cabinets establish the upper and side boundaries of the backsplash. Countertop templating and fabrication also affect the finished counter edge, wall relationship, and any transitions at corners or appliance openings. The backsplash plan can then respond to the actual layout instead of relying on assumptions about where cabinets or counters will land. Material selection should happen early enough to compare tile thickness, color, texture, grout, and countertop finishes together.
Lighting deserves the same attention. Under-cabinet fixtures, switches, and other electrical work can change how the tile is cut and how its surface appears. Appliance dimensions and final placement matter as well, particularly behind a range, beside a refrigerator panel, or around a countertop appliance area. Confirm these conditions before installation so the tile field and its endpoints look intentional.
Place installation near the finish stage
In many kitchen projects, backsplash installation follows cabinet and countertop work, while remaining finish coordination is still active. The wall must be ready, outlets and appliances must be accounted for, and the installer needs access to set tile, grout joints, transitions, and edge details. Exact sequencing depends on the project scope and site conditions rather than a fixed timeline.
A final walkthrough should confirm that the backsplash, cabinet faces, countertop, lighting, outlets, and appliances work together. King Remodeling’s remodeling process provides a framework for coordinating these stages. For a broader view of how finish decisions fit into a kitchen project, review this guide to coordinate backsplash installation timing. This process focus complements, rather than replaces, a separate guide about backsplash height.
Have questions about your backsplash plan? Contact King Remodeling before the final tile order.
Frequently Asked Questions
How much does kitchen backsplash installation cost?
There is no single project price. The final scope depends on the backsplash area, selected material, wall condition, number of cuts, outlet details, transitions, and whether cabinet or countertop work must be coordinated. A site review can identify those variables before a custom proposal is prepared.
How should a wall be prepared before tile is installed?
Clear the work area, protect nearby surfaces, clean the wall, and correct loose, damaged, or uneven areas first. Substrate preparation, membranes, and barriers may be part of tile installation preparation, depending on the wall and product requirements. Follow the installer and manufacturer guidance for the specific application.
Which material is best for a kitchen backsplash?
Ceramic, porcelain, and natural stone can all suit a kitchen, but the right choice depends on the desired look. Tile size, edge details, maintenance expectations, cutting requirements, and relationship to the cabinets and countertop. Review samples in the actual kitchen lighting before making a final selection.
What should happen around outlets during installation?
Outlet locations should be included in the dry layout so cuts are balanced and cover plates will sit properly after the tile is installed. Power should be handled safely, and any wiring, receptacle relocation, or requirement questions should be reviewed with a qualified electrician and the local authority before work begins.
Does every backsplash need grout sealing?
Not necessarily. Sealing depends on the grout, tile, and manufacturer instructions. After grout is applied, allow the specified cure time, clean the surface carefully, and use only a compatible sealer when the product calls for one. Perimeter gaps at cabinets and countertops should be finished as specified rather than treated like ordinary grout joints.
Ready to Plan Your Kitchen Backsplash Installation?
A coordinated plan can help your backsplash work smoothly with the wall condition, cabinets, countertops, outlets, and finish details. King Remodeling can help you review the installation scope and connect those decisions with your broader kitchen remodeling goals in San Diego County.
Contact King Remodeling through the online form to discuss your kitchen backsplash installation.