
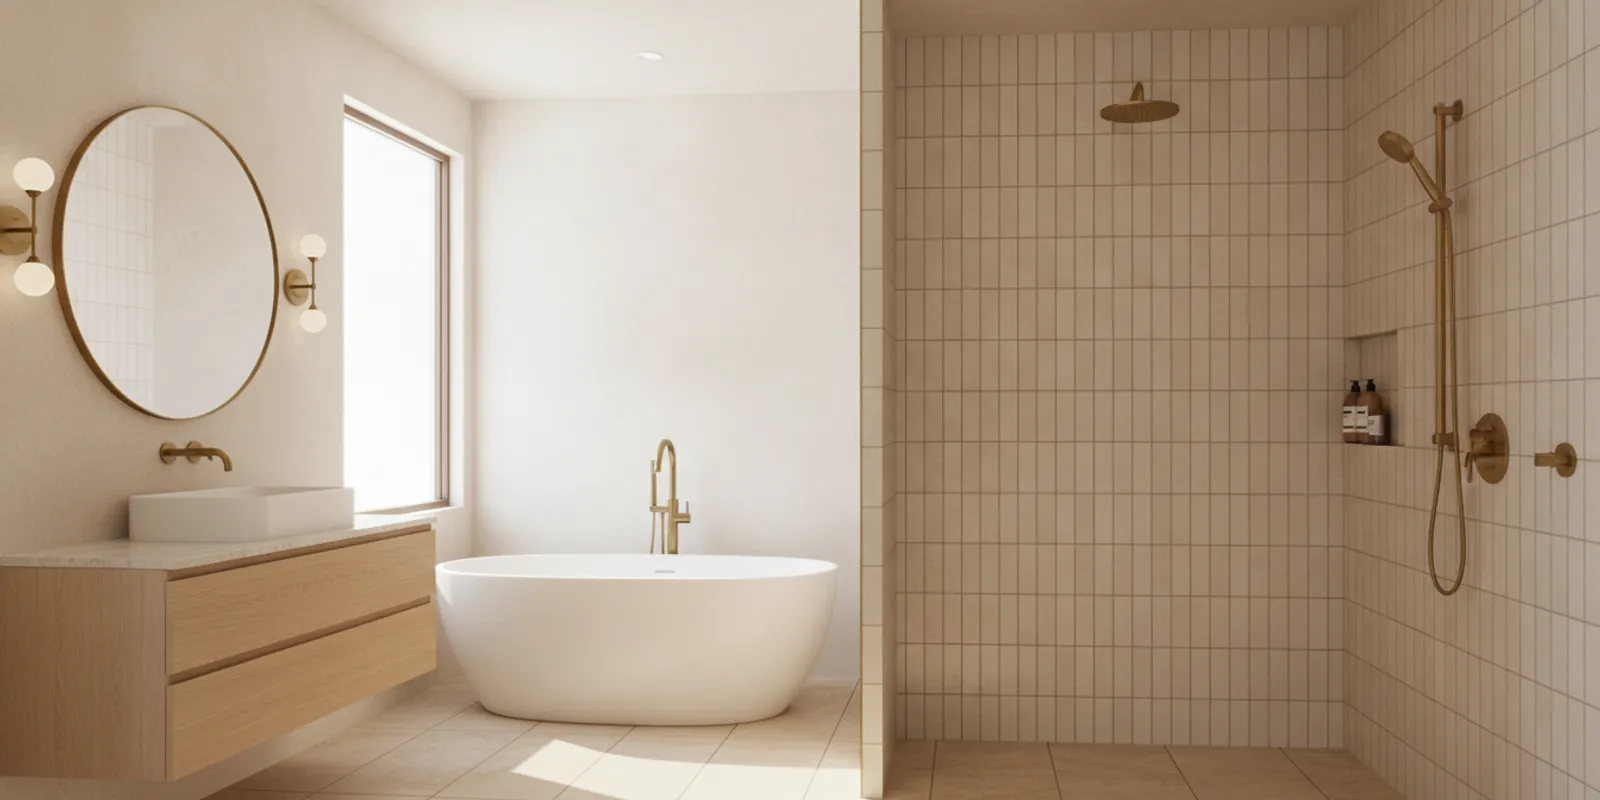
Choosing tile for a kitchen or bathroom can feel simple until you compare the samples. The difference between porcelain and ceramic tile affects how a surface handles water, wear, cutting, and everyday cleaning. The best choice depends on where the tile will go, how the room is used, and which design details matter most.
Plan your tile remodel with our team
What is the difference between porcelain and ceramic tile?
Both materials are made from clay and other natural minerals, shaped, and fired in a kiln. In everyday product categories, porcelain tile is a denser, less porous type of ceramic tile. Manufacturers typically use more refined clay and fire porcelain at higher temperatures, creating a compact tile body. Standard ceramic tile can use a broader range of clays and firing conditions. It is often lighter and easier to cut.
Industry standards use water absorption to distinguish porcelain tile. The Tile Council of North America (TCNA) provides tile-industry technical and installation resources. Its tile information and standards resources offer background for homeowners comparing product specifications. For a specific selection, rely on the manufacturer’s stated classification and technical sheet rather than the product name or appearance alone.
The category name does not tell you everything about performance. Glaze, thickness, surface texture, intended use, installation materials, and maintenance instructions all affect how a finished surface works. A well-selected ceramic tile can be practical in the right location. Porcelain is not automatically the best answer for every wall or floor.
Think of the label as a starting point, not a final verdict. Ask what the tile is approved for, how it is finished, and what conditions the installation will face. Then compare that information with the way your household uses the room. A low-traffic powder room wall and a frequently used kitchen floor do not ask the same things of a tile.
How do durability and water absorption compare?
Porcelain’s dense body generally absorbs less water than standard ceramic tile. This characteristic can make it a useful option for floors and areas that see frequent moisture. It is also typically harder and more resistant to wear through the tile body. Still, durability depends on the specific product and its rating for the intended use. A tile marked for walls should not be assumed suitable for a busy floor.
Ceramic tile varies widely. A glazed ceramic floor tile designed for foot traffic may perform well in its intended setting, while a delicate wall tile is meant for a different job. The glaze forms the visible surface, so a deep chip can reveal the body beneath it. Porcelain can chip too; its dense body does not make it unbreakable. Heavy impact, poor support, or a dropped object can damage either material.
- For a frequently used kitchen floor: Compare the product’s floor-use rating, surface finish, and care instructions. Porcelain is often a strong candidate, but the exact product matters.
- For a bathroom floor: Consider water exposure and slip resistance together. A polished surface may be less suitable underfoot when wet, regardless of whether it is porcelain or ceramic.
- For a shower wall: Either material may work when specifically approved for that use and installed with a suitable waterproofing system.
- For a decorative backsplash: A wall-rated ceramic tile may meet the need without choosing a denser floor product.
Tile itself is only one part of a water-resistant assembly. In showers and other wet areas, the substrate, waterproofing, joints, transitions, and installation details all matter. Tile and grout should not be treated as a substitute for the waterproofing system behind them. If an old shower has signs of water damage, choosing a new tile surface alone does not address the underlying assembly.
Which tile works best on each kitchen or bathroom surface?
Start with the surface and the conditions it will face. Kitchen floors deal with regular foot traffic, spills, crumbs, and cleaning. Bathroom floors may get wet, while shower walls face repeated water exposure. A backsplash is exposed to splashes and cooking residue, but it does not carry foot traffic. The same tile does not need to serve all these purposes.
Kitchen floors and backsplashes
For a kitchen floor, narrow your choices to products rated for floor use and suited to the household’s level of activity. Compare the surface finish and texture in person if possible. A very textured tile may offer more grip but can take more effort to clean. A smooth surface may be easier to wipe but can become slick when wet. Ask how the product should be cleaned and whether its finish suits the room.
Consider who uses the kitchen and how. A household that cooks often may prioritize a surface that is simple to wipe after spills and crumbs. If children or older adults use the room, the feel and traction of a tile underfoot can deserve extra attention. Take a sample home and view it near the sink, cooking area, and the room’s main light source. A showroom sample can look different beside your own cabinets and counters.
For a backsplash, weight, cutability, pattern, and ease of cleaning can be more important than the added density of porcelain. Ceramic wall tile is often available in a wide variety of colors, shapes, and decorative finishes. Porcelain can also make sense when you want a coordinated material or a particular look. If you are coordinating tile with counters and cabinets, compare these kitchen flooring ideas and backsplash planning considerations.
Before settling on a backsplash tile, check how it will meet outlets, cabinets, counters, and any window trim. Small-format pieces may make detailed edges easier to compose, but create more grout joints. Larger pieces can make a calmer field, though they may require more careful cutting around obstructions. Ask to see how the pattern will start and finish at visible edges instead of judging only a loose sample.
Bathroom floors and shower walls
On a bathroom floor, consider water, traction, grout layout, and the way the room is cleaned. The tile’s finish and format influence how it feels underfoot. Smaller tiles create more grout joints, which may help a sloped shower floor follow the drain, but they also mean more grout to maintain. Large-format tile can create a calmer floor pattern, but the installer must account for floor slope, cuts, and the room’s dimensions.
For a shower wall, both ceramic and porcelain can be considered when the product is approved for the application. Larger tiles can reduce the number of grout joints, while smaller pieces may suit niches, curves, or a detailed pattern. The layout should account for the shower valve, niche, corners, and edges before installation begins. For more on planning the space, see this guide to custom walk-in shower layouts and the available bathroom remodeling options.
Look at the proposed tile layout from the doorway as well as from inside the shower. That view can reveal whether the pattern feels balanced and whether narrow cuts will land in prominent places. For a niche, decide whether its interior will continue the wall tile or use a contrasting material. Either approach can work, but its edges, shelf, and waterproofing details need to be planned together.
San Diego homes still need a tile choice suited to the room, not just the regional climate. Indoor moisture, cleaning habits, household traffic, and the project’s waterproofing details have a greater effect on this decision than a broad climate label. A bathroom used by several people each day may have different practical needs from a guest bath used occasionally.
Explore remodeling services for your tile project
Is porcelain or ceramic tile easier to maintain?
Routine care depends more on the tile’s finish and grout than on its category. Follow the product maker’s cleaning instructions, use a cleaner appropriate for the material, and avoid assuming that every tile responds well to the same chemicals. Sweep or vacuum loose grit before mopping so it does not scratch the surface.
- Glazed surfaces: The glaze is the visible wear surface. Clean spills promptly and use non-abrasive tools unless the manufacturer says otherwise.
- Unglazed surfaces: These may need a different care approach. Check whether the selected product requires sealing or another treatment.
- Grout joints: Grout needs regular cleaning and may require sealing depending on its type and the product instructions.
- Shower areas: Ventilation, wiping down wet surfaces, and keeping grout and sealant in good condition help with routine upkeep.
Porcelain’s low absorption can be an advantage in some settings, but it does not eliminate grout maintenance or replace good installation. Ceramic tile can also be straightforward to clean when its glaze and grout are maintained. Ask for the care sheet for the exact tile and grout combination before finalizing the selection.
It can help to compare care at the sample stage. Ask whether the tile’s finish is likely to show water marks, fingerprints, or loose debris. Consider the grout color too. A very light grout may make a crisp pattern stand out, but can show soil more readily in a heavily used area. A darker grout changes the visual contrast and still needs care. Choose a grout product and color with the tile, rather than treating it as a last-minute detail.
What installation details matter for porcelain and ceramic tile?
Porcelain’s density can make it harder to cut and drill than many ceramic tiles. That can affect the tools, time, and skill needed for detailed layouts, plumbing penetrations, edges, or specialty patterns. Ceramic tile is often easier to cut, although a particular tile’s hardness, thickness, shape, and finish can change the work involved. Neither material should be treated as a simple swap without checking the project conditions.
Installation quality depends on preparation as much as the visible tile. The substrate must be suitable and properly prepared. The installer also needs to select compatible setting materials, plan movement joints where required, check alignment, and make clean transitions to adjoining surfaces. In wet areas, waterproofing and drainage are critical parts of the full assembly.
Before work begins, review a layout that shows where full tiles and cuts will land. This helps avoid narrow slivers at prominent edges and awkward interruptions around a niche or cabinet. Discuss the grout width and color, trim or edge treatment, transition heights, and the location of any pattern changes. These details are especially useful when a project combines floor and wall tile.
A useful planning conversation follows the work from surface preparation to the final edge. Confirm what must be removed, what substrate will remain or be repaired, and how the new tile will meet adjoining flooring. In a shower, discuss the waterproofing and drainage plan before choosing a decorative pattern. If a door, vanity, or cabinet affects the edge of the tile, include that in the layout review. Resolving these points on paper is easier than improvising after tile has been set.
Ask to review a sample layout or drawing and mark any focal points: a centered range, a shower niche, a doorway, or the visible end of a backsplash. Decide whether the design should align with those features or prioritize fewer cuts. There may not be one perfect layout, but seeing the trade-offs helps you choose deliberately. Also ask whether the tile batch has variation and whether extra pieces should be retained for future repairs.
If the tile is part of a larger remodel, coordinating the material selection with the installation sequence helps prevent late changes. King Remodeling’s remodeling process explains how planning and construction stages fit together. You can also review completed kitchen and bath projects for examples of how finishes work in a finished space.

How do cost and value compare?
There is no dependable price rule that applies to every porcelain and ceramic tile. Material cost changes with the product line, size, finish, pattern, and availability. The installed total also reflects surface preparation, demolition, waterproofing, layout complexity, cutting, transitions, and the amount of labor. Two tiles with similar appearance can have very different installation needs.
Instead of comparing only the price per tile, compare complete scopes. Ask whether each estimate includes removal of existing material, substrate repairs, waterproofing where needed, setting materials, grout, edge details, disposal, and cleanup. Confirm who supplies each finish and what happens if hidden conditions are found after demolition. A clear scope helps make proposals more useful to compare.
- Material: Compare the exact product, size, finish, and quantity, including an allowance for cuts and future spare pieces.
- Preparation: Check what substrate work and waterproofing are included for the particular room.
- Layout: Ask how a pattern, small-format tile, niches, or many edge cuts change the installation plan.
- Care over time: Consider the cleaning and grout maintenance the chosen surface will require.
Value is a balance of appearance, suitability, upkeep, and installation demands. A more expensive tile may be worthwhile when its specific performance or design meets a real need. A less costly ceramic tile may be a sensible choice for a wall or backsplash where its properties fit the use. Match the product to the job before deciding that one category is automatically better.
For example, imagine comparing a richly patterned porcelain floor tile with a simple ceramic wall tile. The floor product may be a strong fit for the traffic and design plan, but it could require more careful drilling around fixtures. The wall tile may be easier to cut and could deliver the desired color at a lower material cost. Comparing these products by a single price-per-piece number would miss their different roles and installation needs.
How can you choose the right tile for your project?
Use a short decision process to narrow the options without treating either material as a universal winner. Bring the manufacturer’s information into the conversation, and work through one surface at a time:
- Name the location. Identify whether the tile is for a floor, backsplash, bathroom wall, shower wall, or shower floor. Avoid assuming that a product approved for one surface is approved for another.
- Check the product rating. Confirm the tile is intended for that specific use and review its technical and care information. Note any installation conditions listed by the manufacturer.
- Assess water and traffic. Consider how often the surface gets wet, how much foot traffic it receives, and how it will be cleaned. Include the needs of the people who use the room.
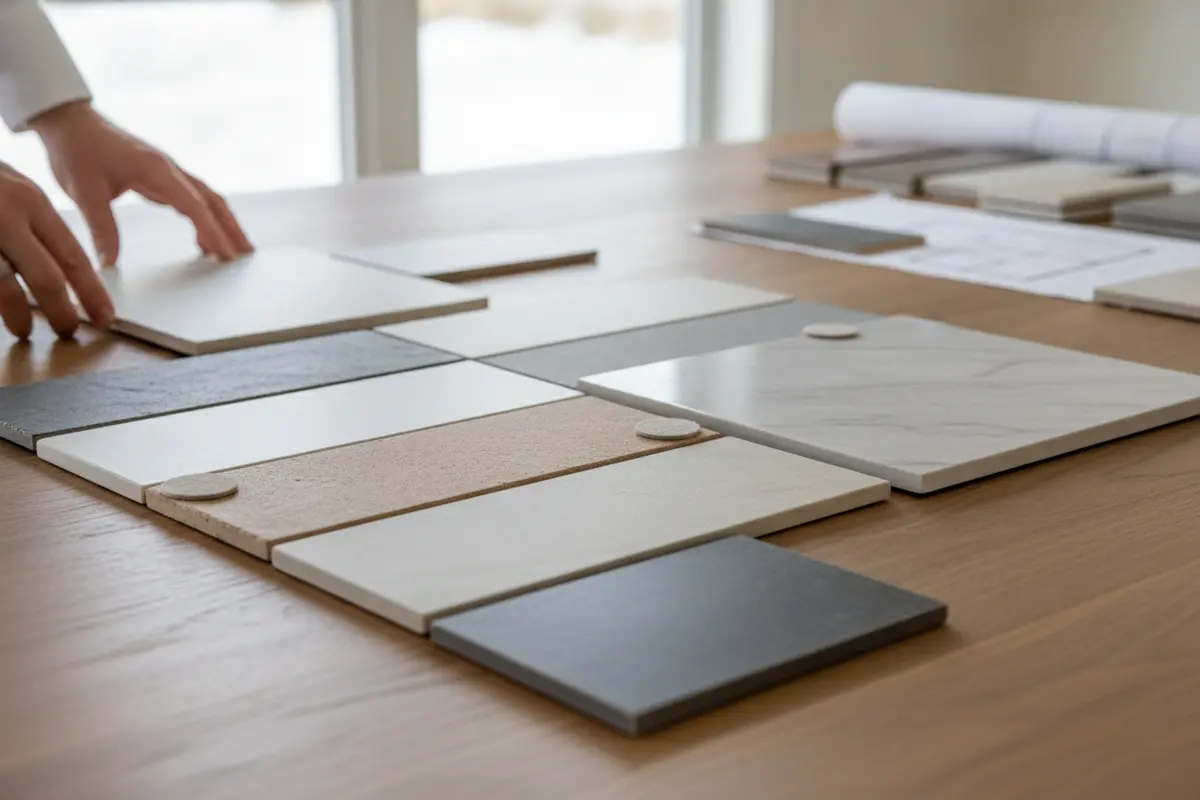
- Compare touch and appearance. View samples in the room’s light. Look at color variation, texture, sheen, and how the grout changes the pattern.
- Review installation details. Confirm the layout, cuts, edges, setting materials, substrate, waterproofing, and transitions.
- Compare full project scopes. Consider material and labor together, not just the price printed on a sample label.
Bring actual cabinet, counter, or paint samples when comparing tile. Look at a larger sample if the product has strong variation, and view it in both daylight and the room’s planned lighting. If you are planning a full kitchen project, this kitchen remodeling planning guide can help organize decisions beyond the tile itself.
A simple comparison note can prevent a rushed decision. For each finalist, record the intended location, product rating, finish, grout option, cleaning guidance, layout notes, and total installed scope. Then compare the two candidates for the same surface. This keeps a decorative wall tile from being judged against a floor product as if they were interchangeable.
When possible, view the sample vertically if it will be on a wall and horizontally if it will be underfoot. Observe it from the distance people will normally see it. A tiny sample may hide variation across a large floor or shower. Ask how much variation to expect and what the installed field may look like. These checks make the selection more concrete without requiring you to choose porcelain or ceramic by reputation.
Review tile and project scope with our team
Frequently Asked Questions
Is porcelain tile always better than ceramic tile?
No. Porcelain is denser and typically absorbs less water, but the right choice depends on the product rating, room, finish, installation, and budget. Ceramic tile can be suitable for many walls and backsplashes, and some ceramic products are made for floor use.
Can ceramic tile be used in a shower?
Some ceramic tiles are approved for shower walls, but check the product’s intended use and installation instructions. Shower floors have additional requirements for slope, drainage, and underfoot performance. The waterproofing system behind the tile is essential in either case.
Does porcelain tile need less maintenance?
Not necessarily. Porcelain’s low absorption can help in some applications, but grout, surface finish, and the manufacturer’s care guidance still matter. Both porcelain and ceramic tile need cleaning appropriate to their finish and grout.
Which tile is easier to cut?
Many ceramic tiles are easier to cut than porcelain because they are less dense. The exact product, thickness, shape, and cut all affect the work, so an installer should confirm the right tools and approach before installation.
Ready to plan a tile selection that fits the room?
Discuss your kitchen or bathroom tile plans with our team so the product, layout, and installation scope work together. A room-by-room plan can help you compare the options with the way you want to use your home in mind.