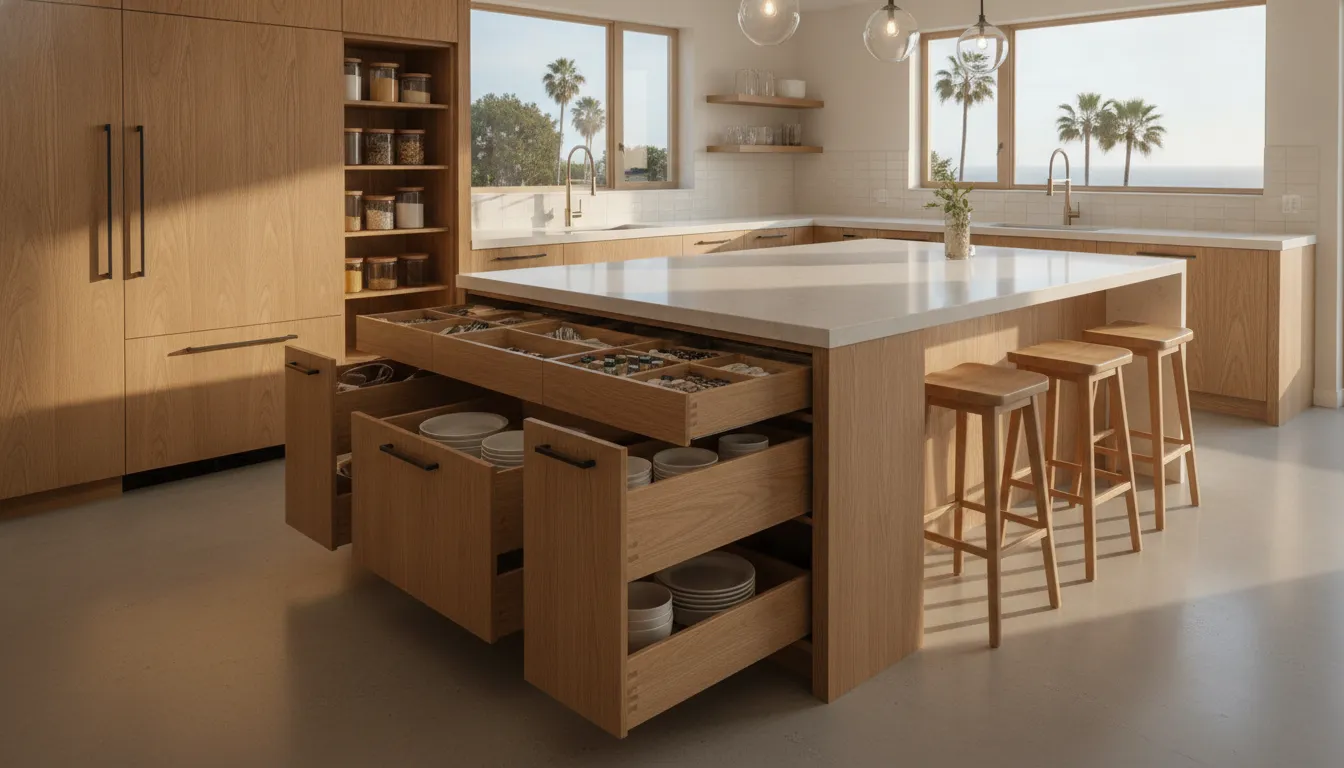
Choosing a backsplash is not only a tile decision. The height of the backsplash affects how the wall relates to the countertop, upper cabinets, windows, outlets, range hood, and open shelving. A backsplash that stops at the counter can create a clean, economical look. A taller installation can protect more of the wall and make the kitchen feel more finished. The right choice depends on your layout, cooking habits, cabinet plan, and the visual balance you want.
Schedule a kitchen design consultation with King Remodeling.
This guide explains how to evaluate kitchen backsplash height before ordering tile or approving a remodeling plan. It focuses on the decisions that matter in a San Diego kitchen, including counter-to-cabinet proportions. Range areas, windows, outlets, material transitions, and the relationship between the backsplash and the rest of the room.
Start with the wall and the work happening in front of it. A backsplash should support cleaning, protect vulnerable surfaces, and give the kitchen a deliberate visual rhythm. It should not be selected as an isolated strip after every other decision has already been made.
What Is the Best Kitchen Backsplash Height for Your Layout?
There is no single backsplash height that works for every kitchen. The best stopping point is the one that responds to the wall’s architecture and the elements installed around it. A short backsplash may be appropriate when the counter meets a painted wall and the design calls for a simple transition. A full-height backsplash can extend to the underside of upper cabinets, a hood, a shelf, or the ceiling in a selected area.
Look at the vertical space above the counter before choosing a measurement. If the counter sits beneath standard upper cabinets, the backsplash may fill the gap between the two surfaces. If there are no upper cabinets, the tile can stop at a planned line or continue to a stronger architectural endpoint. Stopping in the middle of an open wall can look intentional when it aligns with a shelf, window trim, or other feature. It can also look accidental when the line has no relationship to anything else.
How does the wall layout change the decision?
Measure each wall separately. Kitchen walls rarely behave like one uninterrupted rectangle. A window may lower the available tile area. A tall cabinet may interrupt one run. A refrigerator panel, pantry, or exposed side wall may require a different termination detail. Mapping these conditions before installation helps prevent a backsplash line from ending at an awkward point.
- Between counter and upper cabinets: Use the cabinet line as a natural visual endpoint when the proportions work.
- Behind a range or cooktop: Consider a more protective and visually prominent treatment because this area receives more heat, splatter, and attention.
- Behind open shelving: Continue the material to the planned shelf height or use the shelves to establish a clear stopping point.
- Beside a window or tall cabinet: Plan the side termination so the tile edge looks finished from the room, not only from directly in front of the counter.
A design-build process can make these intersections easier to resolve because cabinet, countertop, tile, lighting, and construction decisions are reviewed together. King Remodeling offers kitchen remodeling services that bring those parts into one project conversation. For a broader look at the scope, visit the San Diego kitchen remodeling service page.
Should a Backsplash Stop at the Counter or Continue Higher?
A counter-height backsplash usually rises a short distance above the countertop. This approach can be practical when the wall finish is meant to remain the main visual field. When upper cabinets are absent, or when a project needs a restrained transition. It also allows the backsplash material to be used selectively rather than across the entire wall.
A taller backsplash can extend to the bottom of the upper cabinets or another defined boundary. This treatment gives the tile more presence and can make a kitchen feel cohesive when the same material connects the counter to the cabinets. It may also reduce the number of painted wall areas exposed to cooking messes. The added coverage is not automatically better, though. The tile, grout, pattern scale, and surrounding finishes still need to suit the room.
What are the strengths of each approach?
- Counter-height installation: Creates a lighter wall treatment, uses less tile, and can suit a simple or budget-conscious design.
- Cabinet-height installation: Creates a stronger finished plane between the counter and cabinets, protects more of the wall, and gives patterned tile more room to read.
- Full-height feature area: Draws attention to a range wall, sink wall, or other focal point, especially when the material continues behind a hood or open shelves.
Use the room’s focal points to decide where extra height adds value. A full-height installation behind the range may create emphasis without requiring every wall to use the same treatment. Conversely, a continuous backsplash across several walls can make a small or irregular kitchen feel more unified. The best plan is specific to the room, not based on a rule that every backsplash should be short or full height.
Think about maintenance as well as appearance. More tile means more grout and more surfaces to clean, but it may also mean more protection in areas where cooking activity reaches the wall. Ask how the chosen tile and grout will perform in the locations where they will be installed. Review the plan beside the cabinet elevations rather than judging backsplash height from a loose sample.
How Should Backsplash Height Work Around Cabinets, Windows, and Shelves?
Cabinet elevations should guide backsplash planning. The tile line needs to meet cabinet sides, bottoms, and end panels cleanly. If upper cabinets step up, stop, or change depth, the backsplash may need a transition rather than one flat assumption. The same is true when a hood or open shelf replaces a cabinet.
Cabinet transitions
Where the upper cabinets end, decide whether the backsplash will end with them or continue across the open wall. Continuing the tile can create a connected appearance, but the exposed edge needs a finished trim or a carefully selected tile profile. Stopping at the cabinet can look orderly when the cabinet creates a strong boundary. Either approach should be shown in the elevation before installation.
Windows and natural light
A window can become a useful endpoint for the backsplash. Tile may wrap the sides of the opening, stop at the sill, or continue to a nearby cabinet line. The choice depends on the window trim, sill depth, moisture exposure, and the amount of wall visible from the rest of the room. Avoid creating a narrow sliver of tile beside the casing unless the layout makes that detail look intentional.
Open shelves and display areas
Open shelves make backsplash height more visible because the material becomes the background for displayed items. A simple tile can support open shelving without competing with dishes and decor. A patterned tile can become a focal surface, but the shelf spacing, grout lines, and objects placed in front of it should be considered together. The shelf should not appear to float at an arbitrary height above a backsplash that has no clear endpoint.
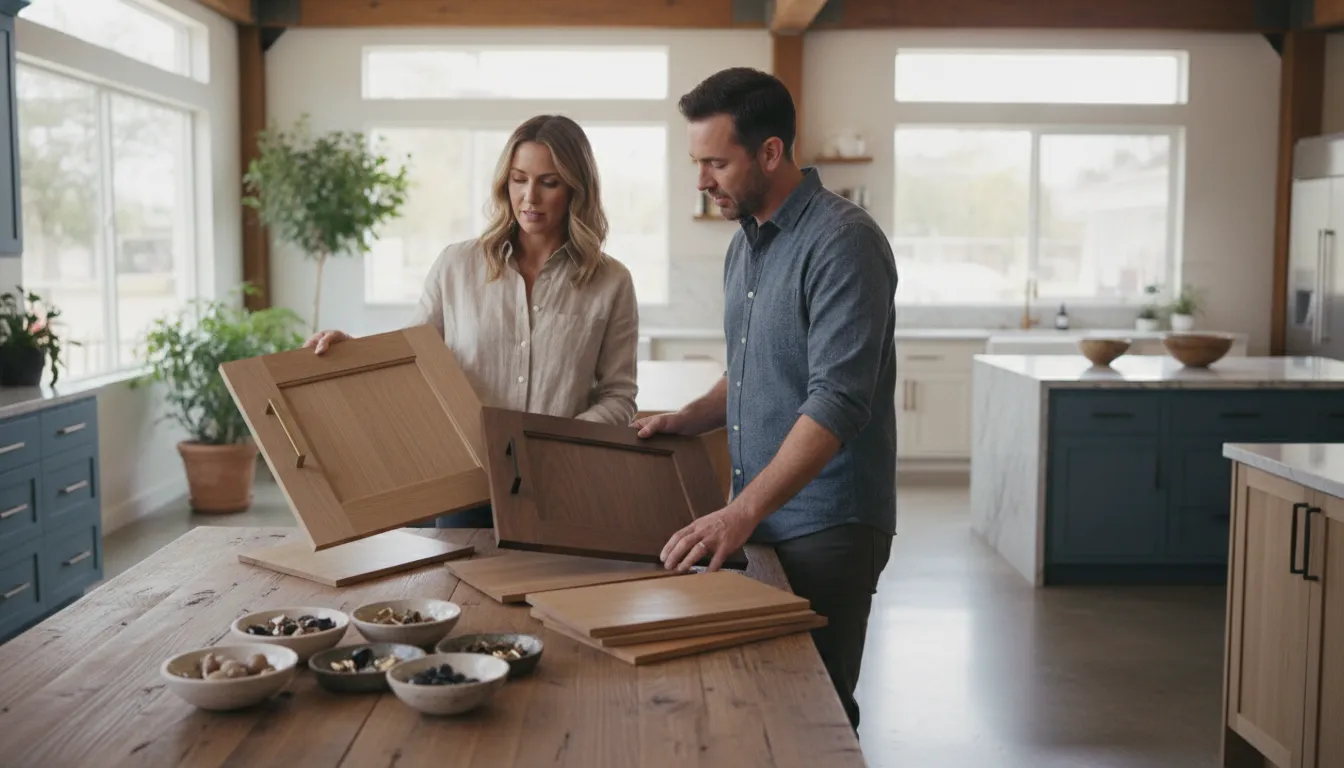
Bring these details into the cabinet design stage. King Remodeling’s showroom includes kitchen vignettes, working displays, cabinet lines, hardware collections, and material samples. Seeing a backsplash sample beside a cabinet door and countertop can reveal proportion issues that are difficult to identify from a small tile alone. The King Remodeling showroom is a useful place to compare these selections in context.
Where Should the Backsplash Go Behind a Range or Sink?
Range and sink walls deserve special attention because they combine daily use with strong visual focus. Behind a range or cooktop, the backsplash sits near cooking splatter and may be framed by a hood, cabinets, or open shelving. Behind a sink, the material must relate to the faucet, window, lighting, and countertop edge. These areas may use the same height as the rest of the kitchen, or they may receive a deliberately different treatment.
Range and cooktop areas
Start by identifying the true boundaries of the cooking zone. A hood can establish a wider or taller focal area. If the hood is narrower than the range wall, decide whether the tile follows the hood, the cooktop, the cabinet run, or a larger centered composition. The answer should be visible in the elevation before the tile is ordered.
Pattern and scale matter here. Small mosaics can create many grout lines across a prominent wall. Large-format tile can reduce visual interruption but may require careful cuts around outlets and hood components. A decorative accent can work when it supports the room’s palette and does not compete with cabinet doors or a heavily patterned counter.
Sink and preparation areas
At a sink, backsplash height can reinforce the relationship between the counter, faucet, and window. If a window sits directly above the sink, the backsplash may rise to the sill or wrap the opening. If the sink is under cabinets, the standard cabinet line may be the cleanest endpoint. Consider the faucet reach and any wall-mounted accessories before finalizing the tile field.
Lighting should be coordinated at the same time. Under-cabinet lighting can change how grout, texture, and gloss appear. A tile that looks quiet in a showroom may reflect more light once it is installed beneath a continuous fixture. Check samples in both daylight and the planned artificial light. This is one reason backsplash decisions belong in the larger remodeling plan rather than at the end of the finish schedule.
How Do Tile Size, Pattern, and Grout Affect Perceived Height?
The physical height of a backsplash and its perceived height are not always the same. Tile size, orientation, pattern repetition, grout color, and lighting can make a short installation feel taller or make a full-height installation feel visually busy. Evaluate the complete composition instead of selecting a measurement in isolation.
- Vertical tile layout: Can draw the eye upward and emphasize the wall’s height.
- Horizontal tile layout: Can reinforce the width of a counter run and make a compact wall feel broader.
- Large-format tile: Can create fewer visual interruptions but requires careful planning for outlets, corners, and seams.
- Small-format tile: Can add texture and detail, but its grout pattern needs to be considered across the entire field.
- Contrasting grout: Makes the pattern more visible and can become a design feature.
- Related grout: Lets the tile surface read more continuously and may create a quieter background.
Use the actual room proportions to test the effect. A narrow vertical strip of bold tile may look busy if it is interrupted by several outlets. A full-height slab or large tile may make sense on a range wall but feel too heavy on a small side wall. If multiple tile formats are used, establish where the transitions occur and how their lines relate to cabinets and counters.
Review a larger sample or a layout board whenever possible. A single two-inch sample cannot show how a pattern will move behind a hood, window, outlet, or corner. It also cannot show how the backsplash will relate to the countertop’s veining or the cabinet finish. A coordinated material review can prevent a height decision that looks correct on paper but feels unbalanced in the finished kitchen.
What Should You Confirm Before Ordering Backsplash Tile?
Backsplash installation is easier to manage when the design decisions are settled before materials are purchased. Confirm the dimensions, endpoints, outlets, appliances, trim, grout, and lighting with the people responsible for the cabinet and construction plans. A written checklist can expose conflicts while they are still easy to correct.
- Confirm the cabinet elevation. Mark upper cabinet bottoms, tall cabinets, hoods, shelves, windows, and exposed ends. The backsplash height should be drawn against these elements.
- Mark countertop and appliance locations. Include the counter edge, range, sink, refrigerator, small appliances, and any appliance garages. These locations influence where protection and visual emphasis are most useful.
- Locate outlets and switches. Decide whether existing electrical locations remain or move. Tile cuts and outlet covers should be considered before installation begins.
- Choose the material and grout together. Review color, sheen, thickness, edge treatment, maintenance expectations, and pattern direction. Do not approve the tile while leaving grout as an afterthought.
- Define every stopping point. Identify where the backsplash meets painted wall, trim, a window, an appliance, a cabinet side, or another tile. Each exposed edge needs a clean finish.
- Review lighting and sightlines. Check the backsplash from the entry, dining area, and main work zones. Confirm how daylight and under-cabinet lighting affect the surface.
- Verify quantities and installation conditions. Account for cuts, pattern matching, corners, waste, substrate preparation, and any changes to the wall surface before placing the order.
This review also helps separate a design preference from a construction requirement. A homeowner may prefer a full-height backsplash for its appearance, while the installer may need a different substrate or trim detail at a window. Solving those questions during design supports a cleaner installation and a more predictable project.
For guidance on coordinating cabinets, counters, tile, and other kitchen materials, review the cabinet and countertop planning guide. The goal is a backsplash height that looks intentional, protects the surfaces that need it, and works with the way your household uses the kitchen.
Contact King Remodeling before you finalize your backsplash plan.
Frequently Asked Questions
How high should a kitchen backsplash be?
The right height depends on cabinets, windows, appliances, and the design boundary. A counter-height, cabinet-height, or feature-wall treatment may all be appropriate.
Should a backsplash go all the way to the upper cabinets?
It can, especially when the cabinet line creates a clear endpoint. A shorter backsplash may suit a painted-wall design or a room with open vertical space.
Is full-height backsplash tile practical behind a range?
It can protect and define the cooking area, but the tile, grout, hood, outlets, and installation conditions should be coordinated first.
How do windows affect backsplash height?
A window may establish a stopping point at its sill, require tile to wrap its sides, or call for a transition to nearby cabinets.
When should backsplash height be decided?
Decide it during cabinet and countertop planning, before outlets, lighting, tile quantities, and installation details are finalized.
Plan Your Kitchen Backsplash With King Remodeling
Kitchen backsplash height works best when it is planned with the cabinet elevations, countertop, lighting, appliances, and room sightlines. King Remodeling’s integrated design-build process can help San Diego County homeowners review those connected choices before installation. Bring photos, measurements, inspiration, and a list of daily kitchen frustrations to the conversation.
Schedule your San Diego kitchen design consultation with King Remodeling.