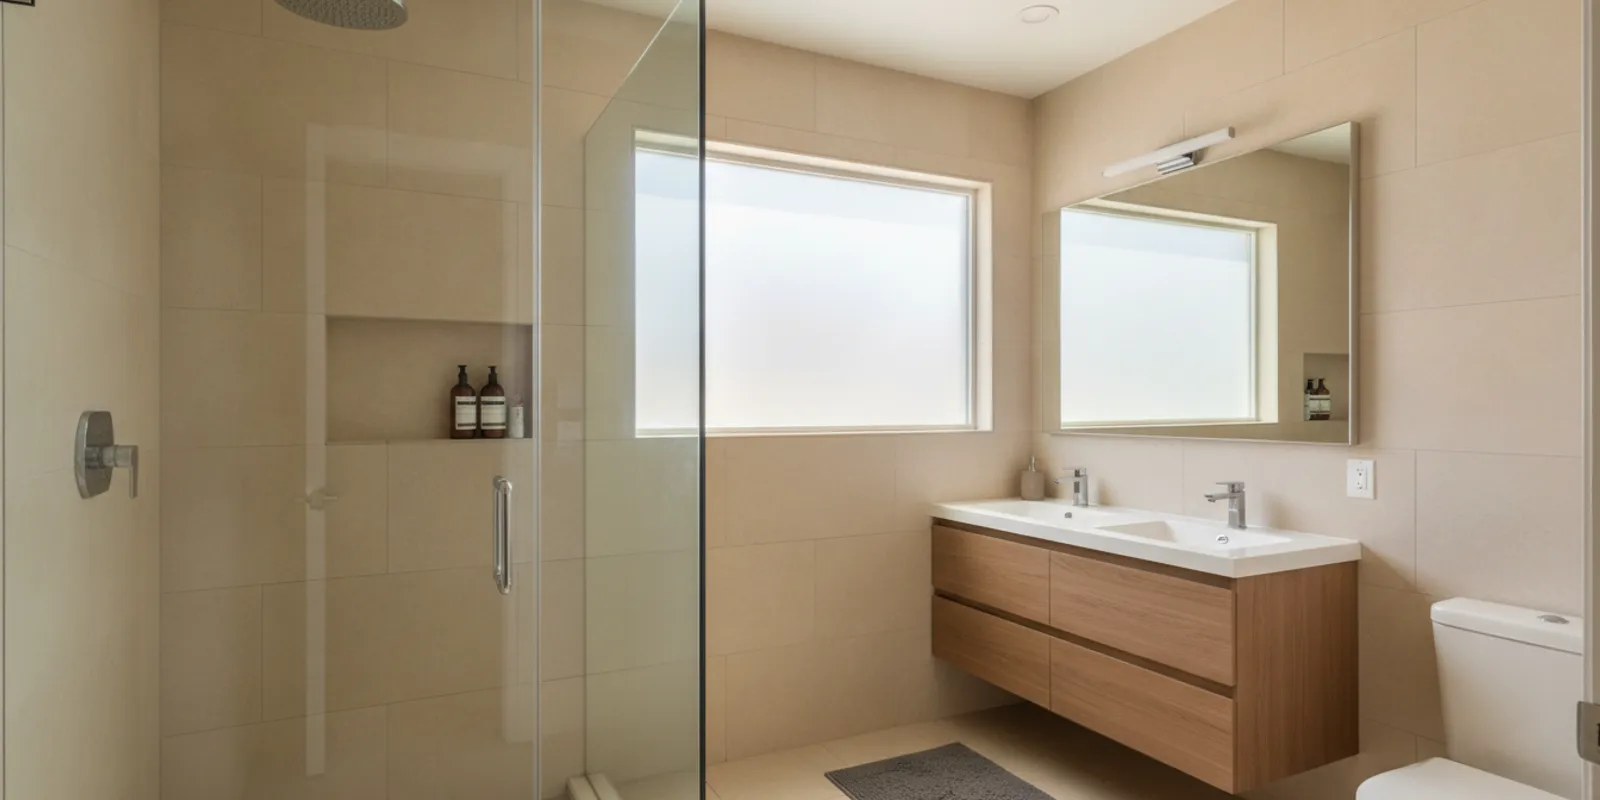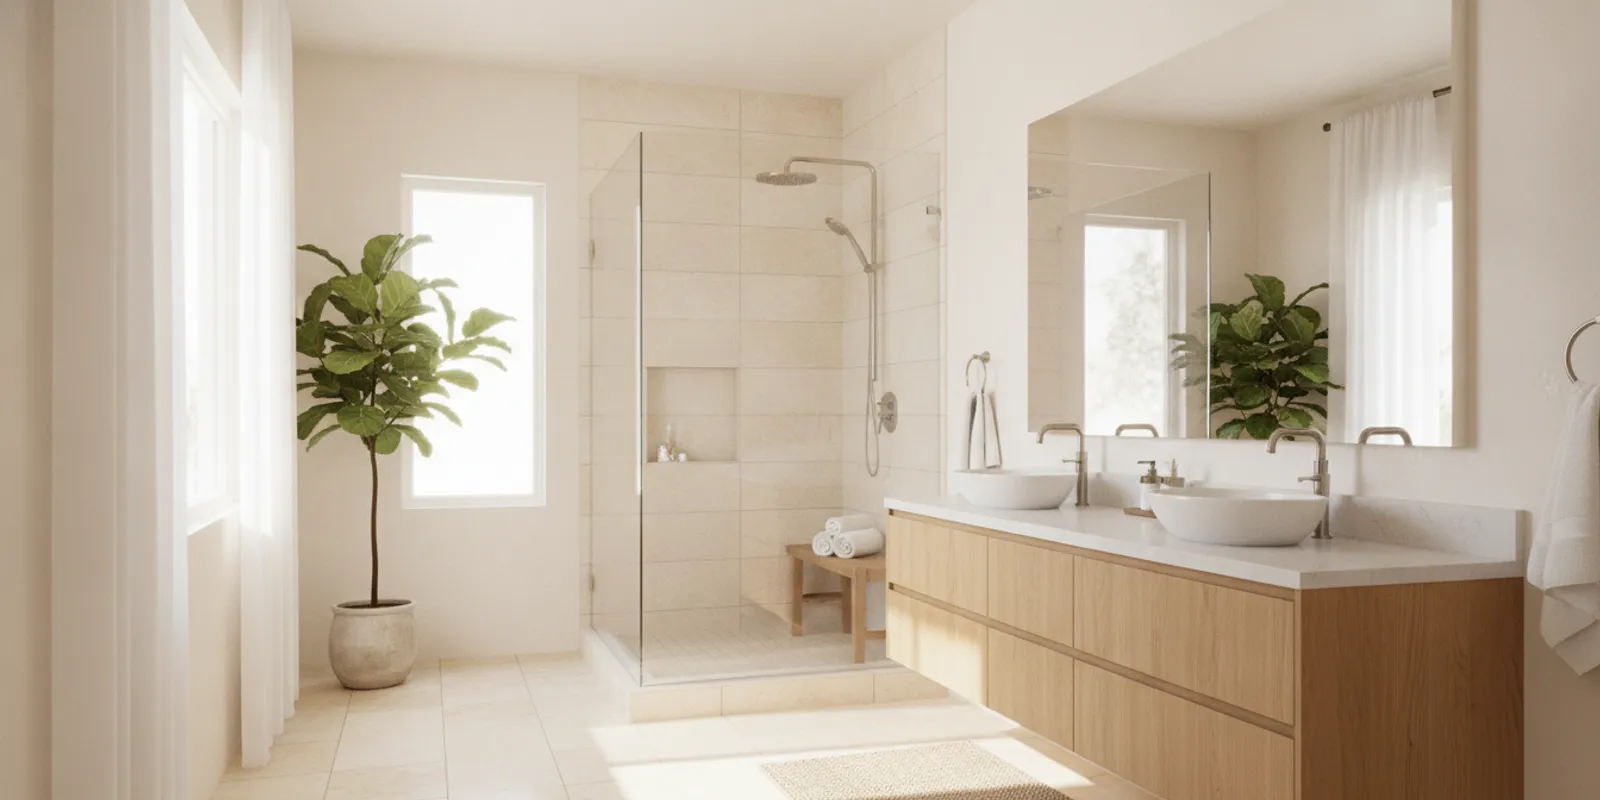
A well-planned shower niche keeps everyday products close without adding a bulky shelf. The best shower niche ideas begin with how you use the shower, then account for wall space, bottle sizes, tile patterns, and water management. A little planning before tile selection can help the niche feel integrated rather than like an afterthought.
What should you decide before choosing a shower niche?
Begin with the routine, not the shape of the recess. Make a list of the products used in the shower on an ordinary day: shampoo, conditioner, cleanser, soap, shaving items, and anything shared by other household members. Then separate daily essentials from occasional products. A niche designed to hold every spare bottle can become crowded; a compact space for the items used most often may be more convenient and simpler to clean.
Measure the tallest containers with their caps or pumps in place. Note the width of the widest bottle and whether it needs room to be lifted out without tipping neighboring products. If products are stored in a basket or have an unusual shape, include that in the plan. Measurements are a practical starting point, not final construction dimensions: tile, waterproofing, and shelf details affect the finished interior.
Next, think through the users and their movements. Who reaches for products, where do they usually stand, and which hand is likely to be free? A niche should be reachable without leaning across a strong spray or twisting around a door. If children or people with limited mobility use the shower, their reach and balance deserve attention. A single location may not serve everyone equally, so separate storage areas or a different kind of shelf could be worth considering.
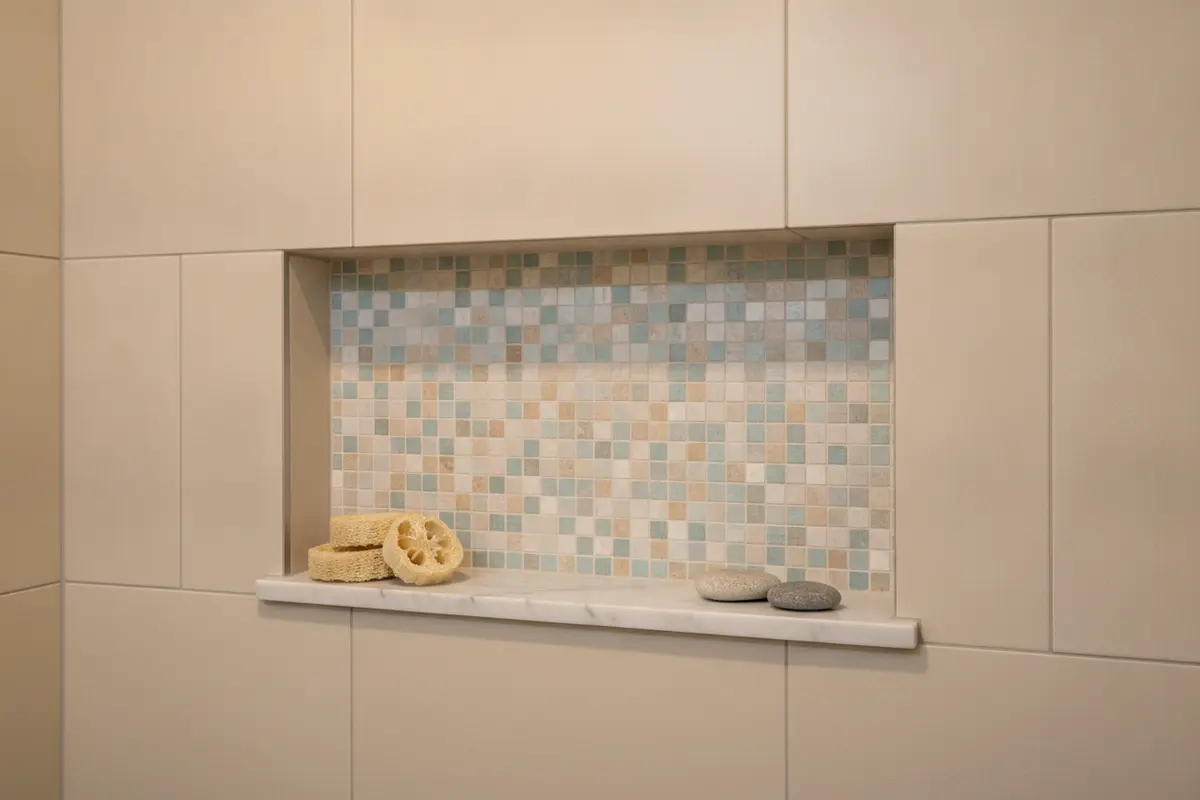
Finally, decide how prominent the niche should look. A matching tile interior can make a recess quiet and integrated. A contrasting tile, stone shelf, or carefully aligned border can turn it into a feature. Look at the shower from outside as well as while standing in it, since clear glass can make the niche a visible part of the room.
- List the products and measure the tallest and widest containers.
- Note the shower head, controls, glass, door swing, and usual standing area.
- Choose whether storage should blend in or act as a design feature.
- Consider who uses the shower and how the finished surfaces will be cleaned.
Where should a shower niche go?
Placement balances convenient reach, water exposure, wall construction, and the overall composition of the shower. A side wall near the normal standing position may be comfortable to use, while a niche directly in the path of the shower head may receive more spray. The best answer depends on the enclosure, fixture locations, and the way a person moves through the space.
Map the shower head, controls, glass panels, and door swing before choosing a wall. Consider what happens when the door opens and whether the stored items will be easy to reach without stepping into an uncomfortable position. A niche opposite a fixed shower head may be less exposed to direct spray in one bathroom, but that is not a universal rule. Verify the actual spray pattern and the user’s standing position rather than relying on a generic diagram.
The wall cavity can narrow the choices. Framing, pipes, wiring, and other conditions may limit where a recess can be made. An exterior wall deserves particular review because altering it can affect insulation and moisture control. Have a qualified remodeling professional assess the specific wall before committing to a location. If the available cavity does not suit a recess, a surface-mounted caddy or a shelf in another location may solve the storage problem with fewer compromises.
When planning a broader update, coordinate the niche with the shower layout and other project choices. The bathroom remodel planning guide can help frame the wider decisions, while custom walk-in shower ideas offer context for thinking about enclosure and wall arrangements.
How high and wide should a shower niche be?
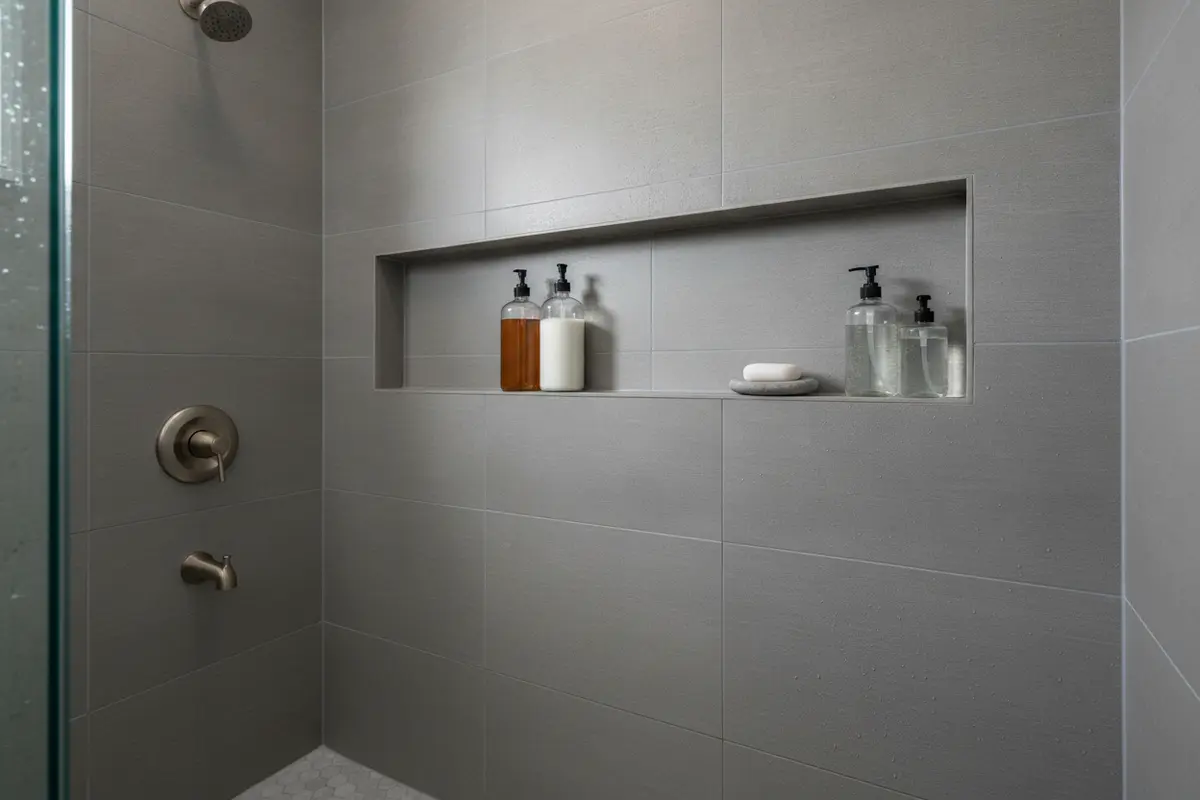
There is no one dimension that fits every shower. Usable height depends on the products, the shelf arrangement, and the available wall cavity. Width depends on how many items need to fit at once, their shapes, and whether storage is shared. The finished opening will be smaller than the rough framed opening after the waterproofing layers, tile, and edge treatment are installed.
For a useful design conversation, record the size of the bottles and bring those measurements along. Decide whether they need to stand upright, whether a pump needs room to operate, and how much space is needed to lift each item out. A bottle that fits on paper can still be awkward to retrieve if it is wedged between a side wall and a neighboring container.
Ask the designer or installer to state the finished interior width, height, and depth. Clarify whether a drawing labels the rough opening or the tiled opening. That distinction matters: the rough opening describes the cavity before finish layers, while the finished measurement is the storage space you will actually use. Avoid selecting a depth simply because it looks generous; products should sit securely and not project awkwardly into the shower.
The following comparison is a planning aid, not a construction specification. It describes functional trade-offs; the wall, chosen materials, and system details determine what is feasible.
| Storage approach | Works well when | Planning check |
|---|---|---|
| One compact niche | Only a few daily products need a home | Confirm the tallest bottle fits upright and can be lifted out |
| Wide single niche | Several products are used together | Check wall framing and how products will be grouped |
| Two-tier niche | Short items and tall bottles need separate spaces | Check clear height on each shelf after tile is installed |
| More than one niche | Users want separate storage or different locations | Confirm each opening is useful, reachable, and compatible with the wall |
Use an outline to judge proportion before construction. You can mark a proposed location with removable tape, then look at it from the shower and from the bathroom doorway. A paper mock-up helps reveal whether the niche seems too high, too wide, or visually crowded by nearby fixtures. It cannot confirm framing or waterproofing, so treat it as a visual check rather than permission to cut into a wall.
Consider a simple example: two people use the shower, one with tall pump bottles and one with several small skin-care containers. A single narrow compartment may technically fit the products but leave no practical grouping. A wider compartment with separate zones, or two appropriately located storage areas, may be easier to share. Conversely, if only two daily bottles need a place, a large feature niche could use wall space without improving the routine.
Should you choose one shelf or multiple shelves?
A single open compartment is flexible. It accommodates containers of different heights and can feel uncluttered if it is sized for the products rather than the maximum possible opening. Its drawback is that small items may be difficult to organize beside tall bottles, and everything shares one surface.
Multiple shelves create defined zones. They can separate short containers from taller ones or give each user a designated area. But each shelf reduces the clear height below it, and fixed spacing may not suit a future change in products. Before choosing a two-tier arrangement, compare the actual bottles with the clear dimensions of both compartments rather than dividing the total height evenly by eye.
Fixed shelves can provide a clean, integrated appearance. Removable accessories may make it easier to adjust storage, but only use products intended for the wet area and suitable for the selected surface. Ask how shelf edges will be finished, whether the surface tolerates the planned cleaning routine, and whether the form creates tight corners where residue could collect.
A built-in recess is not the only practical answer. A surface-mounted shower caddy can be simpler when the wall cavity is unsuitable or when you want storage without opening the wall. A corner shelf may use otherwise idle space, though it may not hold as much as a wider niche. Compare capacity, reach, visual effect, and upkeep. A recess is most useful when its location and construction make sense—not simply because it is a popular feature.
How can the niche work with the tile pattern?
Tile layout is easier to resolve before installation than after cuts are underway. Share the proposed niche location and dimensions when selecting tile. The designer or installer can consider grout joints, tile format, edge trim, and the size of border pieces so the opening looks deliberate. Large-format tile may create a simple frame, while smaller tile can follow the interior more closely. Each approach changes the number and shape of cuts.
Decide whether the niche should match or contrast with the surrounding wall. Matching tile can help the recess blend into the shower. A contrasting surface gives it more visual emphasis but can make the opening a focal point. A stone or solid-surface shelf may create a distinct horizontal line; confirm compatibility and detailing for the chosen shower assembly before making a selection.
For a quieter composition, ask whether the niche edges can align with nearby grout joints or other architectural lines. Exact alignment may not be possible because the wall dimensions, tile size, and framed opening all have to work together. Prioritize useful storage and sound detailing over forcing a pattern that would require narrow slivers or awkward cuts. Review actual samples together because a small sample viewed dry may not convey the effect of the entire tiled wall.
Include grout color and edge treatment in the same conversation. A close grout match can soften the grid; a contrasting grout may make every joint more visible. Metal trim, mitered tile edges, and other finish approaches create different visual lines and may suit different tile materials. Ask to see how the chosen edge detail meets the niche’s top, sides, and shelf so the decision is not left until installation.
What should you know about waterproofing?
A niche interrupts the shower wall, so its water-management details deserve careful attention. Tile and grout are finish materials; do not treat them as the only waterproofing layer. The assembly behind them must be designed and installed as a compatible system, and the niche must be integrated into the shower’s water-control approach.
Ask which waterproofing method is planned and how the niche connects to the surrounding shower walls. Confirm that corners, seams, and transitions will be handled according to the selected product system’s instructions. Ask how the shelf is detailed so water does not remain trapped. The exact construction approach depends on the materials and system; have the installer explain the project-specific plan rather than relying on a generic dimension or an image from an unrelated product.
It is also reasonable to ask who is responsible for reviewing the waterproofing before tile covers it, and whether the work will be inspected or tested under requirements that apply to the project. Clarify what documentation or checkpoints are part of the plan. These are practical questions about accountability, not a substitute for the installer’s technical details.
Permit and inspection questions depend on the project scope and local authority. For work in the City of San Diego, the City of San Diego website is a starting point for finding current municipal information; confirm which department and requirements apply to the property and proposed work. Other jurisdictions within the county may have their own processes, so do not assume every address follows the same rules.
Waterproofing is not a place to improvise or mix unrelated products without confirming compatibility. A clear plan names the system, the transitions, and the person responsible for the details. If you are comparing proposals, ask each contractor to describe the same points in writing. A specific explanation is more useful than a broad assurance that the niche will be waterproof.
Does lighting belong inside a shower niche?
Lighting can make a niche a design feature, but it adds electrical, waterproofing, and maintenance considerations in a wet location. It can also create glare on glossy tile or make water spots and residue more noticeable. Decide whether illumination solves a real visibility need or is mainly decorative before adding complexity.
If you are considering a light source, discuss it early with qualified professionals. They can confirm whether the proposed fixture, wiring, placement, and installation are suitable for the shower environment and applicable electrical requirements. Do not assume a general-purpose strip light is appropriate for a wet area. Ask how the light will be powered, serviced, and integrated with the selected shower assembly.
Compare an illuminated niche with a simpler alternative: effective room lighting outside the shower may provide enough visibility without putting a fixture in the recess. Layered bathroom lighting and thoughtful fixture placement can support everyday use while keeping the niche straightforward. Look at the finish samples under the lighting conditions you expect, since reflective surfaces can change how bright or busy the niche appears.
How can you make a shower niche easier to clean?
Every ledge and corner in a shower can collect water, soap residue, or product buildup. A simple shape with accessible surfaces is usually easier to wipe than a design divided into many small compartments. Choose finishes that fit your willingness to clean, and ask how the selected tile, grout, shelf, and any trim should be maintained.
The way the niche is stocked also affects upkeep. Leave enough room to remove bottles without knocking other items over. Group products so part of the shelf remains accessible for wiping. If several people share the shower, assign separate zones or select an arrangement that makes each person’s items easy to identify. A compartment packed from edge to edge can be frustrating to use and difficult to clean.
- Choose a shape that can be reached with a cloth or sponge.
- Limit unnecessary ledges and details that add hard-to-reach corners.
- Follow care instructions for the specific tile, grout, shelf, and sealants.
- Move products occasionally so the shelf and corners can be wiped.
- Notice whether a darker or highly reflective finish will show residue more readily in your bathroom’s lighting.
Think about maintenance before choosing a visually elaborate interior. A mosaic can create a detailed accent, but more grout joints may mean more lines to maintain. A simpler surface may be easier to wipe, although its suitability still depends on the material and the shower system. Ask for care instructions for the exact materials rather than assuming all tile, stone, and grout should be cleaned in the same way.
How do you coordinate a niche with the rest of the bathroom?
A shower niche should support the bathroom plan, not just the tile selection. Consider how its finish relates to the floor, shower walls, vanity, and hardware. Repeating one accent in a restrained way can help the room feel connected; layering several competing patterns may make a small shower feel busy.
Think about the complete enclosure and the views through the glass. A niche may be fully visible from the bathroom, partly concealed by a door, or angled toward the shower user. Those sightlines affect whether a contrasting feature makes sense. If you are weighing several looks, browse remodeling design inspiration and compare ideas with the actual room dimensions and routines.
Choose the niche’s location, finished size, shelf style, tile, and edge treatment alongside the shower fixtures. This helps identify conflicts before selections are final. For instance, the preferred accent tile might not align well with a proposed opening, or the fixture layout may leave a more useful wall than the one initially selected. A coordinated design conversation can address those interactions together. Learn about the remodeling process and review completed kitchen and bath projects for examples of finish combinations.
For material decisions, seeing samples together is more helpful than choosing each finish in isolation. Compare the wall tile, niche accent, shelf, grout, and metal trim side by side. Look at them both in bright and softer light. A dramatic accent in a small sample may dominate when repeated across an entire recess, while a subtle difference may disappear once the shower is viewed from the doorway.
How should you compare a niche with other storage options?
Start by matching the storage type to the problem you are trying to solve. A built-in niche keeps bottles off the floor and can become part of the tile composition, but requires a suitable wall and careful integration with the shower assembly. A surface caddy avoids creating a recess and can be changed later, but may be more visible and may need its own cleaning. A corner shelf can use a small area effectively, but its capacity and reach may be limited.
Imagine a shower where the only available wall contains plumbing or framing that makes a recess impractical. In that case, choosing a niche simply to achieve a particular look could add complexity without delivering useful storage. A caddy or shelf might be the more sensible choice. In a different shower with a suitable wall cavity and several daily products, an integrated niche may keep the floor clearer and reduce visual clutter. Compare the actual constraints instead of treating one option as universally superior.
Ask whether your storage needs are fixed or likely to change. A permanent niche is part of the finished wall; it cannot be repositioned as easily as a removable organizer. If household routines or product sizes may shift, flexible storage can be valuable. If a remodel is already addressing the shower walls, it may be a good opportunity to plan built-in storage—but only if the wall and construction details support it.
What should you ask before work begins?
Before construction, make sure the plan is specific enough to guide the team. A sketch can show location and approximate size, but pair it with finished dimensions, material selections, and an agreed water-management approach. Ask how decisions will be documented if a hidden condition requires a change. A written plan can prevent a misunderstanding about whether a drawing showed the rough opening or the final usable recess.
- What are the finished interior dimensions, and what are the rough opening dimensions?
- Where will the niche sit in relation to the shower head, controls, glass, and normal standing position?
- Has the wall been checked for framing, plumbing, insulation, or other constraints?
- How will the waterproofing system connect through the niche and its corners?
- Who will review the waterproofing before it is covered, and what testing or inspection applies?
- How will the tile pattern, grout joints, shelf, and niche edges be coordinated?
- What cleaning guidance applies to the selected surfaces?
- Are there permit or inspection requirements for this specific project scope and jurisdiction?
Look for clear answers, not just a picture of the intended appearance. Useful answers should connect the design to actual products, wall conditions, materials, and installation details. If a hidden condition forces a change, ask how the revised size or location will be approved before work proceeds. A small adjustment can affect bottle fit, the tile layout, or the relationship to nearby fixtures.
If the niche is one part of a larger bathroom update, review bathroom remodeling options and showroom material selections as you compare the room’s finishes. You can also use the remodeling services overview to see the broader project context. Make the storage decision while layout and tile choices are still being coordinated, rather than waiting until the wall is ready for tile.
Frequently Asked Questions
Can a shower niche be added to an existing shower?
It may be possible, but feasibility depends on the wall, plumbing, framing, and existing waterproofing. Adding a recess can require opening and rebuilding part of the shower wall. Have a qualified professional inspect the conditions before deciding whether a niche or surface-mounted storage is the better option.
Should a niche be on the same wall as the shower head?
Not necessarily. Placement depends on the spray pattern, reach, wall construction, and layout. A location exposed to direct spray may need more frequent wiping, while a position too far away can be inconvenient. Review the specific shower arrangement with the installer.
What belongs in a shower niche?
Store the products used in the shower, such as shampoo, conditioner, soap, or a razor. Measure containers before finalizing the opening. Keeping the contents limited makes items easier to reach and leaves the niche easier to clean.
Is a larger niche always better?
No. A bigger opening can provide more storage, but it may use valuable wall space, complicate tile layout, or be difficult to fit into the framing. Choose dimensions based on actual products and users, then confirm that the wall and waterproofing design can accommodate them.
Do I need a permit to add a shower niche?
Permit requirements depend on the project scope and local rules. A niche included in a larger shower renovation may be treated differently from a cosmetic change. Check with the relevant local building authority and ask the contractor which approvals and inspections apply.
Make the niche fit the way you use the shower
The most useful niche is not necessarily the biggest or most decorative. It is the one that fits the products, users, wall, and tile plan while being integrated into a clearly explained waterproofing approach. Measure what you store, review the layout from more than one viewpoint, and resolve the finish and construction questions before work begins.