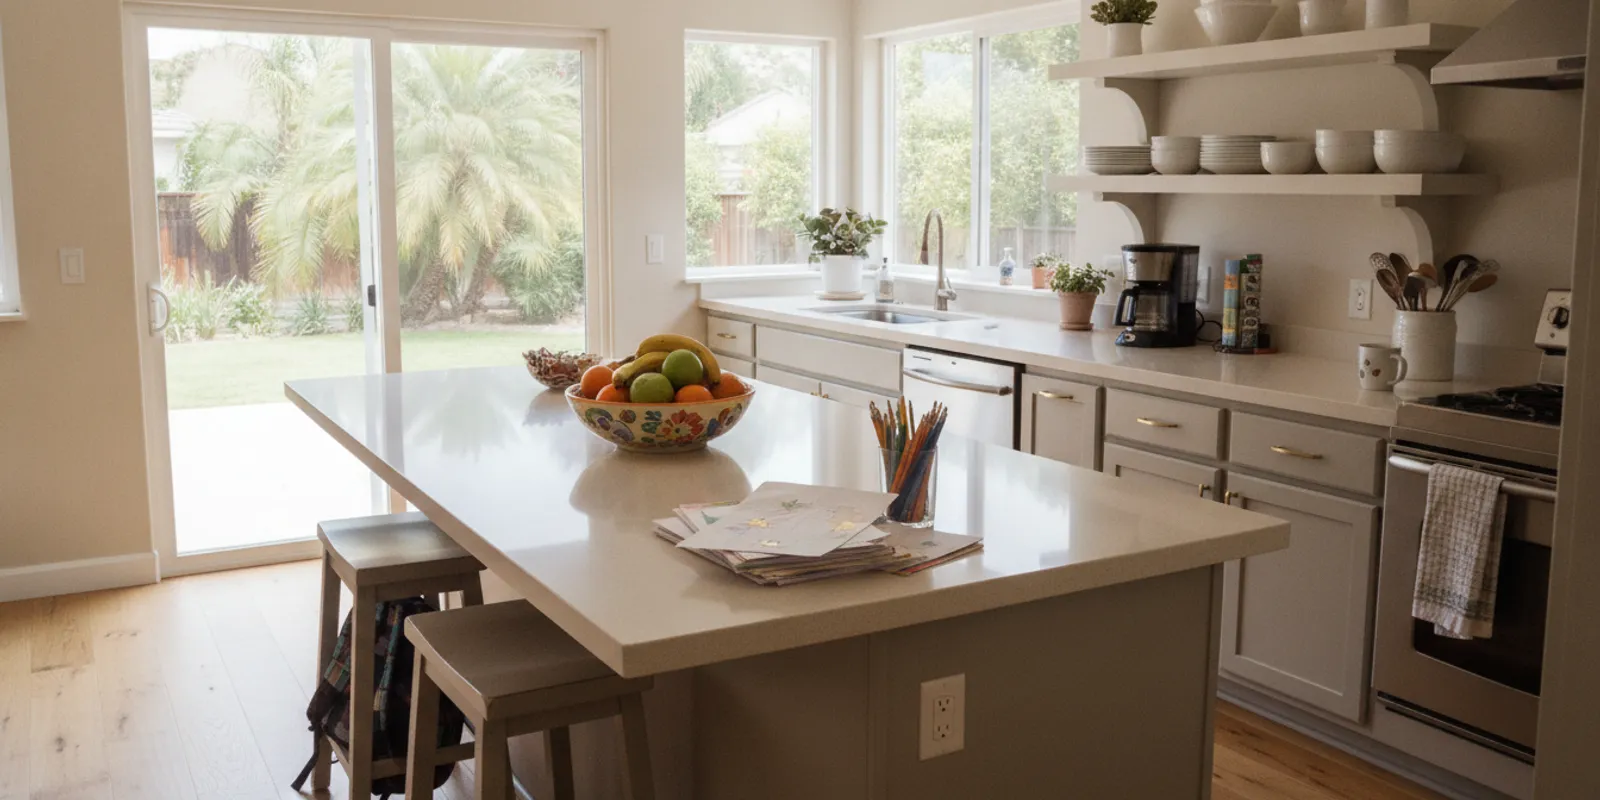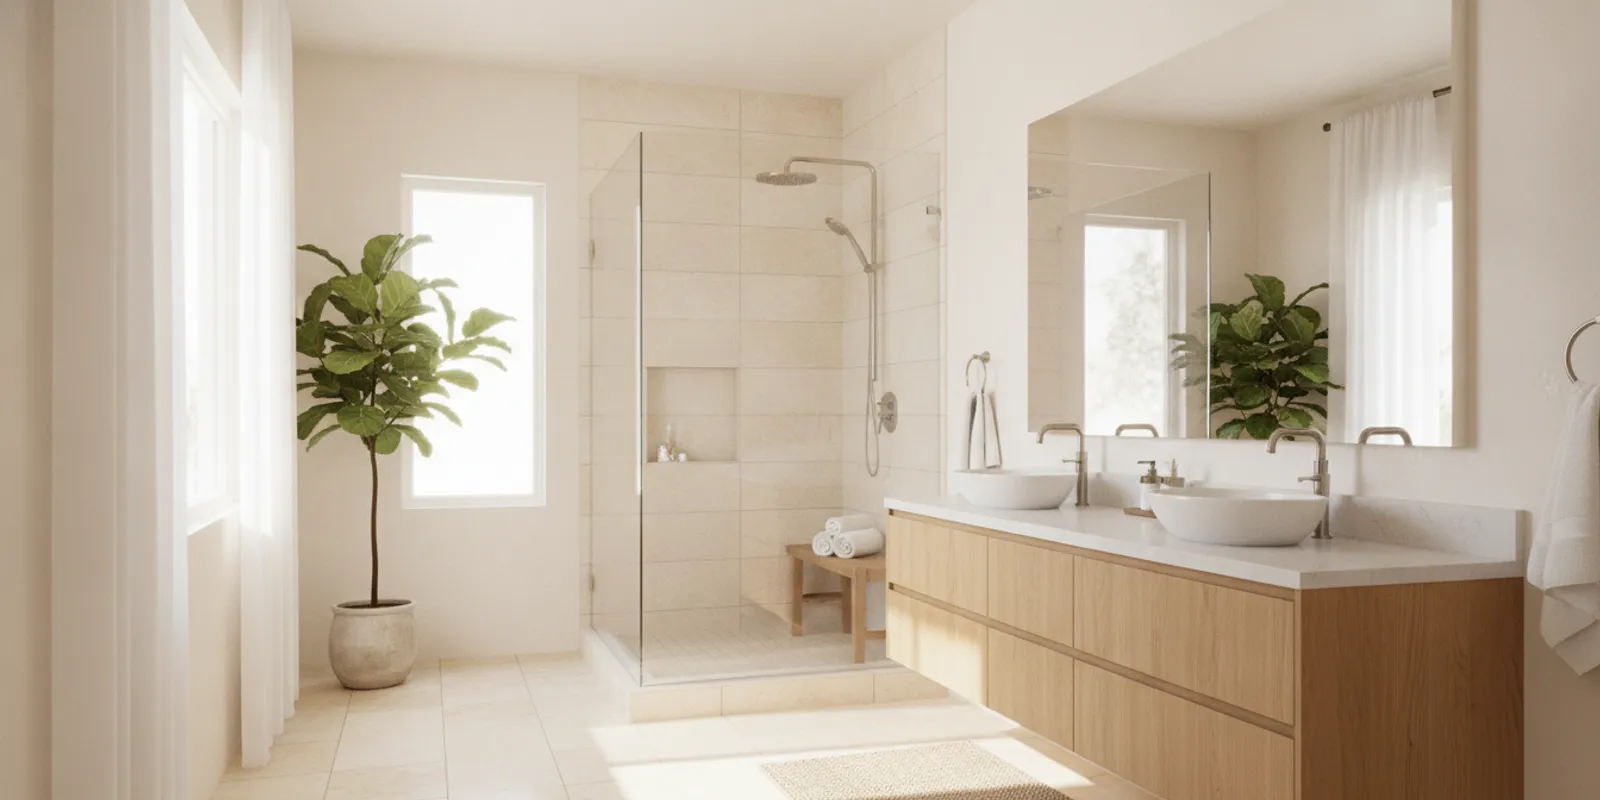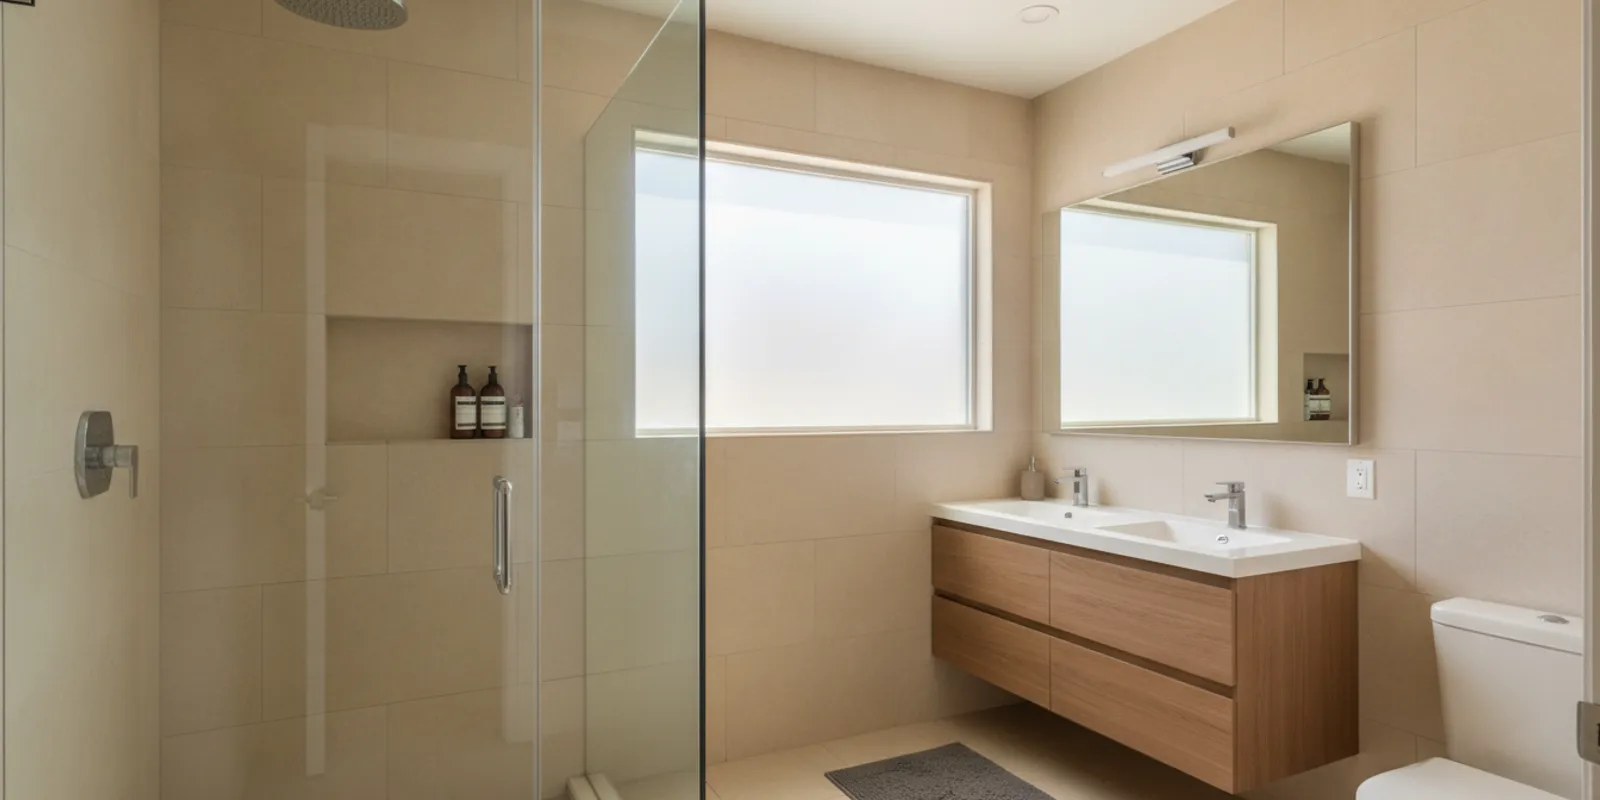
Learning how to remodel your bathroom with a shower window starts with a practical question: can the opening be made reliably water-resistant while preserving the light, privacy, and function you want? A window inside a shower is not automatically a problem, but its frame, sill, surrounding wall, and exposure to spray all need careful planning before tile or other finishes are chosen.
What should you inspect before planning around the window?
Begin by documenting the existing conditions. Note the window’s width and height, its position relative to the showerhead, and whether the sill or lower frame receives direct spray. Look for soft trim, peeling paint, stains, cracked caulk, musty odor, or visible signs of moisture. These observations do not reveal hidden damage, but they help frame useful questions for the project team.
Check how the window opens and whether you can reach its latch safely. Consider sightlines from outdoors, nearby homes, and walkways. Also determine whether the proposed enclosure could block the sash or make it difficult to clean. Separate the issues into categories: water exposure, privacy, ventilation, operation, and appearance. That makes it easier to solve the actual problem instead of replacing a window for a concern that could be addressed another way.
- Photograph the window, sill, frame, and surrounding wall from inside and outside where accessible.
- Record approximate dimensions and the distance from the showerhead and controls.
- Note where water routinely lands during a shower.
- List privacy and ventilation concerns separately from finish preferences.
- Flag signs of leaks or deterioration before selecting new finishes.
Do not assume that a bead of caulk is a complete waterproofing plan. The finished assembly needs a coordinated approach at the frame, sill, wall layers, and adjoining tile. If demolition reveals deterioration or an active leak, pause finish decisions until the cause and repair scope are understood.
How should the shower layout work with the window?
Plan the entire shower around the opening rather than treating the window as an isolated feature. If the room allows, place the showerhead on a wall that does not aim water at the window. Consider spray direction from a handheld fixture as well. Check the enclosure panels, door swing, controls, storage, and access route against the window’s location and operation.
A niche, bench, or plumbing fixture may compete for the same wall area. A window can bring useful daylight, but an awkward ledge may collect water or make cleaning harder. The layout should balance light, reach, drainage, and clearances with the room’s actual dimensions. Avoid choosing a glass panel or niche before confirming where the window opens and how the surrounding wall will be finished.
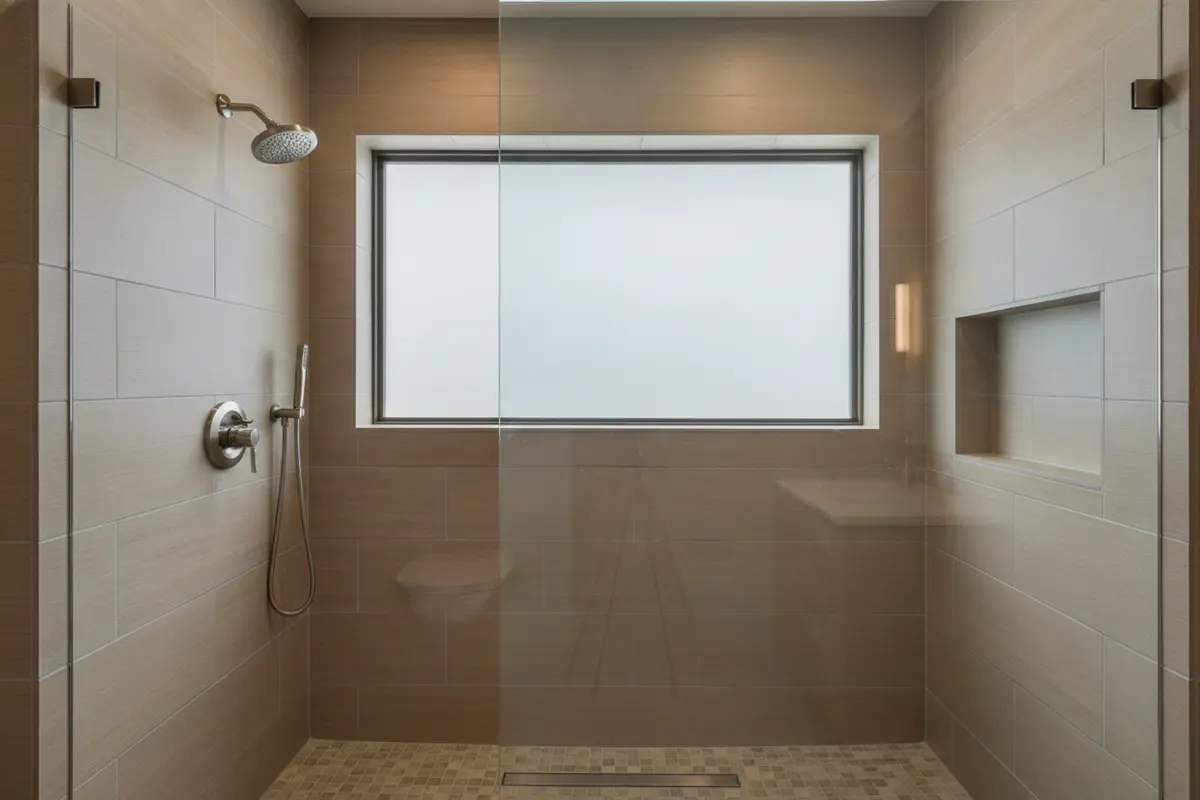
Sketch the shower from multiple viewpoints. Mark the window, fixtures, enclosure edges, and storage. This can reveal whether a glass panel blocks the opening or a fixture directs water toward a vulnerable joint. For broader planning considerations, see the bathroom remodel planning guide.
Which window and privacy options are worth comparing?
There is no single right answer for every shower window. The existing frame, wall construction, exposure, privacy needs, and desired ventilation all matter. Compare options based on their suitability for this particular location, and confirm the details with the project professional before ordering.
| Option | Potential benefit | Planning question |
|---|---|---|
| Keep the existing window | May retain daylight and avoid changing the opening | Can its frame and surrounding assembly be integrated into the shower wall? |
| Privacy glazing | Lets daylight in while limiting clear views | Does it provide privacy from every relevant sightline? |
| Film or covering | May offer a lower-disruption privacy adjustment | Is the product suitable for moisture, heat, and cleaning? |
| Change the window or opening | Can address an unsuitable size, position, or function | What structural, exterior, and approval considerations apply? |
| Remove or relocate the opening | Can simplify the shower wall or improve privacy | How will the design address daylight, ventilation, and exterior work? |
Privacy glazing can help, but it does not replace checking sightlines. A high sill or window treatment may work in one home and not another. Check views from outside at relevant angles and at night, when interior lighting can change what is visible. If choosing film or a covering, verify that the manufacturer allows use in the intended environment and follow its care instructions.
What makes the window area water-resistant?
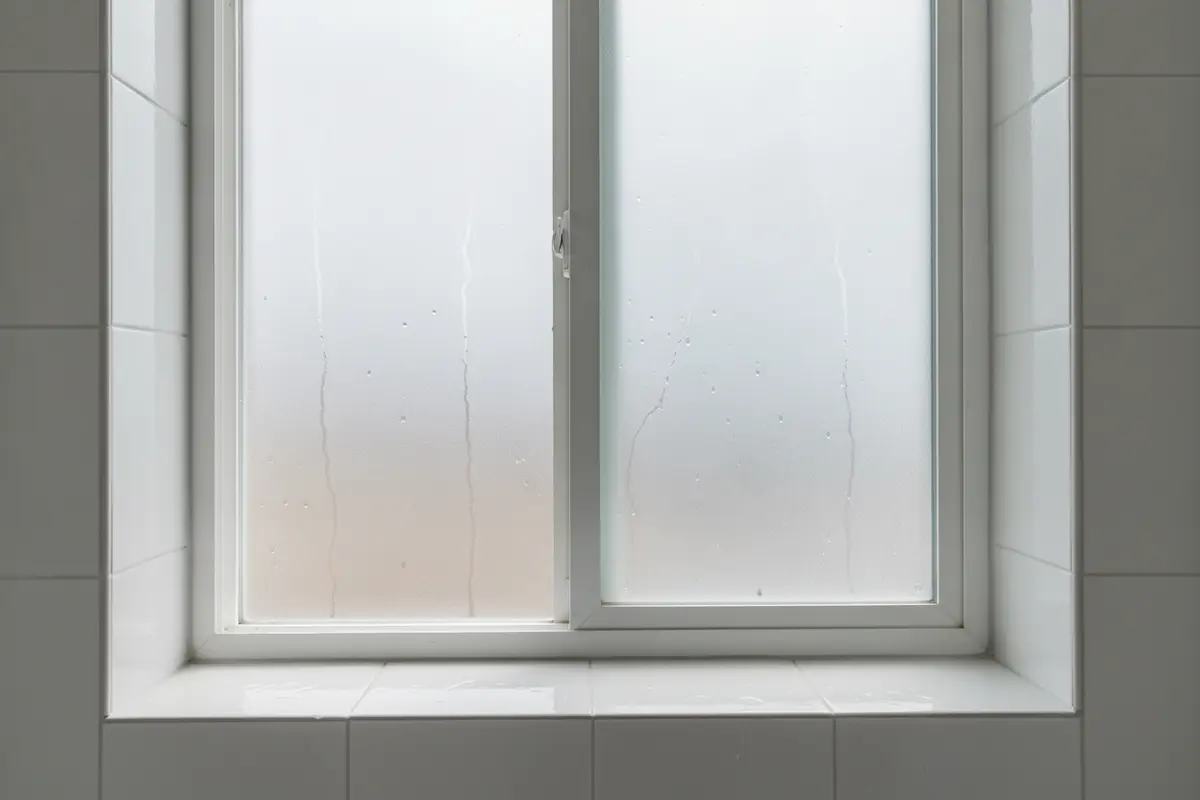
The window junction is a critical transition between the shower’s wet area and an opening in the wall. A successful assembly depends on compatible materials and continuous water management, not a cosmetic bead at the edge. Ask how the sill handles water, how the frame edges are treated, and how the wall waterproofing connects to the opening and adjacent surfaces.
A sill that slopes toward the shower can help water drain back into the wet area rather than sit against the frame. The exact construction depends on the window and wall system. Tile and grout are finish materials; they should not be treated as the only barrier against water reaching the structure. Ask how the underlying waterproofing is planned and how corners and changes of plane are addressed.
- Confirm the existing window’s condition before covering or reusing it.
- Discuss sill shape and drainage direction before tile installation.
- Ask how the waterproofing system will meet the window frame and surrounding wall.
- Check that selected sealants and finishes are compatible with the materials.
- Clarify who reviews concealed work before it is covered.
Be cautious about a proposal that addresses visible gaps without explaining the rest of the assembly. If the opening has a history of leakage, identify the source before rebuilding the finish. The window, exterior flashing, adjacent wall, or shower-side details may be involved. A repair should address the cause rather than merely cover visible damage.
How do finishes affect cleaning and durability?
Choose finishes for the conditions at the window, not only for a sample board. The sill and returns face moisture and routine cleaning. A simple profile may be easier to wipe than a deep ledge with several joints. Coordinate tile thickness, edge treatment, frame depth, and trim so the finished opening looks intentional and does not leave hard-to-clean crevices.
Consider how the material looks when wet, how visible soap residue may be, and whether the surface needs special care. Grout color and joint placement affect the visual effect around a small opening. Ask how the selected materials should be maintained and which cleaning products are appropriate. Do not assume that a material intended for general interior use is suitable for every shower application.
Bring window measurements and finish samples together during selection. King Remodeling’s showroom and design center is a relevant place to consider material choices in person. For inspiration on coordinating finishes, browse home design ideas and view examples in the remodeling project gallery.
Should you keep, replace, or remove the window?
Keeping the window may preserve daylight and the room’s character if its condition and location suit the new shower. Replacing it may make sense when the unit is damaged, difficult to operate, or poorly matched to the planned enclosure. Removing or changing the opening may be considered when privacy, leakage, or layout concerns cannot be resolved with the existing configuration.
Each path has different implications. Altering an opening can involve more than shower finishes, including exterior work and questions about the wall. Before choosing, ask the contractor to describe what will remain, what will be opened, and how the finished result will be checked. If the project could affect structural elements or exterior weather protection, confirm appropriate review and approvals before construction.
Match the solution to the problem. If privacy is the main concern, replacing the whole window may not be necessary. If water intrusion recurs, privacy film will not address it. If the window constrains shower layout, consider whether changing a fixture or enclosure solves the issue before changing the opening.
What should you ask about permits and approvals?
Permit requirements depend on the exact scope and the authority having jurisdiction. A finish update that leaves the opening and relevant systems untouched may raise different questions from changing the window size, moving plumbing, or altering a wall. Do not rely on a general rule for every project. Describe the proposed work and ask which reviews apply before demolition or ordering materials.
For San Diego projects, use the City’s official Development Services Department resource as a starting point for permit and plan-review information; confirm the proper jurisdiction for your property. Keep the answer with the project records, along with the scope and any plans submitted. This is especially useful if the work expands after opening the wall.
A useful question is not simply “Do I need a permit?” but “Which parts of this scope require a permit, plan review, or inspection, and who will confirm that?” Clarify responsibility in writing. If a window opening changes, ask whether exterior work or structural review is included and what approvals must be settled before work starts.
How should you plan the work and protect the room?
Settle key decisions before demolition: whether the window stays, the shower footprint, fixture positions, finish selections, and the approach to the window junction. Coordinating these choices reduces the chance that tile layout, glass measurements, or an opening detail conflicts later.
- Define the goal. Decide whether the project is mainly about appearance, privacy, water concerns, layout, or a combination.
- Assess existing conditions. Document the frame and surrounding finishes, and flag signs of moisture damage.
- Plan the layout. Coordinate the showerhead, controls, enclosure, storage, and window access.
- Select compatible materials. Review the window treatment, sill finish, tile edges, and cleaning needs as one assembly.
- Confirm scope and sequence. Understand what will be removed, inspected, repaired, waterproofed, and installed.
- Review concealed work. Ask who checks the window transition and waterproofing details before tile covers them.
- Complete final checks. Confirm operation, drainage, enclosure fit, and care instructions at handoff.
Keep decisions in one place. Record product names, finish choices, and any agreed change to scope. If an unexpected issue appears after opening the wall, ask for an explanation of the finding, the proposed response, and any schedule or scope effect before work proceeds.
What should you ask a remodeling contractor?
Ask specific questions about the window rather than treating it as a standard tile detail. A clear discussion helps you understand the plan and compare proposals on more than appearance.
- How will you determine whether the window and surrounding wall are suitable to keep?
- How will the sill drain, and how will waterproofing connect to the frame?
- What happens if demolition reveals moisture damage?
- How will privacy, ventilation, and window operation be maintained?
- Will the planned glass enclosure affect access to the window?
- Which materials are intended for this wet environment, and how are they maintained?
- Who reviews concealed waterproofing details before installation covers them?
- What is included in the written scope, and how are unforeseen conditions handled?
A design-build approach can coordinate design choices, material selection, and construction details with one project team. To understand King Remodeling’s described sequence, read about its remodeling process. You can also review its remodeling services and bathroom remodeling information.
How can you compare possible project scenarios?
Use the same practical questions for each version of the project. This helps keep a conversation focused on the issue you need to solve, rather than jumping straight to a favorite finish or an assumed scope.
Scenario one: the window is sound, but privacy is limited
Start by mapping sightlines from the places that matter: neighboring windows, a path, or a nearby outdoor area. Test the view from more than one angle and consider nighttime lighting. Then compare privacy glazing, a suitable film, or a covering that can tolerate the room’s conditions. Before committing, check that the proposed treatment does not interfere with opening, cleaning, or any required ventilation. In this case, a full opening change may be unnecessary if a more targeted privacy measure solves the actual concern.
Scenario two: water collects on the sill
Observe where water lands and whether it drains back into the shower or stays near the frame. The remodel plan should address the sill profile, the slope, the frame transition, and the connected wall protection as a coordinated assembly. Ask how the contractor will evaluate the underlying condition if there are signs of damage. A new finish on top of an unresolved leak does not answer the cause, so separate cosmetic improvements from repairs that need investigation.
Scenario three: a new enclosure conflicts with the sash
Draw the proposed panel and door positions, including how far they swing and where a user must stand to reach the latch. Consider whether a fixed panel makes cleaning the window difficult or limits access to the opening. Adjusting the glass layout, showerhead position, or storage may be simpler than changing the window. Confirm the actual dimensions before glass is ordered, because a small layout assumption can create an awkward finished space.
Scenario four: the window is damaged or poorly located
Ask for a clear comparison between retaining the opening, replacing the unit within the same opening, and modifying or closing it. For each option, discuss privacy, daylight, ventilation, exterior work, wall conditions, and review requirements. This comparison also helps you understand which decisions must happen before demolition and which depend on what is found behind the finishes. Put the chosen scope in writing, including how unexpected conditions will be handled.
These examples show why “keep or remove?” is not the first decision. First identify the problem, then compare the smallest reasonable intervention with broader alternatives. A clear problem statement helps the project team recommend a fitting design and prevents a privacy question from being confused with a water-management repair.
How can you keep decisions organized from design to handoff?
A window detail involves several choices that can otherwise be discussed at different times by different people. Keep a simple project record with a measured sketch, dated photographs, selected finishes, and written answers to open questions. The record need not be elaborate. Its purpose is to keep the intent clear when tile, glass, fixtures, and window details are being coordinated.
Before work begins, confirm which items are still undecided. These may include the window treatment, exact sill material, glass configuration, or whether the opening will remain. Note who is responsible for confirming each item and when the decision is needed. For example, enclosure dimensions should be coordinated with the final wall and window treatment, rather than guessed from an early sketch.
During construction, keep track of changes that affect the opening. If demolition reveals a soft substrate or staining, ask what was found and whether the scope needs to change. Request a description of the proposed repair and how it connects to the larger water-management plan. If the plan changes, update the record so the final finish and any later maintenance instructions match the work performed.
At handoff, check that the window opens and closes as intended, that the enclosure does not obstruct it, and that water drains from the sill as planned. Ask for care instructions for the glazing, finishes, and sealant. Keep product details and project documents together. These checks do not replace professional inspection, but they help you understand the completed design and maintain it appropriately.
Frequently Asked Questions
Can a window stay inside a shower?
It may be possible, depending on its condition, location, and how the surrounding assembly can be detailed. Have the frame, sill, wall, and water exposure assessed before deciding.
Is frosted glass enough for shower-window privacy?
It can help limit clear views, but privacy depends on glazing, lighting, height, and sightlines around the home. Check the view from outside, including at night, before settling on a solution.
Does tile make a shower window waterproof?
No. Tile is a finish, and grout is not a substitute for a correctly planned water-management system. Ask how waterproofing meets the window and how the sill directs water back toward the shower.
Should I replace a window that leaks?
First determine where water enters and whether the issue is the window, exterior detailing, shower-side junction, or nearby wall. The repair should address the cause rather than only cover the visible damage.
When should I decide whether to change the opening?
Make that decision during planning, before finish materials and enclosure dimensions are finalized. Changes to an opening can affect more than the shower wall, so clarify scope and review needs early.
A shower window can be a useful source of light when privacy, layout, and water management are considered together. Assess the existing opening first, then choose a coordinated design and installation plan for the room.