If you are asking, “how high is a kitchen countertop?” the usual answer is about 36 inches from the finished floor to the top surface. That familiar height works for many kitchens, but it is not automatically right for every person, task, cabinet plan, or appliance. A few inches can change how comfortable it feels to chop, wash dishes, or sit at an island, so confirm the finished measurement before construction begins.
Call to discuss your kitchen plans
What is the standard kitchen countertop height?
In many homes, the finished kitchen counter is approximately 36 inches high, measured vertically from the finished floor to the upper surface of the countertop. “Finished” matters: the measurement includes the floor covering, base cabinet, countertop material, and any planned build-up. A drawing that labels a cabinet box or cabinet top is not necessarily giving the final counter height.
The 36-inch figure is a common planning baseline, not a rule that every kitchen must follow. It is useful because standard cabinets, appliances, and kitchen tasks are often planned around familiar dimensions. Still, the right height depends on how the kitchen will be used and the details of the room. A tall user might prefer a different prep surface than someone who is shorter or who spends a long time at the sink. A kitchen may also include a separate island section for seating, baking, or accessibility needs.
Before deciding, ask the designer or contractor to state the proposed finished countertop height in the plan. Also ask which flooring thickness, cabinet height, counter thickness, and installation details are included in that number. Comparing the same measurement prevents confusion when reviewing samples, cabinet specifications, and estimates.
How do you measure countertop height correctly?
Measure straight up from the final floor surface to the top of the installed counter. If flooring will be installed after cabinets, include its planned thickness in the calculation. If the floor is not level, the installer may need to account for that condition as well. The goal is to understand the height you will experience once the room is complete, not simply the height of one component sitting by itself.
- Confirm the floor reference. Identify the finished flooring type and thickness, including any underlayment that changes the elevation.
- Confirm the cabinet dimensions. Ask whether the plan refers to the cabinet box, the base cabinet with legs or toe kick, or the full installed cabinet assembly.
- Add the countertop and build-up. Counter thickness, support, and edge details can affect the final top elevation.
- Check the actual work position. Stand at a sample or existing counter and mimic chopping, washing, or rolling dough. Note whether your shoulders or wrists feel strained.
- Review adjoining elements. Check the sink, cooktop, dishwasher, range, island, and any seated area against the proposed height.
When possible, test a marked height in the actual room before approving a plan. A temporary mock-up or a measured reference on a wall can help you visualize how a counter meets a window sill, backsplash, or adjacent surface. It will not replace a detailed plan, but it can reveal a mismatch before materials are ordered.

Should you choose a different height for comfort?
Comfort is personal, and kitchen work is not one single movement. At a counter that feels too high, you may lift your shoulders to reach the work surface. At one that feels too low, you may bend forward repeatedly. Consider the jobs you do most often and the people who will use the kitchen regularly, rather than choosing a dimension based only on a picture or a general rule.
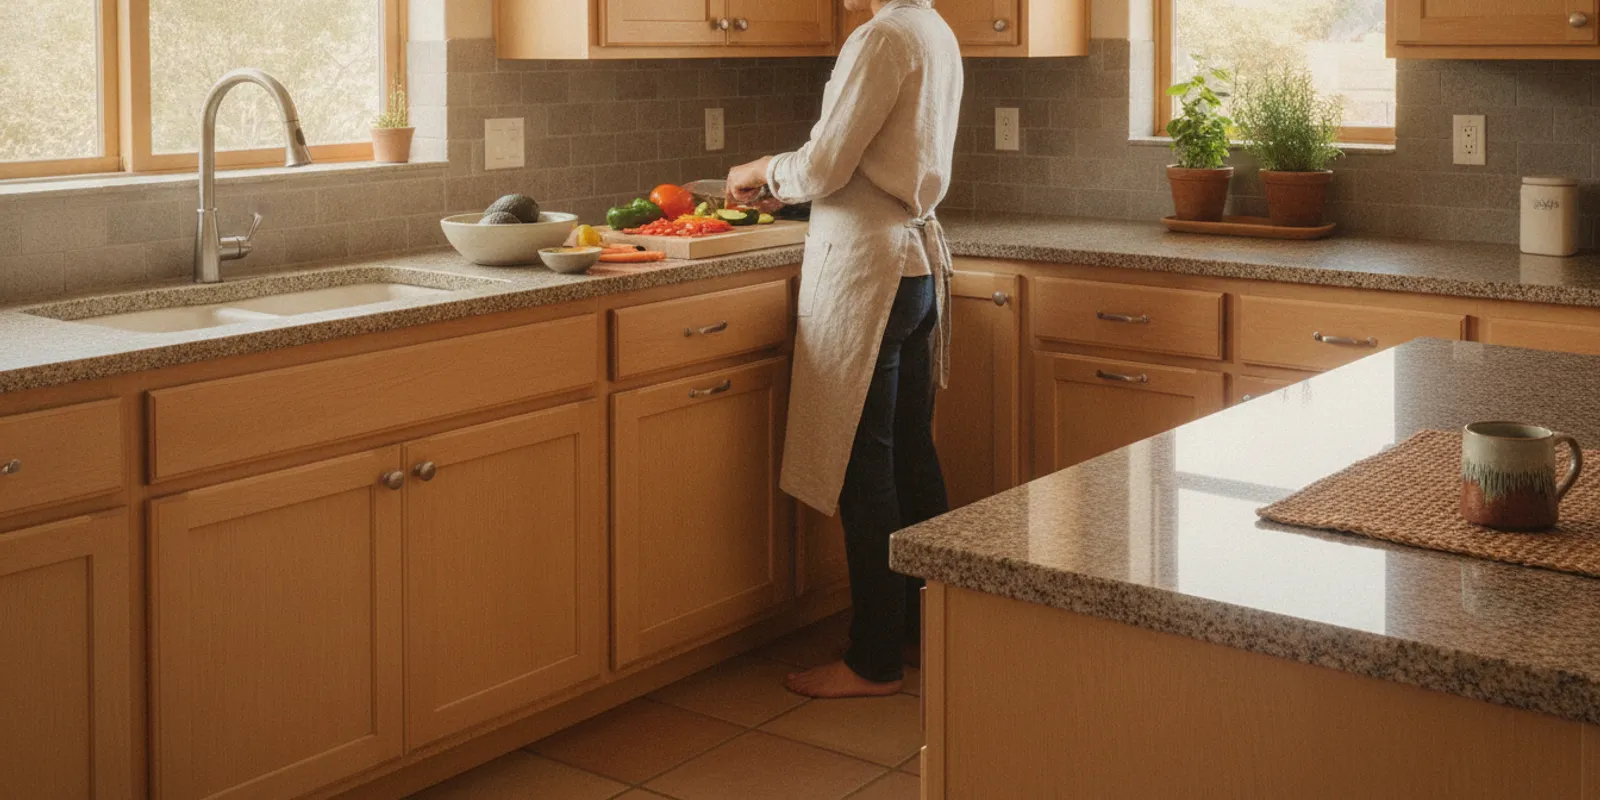
Use a few ordinary tasks to test the proposed height. Pretend to chop on a cutting board, knead dough, wash a large pan, and place dishes beside the sink. A thick cutting board raises the working level; a deep sink can make the bottom feel lower than the countertop; and a faucet or window can affect how the sink area feels. If more than one person cooks, have each person test the plan when practical.
Some homeowners keep the main counter at a familiar standard and adjust just one zone. For example, a dedicated baking surface can be planned differently from the sink run, or an island can include a lower section for a particular task. A change in elevation may add cabinet, support, trim, or fabrication complexity, so discuss the trade-offs during design. A continuous, level work surface can be simpler to clean and may suit a household better than multiple changes in height.
Think beyond standing height, too. If someone in the home sits while preparing food, uses a mobility aid, or has limited reach, a standard-height surface may not be the best fit. The right design depends on the user, the work area, approach and knee clearance, storage, and applicable requirements. For projects with accessibility goals, review information from the U.S. Access Board and work with a qualified professional to identify which guidance and requirements apply. Do not assume one counter dimension alone makes a kitchen accessible.
How can you test a work height before committing?
Do not rely only on a quick glance at a showroom display. Try to recreate the posture for the task you expect to do. Stand with your usual shoes on, bring a cutting board to the proposed surface, and mime chopping for a minute. Then reach forward as if rinsing produce or setting down a heavy pot. Pay attention to whether you hunch, raise your shoulders, or have to reach across an awkward distance. The goal is not to turn a brief test into a medical assessment; it is to notice obvious discomfort and discuss it while the design can still change.
If several people share the kitchen, test with the person who uses it most and consider the range of users. One height may feel comfortable to one household member and inconvenient to another. A separate work zone can sometimes help, but it also adds decisions about cabinetry, transitions, and how the room functions when multiple people are cooking. Think through real routines: does one person prepare food while another loads the dishwasher, or do several people need access to the island at once?
Include the objects that change your working position. A thick cutting board, countertop appliance, or unusually deep sink affects the way you reach or stand, even though it does not change the measured counter elevation. If you frequently use a stand mixer, for instance, think about where it will sit and how you will lift the bowl. If baking is a regular activity, consider whether a dedicated stretch of clear work surface matters more than a lowered section. These practical details help distinguish a genuine need for a height change from a preference based on appearance alone.
When does one continuous surface make more sense?
A single-level counter can make the room feel visually calm and provide a broad work area. It may also simplify backsplash alignment and give you flexibility to move prep tasks from one part of the kitchen to another. That can matter in a compact room where every clear surface has to serve several purposes. A continuous counter is not automatically the best answer, though: if users have different needs or the island must serve dining and preparation, a carefully planned variation may be more useful.
Compare the benefits of each option against the daily routine, not just the initial drawing. A level island may offer more usable prep area and easier cleanup. A raised section can create a visual boundary between cooking and dining, while a lowered area may suit a particular seated task. Each transition can affect usable surface, storage, support, and cleaning. Ask the designer to explain what you gain and give up, and make sure the chosen arrangement still leaves clear paths around the island and open appliance doors.
When accessibility is a priority, discuss the full route through the kitchen and the way a person will approach and use the work surface. Consider whether cabinets below the counter can be used comfortably, where frequently needed items will be stored, and whether the sink and cooktop are reachable. A lower top by itself will not resolve an obstructed path or inaccessible storage. Requirements can differ based on the project and setting, so get advice specific to the home rather than assuming that a residential remodel follows one universal dimension.
How do different kitchen zones affect the height?
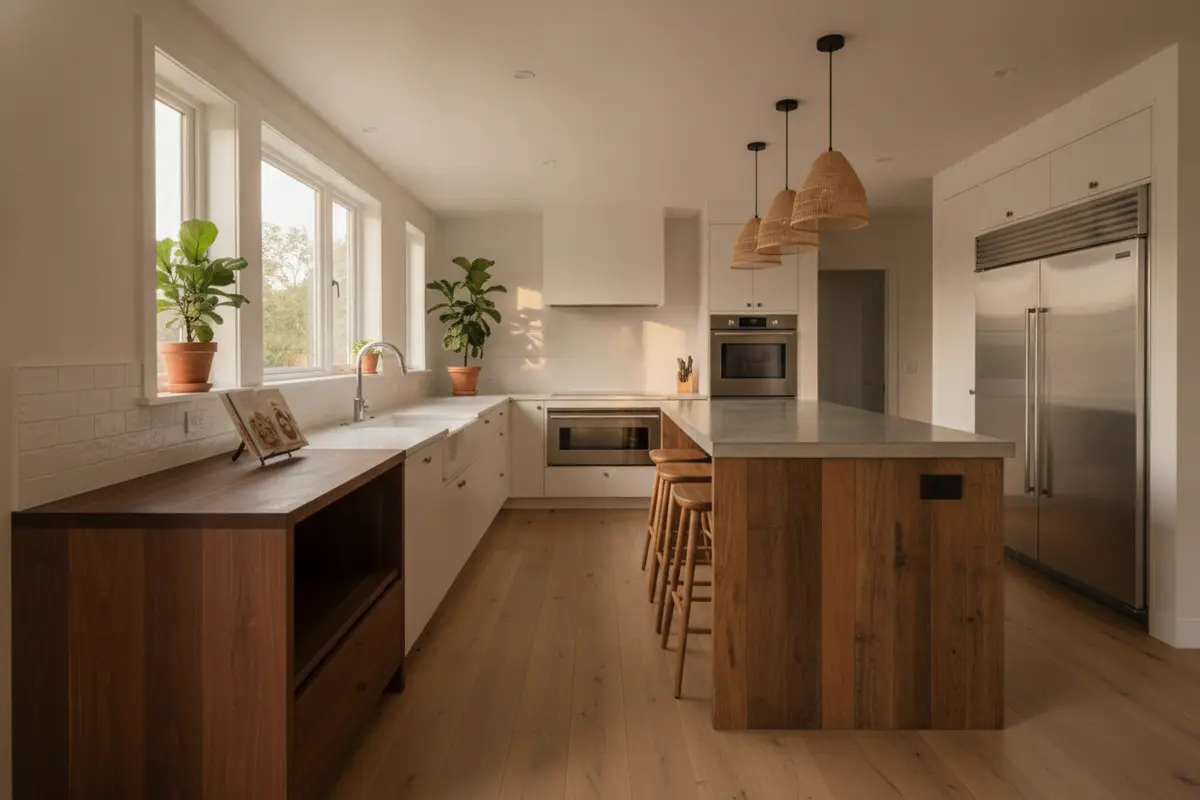
A kitchen can have more than one surface height, but each change should have a clear purpose. The main perimeter counter often follows the standard planning baseline. An island may match it for a broad, continuous prep space, or use a separate raised or lowered portion for seating or a specialized task. Decide how the zones will work together before finalizing cabinetry and surfaces.
| Kitchen area | Typical planning approach | What to verify |
|---|---|---|
| Main counter | Often planned near 36 inches finished | Floor, cabinet assembly, counter thickness, and user comfort |
| Island prep area | May match the main counter for a continuous work surface | Clearances, outlets, seating edges, and appliance doors |
| Raised seating ledge | Can separate diners from the food-prep surface | Stool fit, knee space, sight lines, and support for the overhang |
| Lower task surface | May be designed for a specific user or activity | Approach, reach, storage, clearances, and applicable accessibility guidance |
| Sink or cooktop run | Usually coordinated with the surrounding counter | Sink depth, appliance specifications, faucet, and safe installation details |
The table gives planning prompts, not mandatory dimensions for every home. If the island includes seating, verify the selected stools and the finished counter elevation together. A comfortable stool height depends on the gap between seat and surface, so buying stools first or choosing them from a photograph can lead to a poor fit. For an overhang, confirm the support method with the designer or fabricator; do not assume a particular stone or slab can safely span an unsupported distance.
For a multi-level island, consider whether the transition will interrupt your preferred work flow. A raised ledge may shield prep clutter from the dining area, while a single surface can offer more uninterrupted room for serving and food preparation. The best choice depends on the room, household habits, seating needs, and how the island relates to nearby walkways.
What should you check around cabinets and appliances?
Counter height is connected to the rest of the kitchen. A seemingly small change can alter how cabinets align, whether drawers open freely, and how appliances sit beneath the counter. Review the whole run rather than treating the countertop as an isolated purchase.
- Dishwasher: Check the appliance’s stated opening dimensions and the relationship between its top edge and counter underside. Confirm that it can be installed and serviced as intended.
- Range or cooktop: Verify the manufacturer’s installation specifications and the relationship between the cooking surface, surrounding counter, and ventilation plan.
- Sink: Consider basin depth, mounting style, faucet reach, and the user’s standing position. A deep sink can make the task feel different even when the counter height remains standard.
- Windows and backsplash: Check whether the planned counter meets a window sill, trim, or wall feature cleanly, and coordinate the finished elevations before ordering.
- Cabinet storage: A changed base height can affect drawer space, toe-kick proportions, and the location of nearby hardware. Confirm the storage plan remains useful.
- Floor transitions: Verify the floor elevation at cabinet runs and adjoining rooms. A change in floor material or height can affect the final measurement and appliance fit.
Appliance models can change, so use the exact specifications for the selected products when the design is being finalized. If a product is not selected yet, tell the design team what type and approximate dimensions are planned and confirm when the final fit will be checked. Never rely only on a generic picture or a measurement from a different model.
How do countertop thickness and material change the finished height?
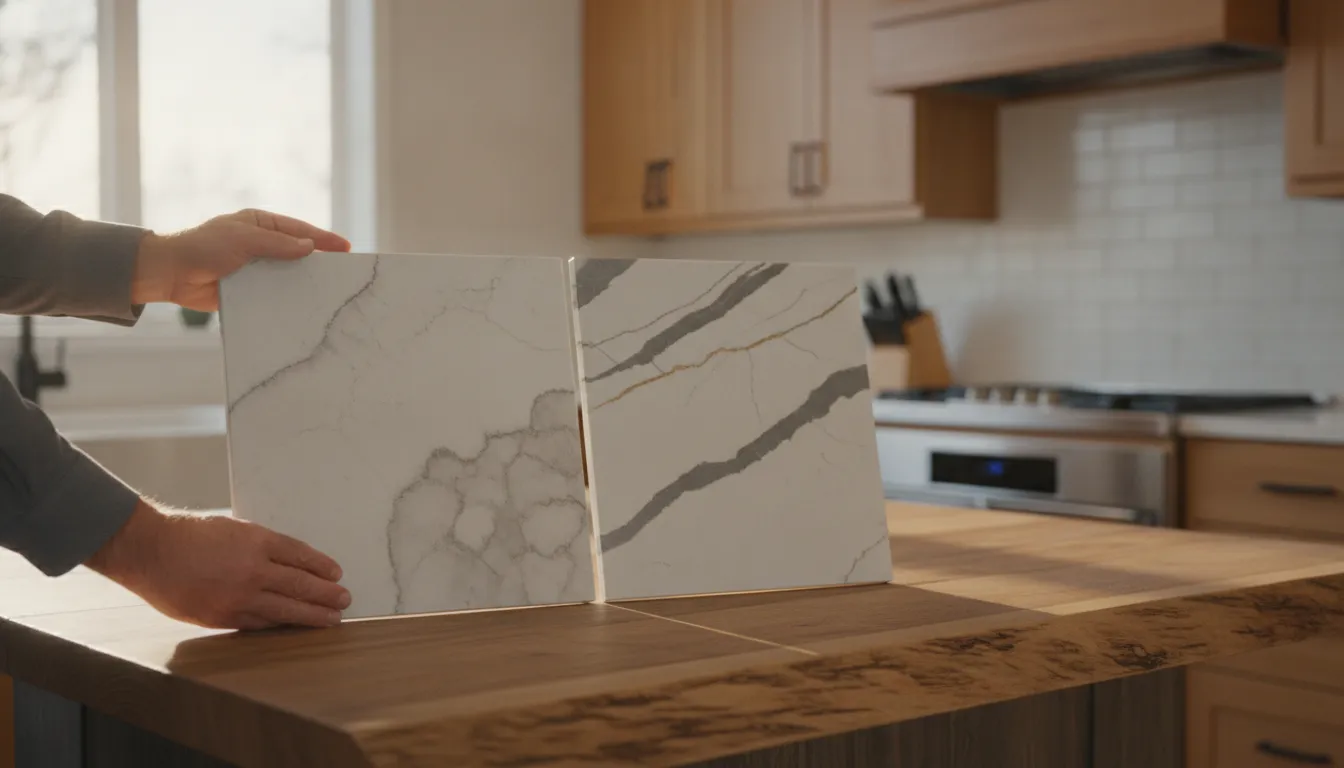
The countertop is one part of the total dimension. A thicker slab, a built-up edge, or a layered detail can change the visible profile and the height relative to cabinets and appliances. The material choice may also affect the support plan and the appearance where the counter meets a wall or another surface.
When reviewing a sample, ask for the finished thickness and edge profile, not just the material name. Ask whether the measurement in the cabinet plan includes the counter and whether the selected edge adds any height. If the design uses different materials on the island and perimeter, confirm whether their installed elevations will match. A small visual step can be intentional, but it should not be a surprise.
Material selection is also a separate decision from height. If you are comparing surfaces, review the practical differences in care, appearance, and installation with the material supplier and project team. King Remodeling’s quartz countertop guide offers a place to explore one common countertop material, while a kitchen sink style guide can help you consider how sink choices relate to the counter plan.
What should you decide before cabinets or counters are ordered?
Make the key decisions on paper while there is still time to revise them. A clear written specification helps the homeowner, cabinet supplier, installer, and countertop fabricator work from the same finished measurement. Use this checklist during design review:
- Write down the finished height for each counter zone, measured from the finished floor.
- Record the planned flooring, base cabinet assembly, counter thickness, and edge detail used to reach that height.
- Identify who regularly cooks and whether anyone needs a seated or lower work area.
- Test the height against common tasks and the household’s usual cutting boards, cookware, and sink use.
- Confirm island seating, stool selection, clearances, and countertop support together.
- Check all appliance and sink specifications against the cabinet and counter drawings.
- Review the plan at windows, backsplashes, floor transitions, and adjoining rooms.
- Ask who will verify measurements before fabrication and what happens if site conditions differ from the plan.
Do not wait until a countertop template appointment to raise a height concern. By that point, cabinet dimensions and appliance openings may already be set. If you are in early planning, a step-by-step kitchen remodel planning guide can help organize decisions, and the company’s remodeling process overview explains the broad stages of a project.
How can a remodel team help confirm the fit?
A remodel team can coordinate dimensions across design, cabinets, appliances, and installation, but homeowners should still state how they plan to use each surface. Bring specific examples: who cooks, what tasks take the longest, whether someone needs to sit, and which appliances are already chosen. This turns “make the counter comfortable” into a discussion about actual uses and measurable constraints.
Ask for the counter height to be written into the plan and clarify how it is measured. Ask whether the drawing shows finished floor to finished counter, and whether the cabinet schedule and countertop specification agree. If a custom height or split-level island is proposed, ask what it changes for cabinet storage, stool fit, appliance clearance, support, and installation. You can also ask what site measurement will be reconfirmed before fabrication.
For homeowners comparing the overall scope of a kitchen project, King Remodeling provides information about its kitchen remodeling services, San Diego showroom, and completed kitchen and bath projects. These links can help you consider the broader design and material decisions alongside countertop dimensions.
Explore kitchen remodeling options
Frequently Asked Questions
Is 36 inches the right height for every kitchen countertop?
No. About 36 inches is a common finished height, but it is a starting point rather than a universal requirement. User comfort, the task, cabinets, appliances, flooring, and accessibility goals can all affect the right plan.
Is countertop height measured from the cabinet or the floor?
For the finished height, measure from the finished floor to the top surface of the installed counter. The cabinet dimension alone does not include the floor covering or countertop thickness.
Can an island be a different height from the main counter?
Yes. Some designs use a separate height for seating or a specific task. Confirm stool fit, work flow, support, clearances, and the effect on cabinetry before settling on a split-level or lowered surface.
Should I change the counter height for accessibility?
Possibly, but a suitable accessible work area involves more than its height. Approach space, knee clearance, reach, appliance use, and the needs of the individual all matter. Review applicable guidance with a qualified professional rather than relying on a single number.
When should I finalize countertop height?
Set and document the intended finished height during design, before cabinet and counter orders are finalized. Then confirm site measurements, product specifications, and installation details before fabrication.
The most useful countertop height is the one that fits the people, tasks, and equipment in your kitchen, with the finished measurement clearly coordinated before construction.