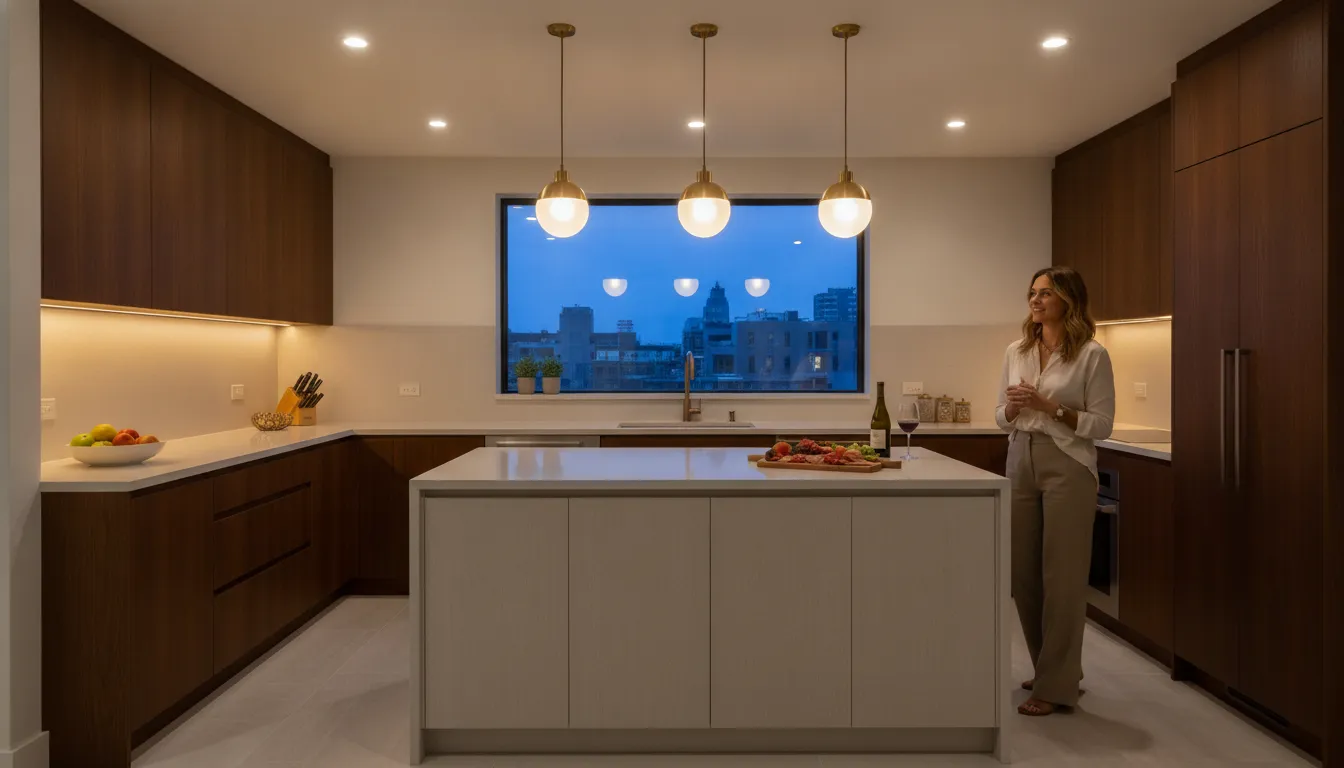
Bathroom lighting does more than make a remodel look finished. It helps you see clearly while shaving, applying makeup, or navigating a wet floor. While also shaping whether the room feels energizing in the morning or calm at night. For San Diego homeowners, generous daylight can be a valuable part of the design, but windows and skylights cannot handle every task or provide consistent light after sunset. A thoughtful plan balances safety, grooming, comfort, privacy, and atmosphere from the beginning.
The most effective bathroom lighting ideas use layers: vanity or sconces for even task lighting. Recessed fixtures for overall ambient light, accent lighting for warmth and visual interest, and natural light where the layout allows. Dimmers and properly rated fixtures help each layer work safely and comfortably throughout the day.
Planning these choices early in a bathroom remodel matters because lighting affects electrical locations, mirror placement, ceiling details, shower safety, and the way tile and finishes appear. It is much easier to coordinate wiring, fixture sizes, controls, and daylight strategies before walls are closed than to correct awkward shadows or harsh glare afterward. Whether you are updating a compact guest bath or creating a more restorative primary suite. The right combination can make the space feel larger, more useful, and distinctly your own. Start by looking at how each layer supports the others and how the overall plan fits your bathroom remodel.
Ready to design a better-lit bathroom? Request a free consultation with King Remodeling.
What Are the Best Bathroom Lighting Ideas for a Remodel?
Most bathrooms start with one ceiling fixture and little thought about how that light performs at the mirror, in the shower, or during a quiet evening routine. That single source may brighten the room, but it can also leave the vanity in shadow and make the space feel flat. A better plan treats lighting as part of the remodel’s layout, not as a final fixture choice.
The strongest bathroom lighting ideas use layers that work together. Ambient lighting provides a comfortable wash across the room. Task lighting puts clear, balanced illumination where grooming takes place. Accent lighting adds depth and a softer mood around architectural or design features. Together, these layers support safety, function, and the spa-like experience many San Diego homeowners want from a remodeled bathroom.
- Ambient lighting: Provides the overall wash that helps you move safely through the bathroom and see major areas clearly.
- Task lighting: Delivers focused illumination at the vanity for shaving, makeup, skincare, and other grooming routines.
- Accent lighting: Highlights niches, cabinetry, tile details, or the floor while creating a calmer evening atmosphere.
Layering also gives you control over how the room feels at different times of day. In the morning, you may want brighter task and ambient light. At night, lower-intensity accent lighting can make the transition to bed more comfortable without flooding the entire room. Dimmers are recommended because they let one lighting plan support both practical routines and a relaxed spa setting.
This approach matters for safety as well as style. The Centers for Disease Control and Prevention notes that good bathroom lighting is essential for visibility around areas such as tubs and toilets. And recommends adequate lighting in the bathroom and the path leading to it for fall prevention. Read the CDC bathroom safety guidance for additional planning context.
During a remodel, the layers should be planned alongside the vanity, shower, storage, and electrical layout so fixtures feel intentional rather than added after the fact. King Remodeling’s bathroom remodeling team can coordinate those decisions as part of a complete design and installation plan. Helping create a bathroom that feels bright when you need it and restorative when you do not.
Where Should Bathroom Vanity Lights Be Placed?
Vanity lighting should make everyday grooming easier, not turn the mirror into a source of glare and shadows. The most effective arrangement places a fixture on both sides of the mirror, with the light aimed toward the face from roughly eye level. This balanced position illuminates the cheeks, eyes, and jawline more evenly for shaving, makeup application, and other close-up tasks.
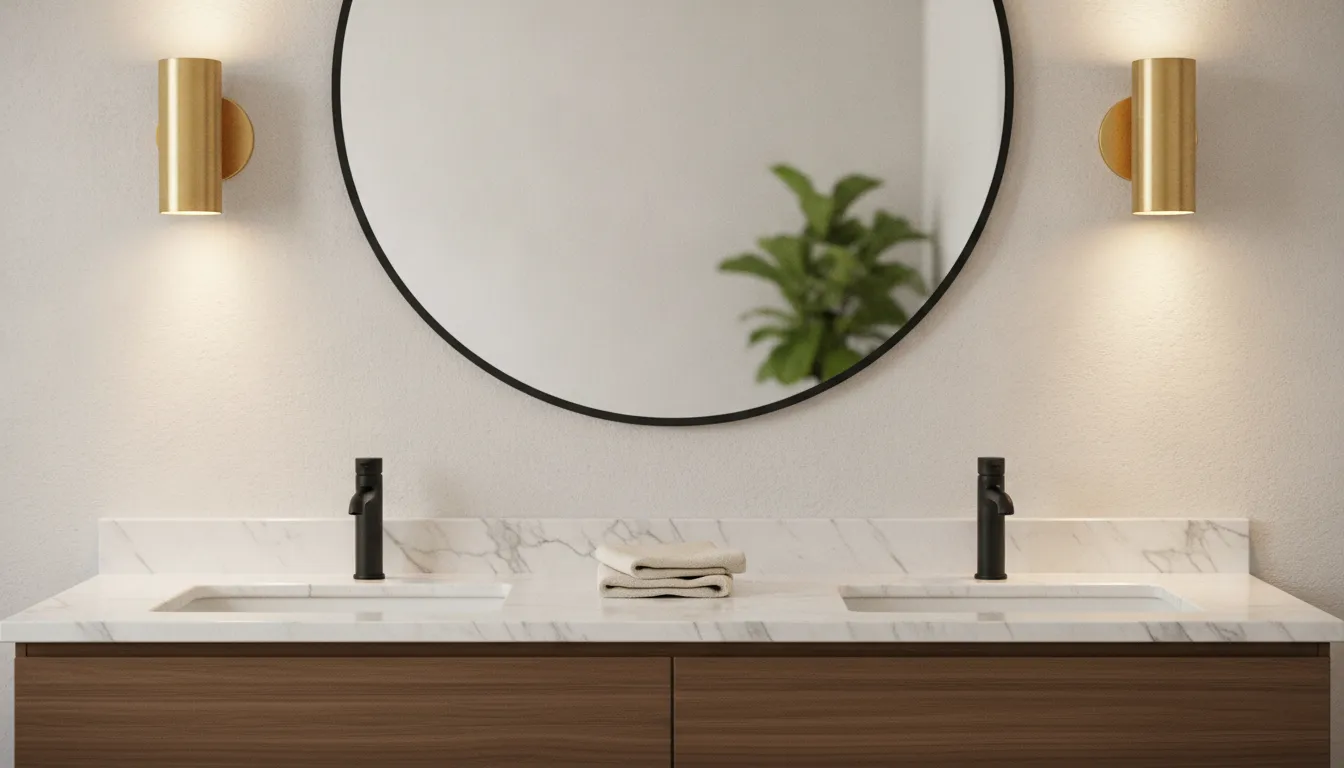
As a practical starting point, mount the sconces about 66 inches above the finished floor and space them approximately 36 to 40 inches apart. Adjusting for the mirror width and the people who use the bathroom. The goal is even facial light, so exact measurements should be confirmed against the mirror, vanity, ceiling height, and finished wall surfaces. A single fixture directly above the mirror may look clean, but it often creates hard shadows beneath the eyes, nose, and chin.
Why do sconces work well beside a bathroom mirror?
Wall sconces flanking the mirror recreate the balanced glow of classic candlelight or lamplight while adding a more finished design detail. They can provide the focused light needed at the vanity and contribute to the room’s overall ambience. Choose shades or diffusers that soften the output without blocking too much useful light. Especially when the bathroom will be used early in the morning or late at night.
For a wider mirror or a double-sink vanity, side sconces can be paired with a vanity bar above the mirror. The bar fills in the top of the composition and helps distribute light across a longer counter. Use a dimmable setup when possible. Brighter light supports detailed grooming, while a lower setting creates a calmer atmosphere for an evening bath.
- Place sconces on both sides of the mirror whenever the wall layout allows.
- Start near 66 inches from the finished floor, then adjust to the users’ eye level and fixture design.
- Aim for roughly 36 to 40 inches between side fixtures, while keeping the mirror and sink centered.
- Use diffused shades to reduce glare and keep the light comfortable at close range.
- Add a vanity bar above a wide mirror or double vanity when additional top lighting is needed.
- Install dimmers so task lighting and relaxed evening lighting can share one fixture plan.
These placement decisions are easiest to resolve before drywall, tile, and mirrors are installed. A coordinated bathroom remodel can account for electrical locations, framing, backsplash tile, medicine cabinets, and the final mirror size together. If you are planning a larger update, a bathroom remodeling service can help confirm the layout before the walls are closed.
For San Diego homeowners, the best vanity arrangement also depends on natural light, privacy needs, and how the bathroom is used throughout the day. Review the finished fixture height in the actual room rather than relying on a standard measurement alone. A small adjustment can make the lighting feel more comfortable and useful every time you stand at the mirror.
What Is the Best Light Fixture for a Bathroom?
The best bathroom light fixtures depend on where they will be installed and what the light needs to do. A fixture that works well above a vanity may not be appropriate inside a shower, where moisture exposure changes the safety requirements. Start by planning the location, the purpose, and the rating before choosing a finish or style.
Recessed ceiling lights are a practical choice when you want a clean ambient wash without adding visual weight. They distribute general light across the room and work especially well in bathrooms with a simple, contemporary design. Place them carefully, however. A recessed light directly over a person at the mirror can cast shadows across the face, so it should support, not replace, dedicated vanity lighting.
Which fixture types work best in different bathroom zones?
- Vanity bars: Use above a mirror when you want broad, even task lighting for grooming. Choose a size that relates to the mirror and vanity width.
- Sconces: Install on both sides of the mirror to reduce shadows and provide balanced facial light. They also add a decorative layer without taking up counter space.
- Recessed cans: Use in the ceiling for general illumination, in a toilet room, or around the open floor area. Shower installations require the correct moisture-rated trim.
- Pendants: Use in a suitable dry area, such as beside a freestanding tub or over an open vanity zone, when the ceiling height and layout provide enough clearance.
Moisture ratings are not optional in a wet area. Damp-rated fixtures are designed for locations where condensation or occasional moisture may be present. Wet-rated fixtures are built for more direct water exposure and may be required inside a shower enclosure, depending on the fixture location and local electrical requirements. Look for a clear UL damp or wet listing, and review the fixture’s IP rating when provided. The IP code indicates how well the housing resists solids and water, but the rating still needs to match the actual installation zone.
Good bathroom remodeling planning also includes the controls. Dimmers let you use brighter light for shaving or makeup, then lower the intensity for a calmer evening atmosphere. Confirm that the dimmer, bulbs, and fixtures are compatible before installation. This prevents flicker and gives the lighting plan more flexibility over time.
For a San Diego bathroom remodel, King Remodeling coordinates electrical and lighting decisions with the rest of the design rather than treating fixtures as a last-minute purchase. The in-house team can plan fixture locations, ratings, controls, and finishes together, helping the final room feel intentional, comfortable, and safe.
Talk to our design team about the right lighting plan for your remodel.
Why Add Accent Lighting and Natural Light?
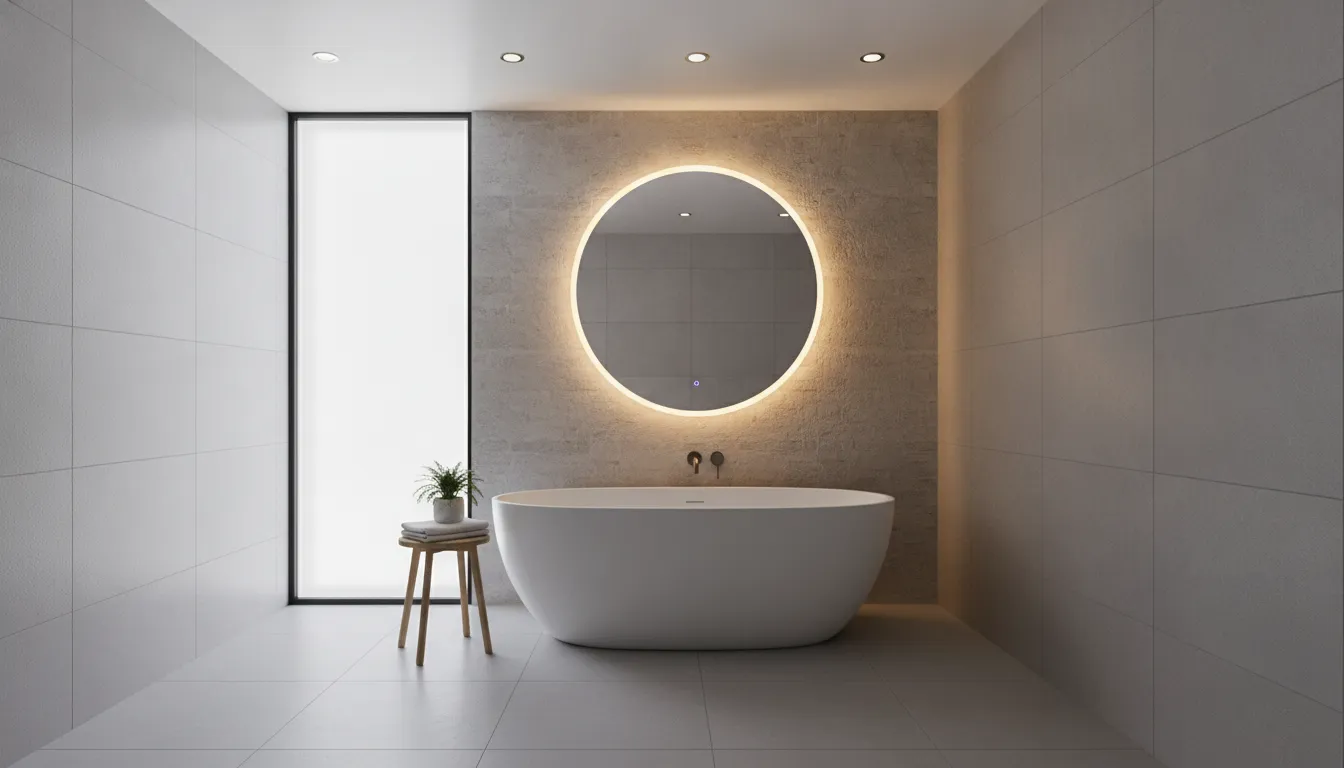
Once the main fixtures handle everyday visibility, accent lighting and natural light give the bathroom its atmosphere. This is where practical illumination becomes part of the room’s design. A soft glow beneath a floating vanity, a lit shower niche. Or a backlit mirror can make a standard bathroom feel calm and polished without relying on bright overhead light.
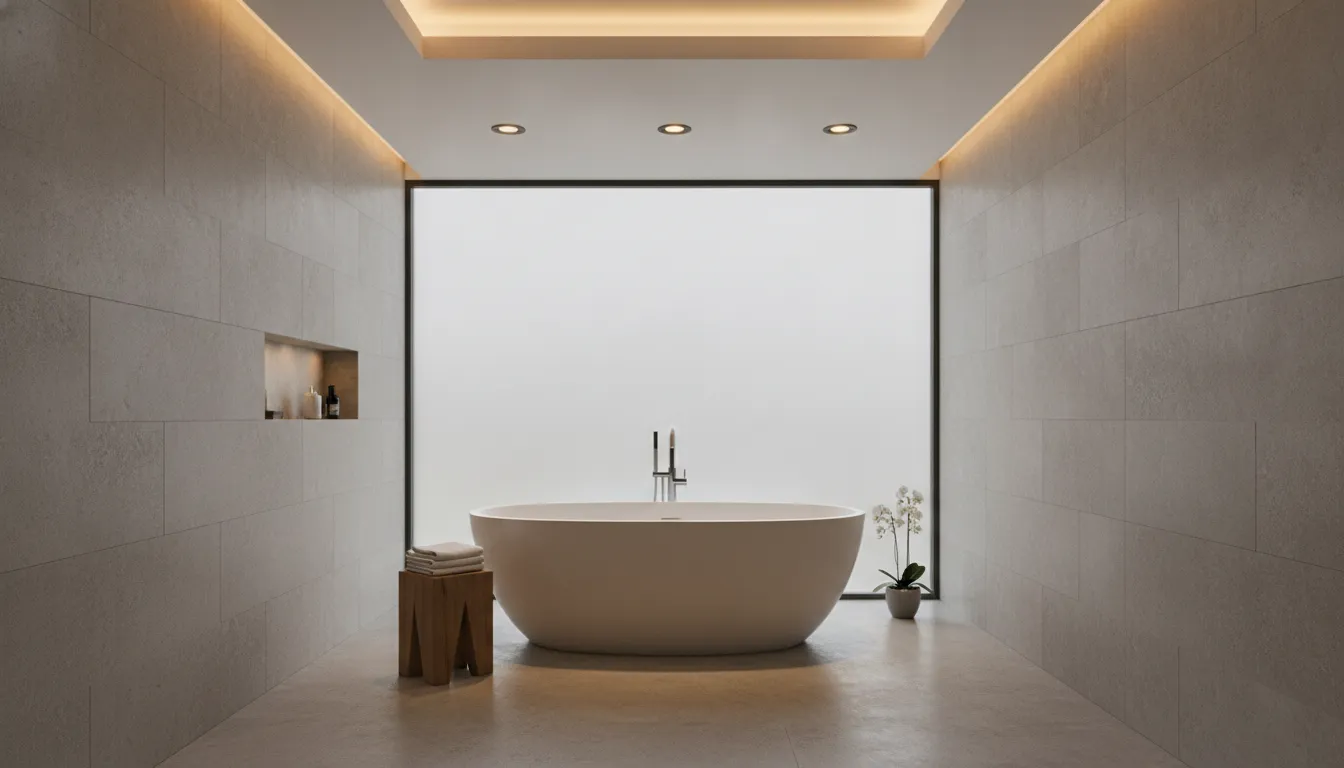
Which accent lighting ideas create a spa-like feel?
Accent fixtures should draw attention to architectural details, materials, or the room’s best features. They work especially well when they are placed on a separate switch or connected to a dimmer, so the lighting can change with the time of day. Consider these options:
- Install an LED picture light above a mirror, artwork, or a decorative wall feature.
- Add toe-kick lighting beneath a floating vanity for a subtle nighttime pathway.
- Use low-profile LED strips inside a shower niche or open shelving to highlight tile and accessories.
- Choose a backlit mirror for an even halo of light that adds depth without visual clutter.
- Place discreet accent fixtures near textured tile, natural stone, or a freestanding tub to emphasize those materials.
Keep the light source concealed whenever possible. The goal is to see the glow, not a harsh point of glare. In a compact room, thoughtful placement can also support the layout. Review these small bathroom layout ideas before deciding where a niche, vanity, or shelving will go. Planning the lighting and layout together helps prevent a beautiful feature from being hidden behind a door or blocked by a mirror.
How can natural light work with artificial lighting?
Windows, skylights, and glass block can bring valuable daylight into a bathroom, but natural light should complement the electrical plan rather than replace it. Daylight changes throughout the day and may disappear entirely in the evening. Layering it with vanity, ambient, and accent fixtures keeps the room comfortable under every condition.
Privacy and glare deserve equal attention. Frosted or privacy glass can soften direct sunlight while preserving brightness. Window treatments may be useful where appropriate, particularly for street-facing bathrooms. Dimmers allow you to reduce the artificial output when daylight is strong and create a softer setting after sunset. They also make it easier to use the room safely at night without turning on every fixture.
Color temperature affects the mood as much as fixture style. Warm bulbs around 2700K to 3000K support a relaxing spa feel and pair well with wood tones, warm tile, and brushed brass. Brighter bulbs around 4000K to 5000K can make grooming and detail-oriented tasks easier. Many homeowners get the best result by using brighter task lighting at the mirror and warmer, dimmable light elsewhere. If you are reviewing bathroom remodeling mistakes, treating every fixture as if it should have the same brightness and color is one lighting issue worth avoiding.
How a Lighting Plan Transforms Your Bathroom Remodel
The difference between a bathroom that simply has new fixtures and one that feels thoughtfully designed often comes down to coordination. A lighting plan considers how the room will be used at different times of day. How finishes reflect light, and how each fixture works with the vanity, shower, storage, and architectural layout. Instead of treating lighting as a final hardware choice, a professional remodel integrates it into the design from the beginning.
King Remodeling brings that coordination into one remodeling experience for San Diego homeowners. The design and construction teams work together, while lighting and electrical installation are handled in-house. That one-stop-shop approach reduces the gaps that can occur when a homeowner chooses fixtures separately. Hires an electrician later, and tries to make every decision fit after the walls are already finished.
What does the lighting portion of a bathroom remodel include?
A cohesive plan addresses more than the appearance of a fixture. It maps the electrical and visual needs of the entire room, including how light should support grooming, movement, relaxation, and nighttime use. Depending on the space and your goals, the remodel process may cover several important areas.
- An electrical plan that coordinates fixture locations with the bathroom layout and finish selections.
- Separate dimmer circuits so bright task lighting and softer evening light can be controlled independently.
- Fixture placement that supports the mirror, vanity, shower, tub, and circulation paths without creating distracting glare.
- Balanced lighting zones that combine ambient, task, and accent light instead of leaving one area harshly bright and another underlit.
- Coordination of fixture styles, finishes, and scale with the rest of the bathroom design.
These decisions are easier to evaluate when you can see them before construction starts. King Remodeling uses 3D rendering to help clients preview how the proposed lighting layout will interact with the room. You can assess the overall mood, identify areas that need more illumination, and make informed adjustments before wiring and finishes are installed. It is a more useful decision-making tool than trying to imagine the result from a fixture catalog alone.
That is also where a planned remodel differs from a DIY fixture swap. Replacing a visible light may update the style, but it does not necessarily correct uneven illumination. Missing controls, poorly placed junction boxes, or a layout that no longer suits the remodeled space. A design-led installation considers the concealed electrical work as well as the visible fixtures. It also keeps the lighting plan aligned with ventilation, cabinetry, mirrors, tile, and other construction details.
King Remodeling backs installed lighting and electrical labor with a 3-year labor warranty. Homeowners can also review materials in person by exploring bathroom lighting options in our showroom, then connect those selections to a complete design rather than making isolated purchases. The result is lighting that feels intentional, performs reliably, and helps the finished bathroom work as beautifully as it looks.
Planning a remodel? Contact King Remodeling for a free San Diego bathroom consultation.
Frequently Asked Questions
How do you layer lighting in a bathroom?
Combine ambient, task, and accent lighting. Recessed fixtures or a central ceiling light provide overall brightness, vanity fixtures illuminate grooming, and accent lights add depth around niches, shelving, or the floor. If the room has a window or skylight, treat natural light as another layer and plan artificial fixtures to work after sunset.
Where should bathroom vanity lights be placed?
For the most even facial light, place sconces on both sides of the mirror at about eye level, typically 60 to 66 inches above the floor. Spacing them roughly 36 to 40 inches apart can help reduce shadows. A properly sized fixture above the mirror can supplement side lighting when the wall layout requires it.
What is the best type of light for a bathroom?
There is no single best fixture for every bathroom. A combination of ambient, task, and accent lighting is more effective than relying on one ceiling light. Choose brighter, clearer light where you shave or apply makeup, then use warmer, dimmable light elsewhere when you want a calmer atmosphere.
Do bathroom light fixtures need to be damp-rated?
Fixtures in moisture-prone areas should be rated for bathroom use, with the appropriate damp or wet rating for their location. Shower and tub areas require especially careful fixture selection, including suitable wet-zone trims and applicable IP protection. Have an electrician confirm placement and ratings during installation.
Can I use dimmers in the bathroom?
Yes. Dimmers let you use brighter light for cleaning and grooming, then lower the intensity for a softer evening or spa-like setting. Make sure the dimmer is compatible with the fixture and LED bulbs, and have the wiring reviewed as part of the remodel.
Ready to Bring Your Bathroom Lighting Ideas to Life?
A thoughtful lighting plan can make your bathroom easier to use, more comfortable, and better suited to the atmosphere you want at home. King Remodeling can help you connect fixture placement, finishes, and the broader remodel so the final design feels cohesive.
Get started with a free bathroom remodel consultation from King Remodeling in San Diego.