Installing new flooring can change how a room looks, feels, and functions, but the finished result depends on what happens before the first plank or tile is set. Flooring installation mistakes can create visible gaps, cracked grout, squeaks, buckling, premature wear, and expensive rework. In 2026, homeowners also have more material choices, including luxury vinyl plank (LVP), engineered hardwood, and porcelain tile, and each one has different preparation and installation requirements.
Schedule a flooring consultation with King Remodeling before your project begins.
What Are the Most Common Flooring Installation Mistakes?
The most common problems are not always caused by the flooring itself. They usually begin with an unprepared substrate, a material chosen without considering the room, or an installation plan that ignores the manufacturer’s instructions. A useful pre-installation checklist includes:
- Inspecting the subfloor for damage, movement, uneven areas, and moisture concerns.
- Choosing a material that fits the room’s traffic, water exposure, sunlight, and maintenance needs.
- Confirming acclimation, adhesive, underlayment, fastener, and expansion requirements for the selected product.
- Planning transitions, seams, pattern direction, stair details, and door clearances before installation.
- Allowing adhesives, mortar, grout, and finish products to cure for the period specified by the product manufacturer.
Skipping any of these steps can turn a straightforward flooring project into a repair project. The ten mistakes below explain what to check and why the detail matters.
How Can You Prepare the Subfloor Correctly?
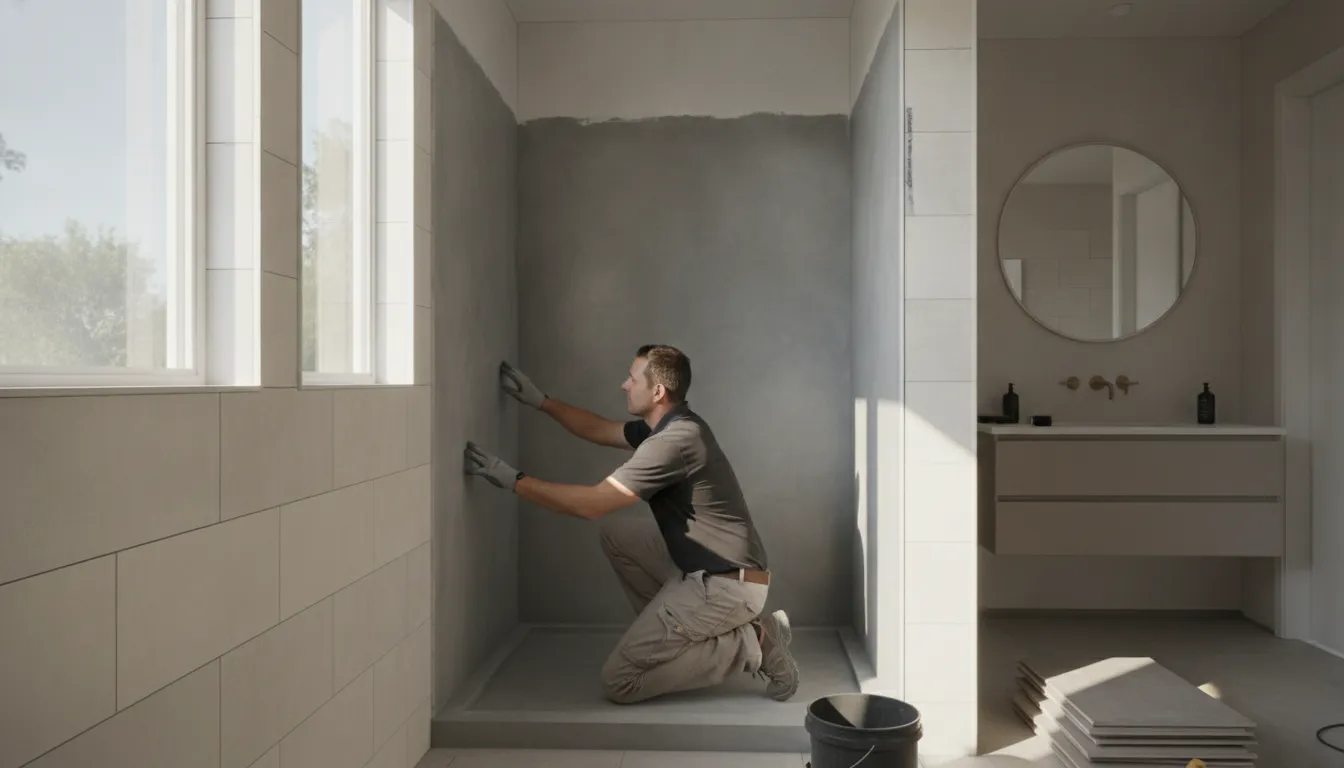
Installing new flooring over a dirty, damaged, or uneven subfloor is one of the fastest ways to create a problem that remains visible after the work is complete. A subfloor does not need to be perfectly smooth in every project, but it must meet the flatness, dryness, cleanliness, and structural requirements of the flooring system. A professional assessment should look for soft spots, loose panels, cracks, high areas, low areas, fasteners that sit proud, and signs of prior water intrusion.
Mistake 1: Installing over an uneven or damaged surface
Flooring follows the surface below it. A low area can allow movement, while a high spot can prevent planks or tile from sitting evenly. Flexible materials may telegraph imperfections, and rigid materials can crack or separate when the substrate moves. Repairs may include fastening loose areas, replacing damaged sections, correcting high or low spots, or installing an approved underlayment. The correct solution depends on the existing floor assembly and the product being installed.
Mistake 2: Ignoring moisture and cleanliness
Dust, adhesive residue, grease, and construction debris can interfere with bonding and create an uneven installation. Moisture can be especially disruptive under wood products, adhesives, and some resilient flooring systems. In a San Diego home, coastal humidity, plumbing conditions, slab moisture, and room ventilation can all affect the project. Moisture testing and any required barrier should follow the flooring manufacturer’s instructions. Do not assume that a product labeled waterproof makes the entire floor assembly waterproof.
Why Is Choosing the Wrong Flooring Material a Mistake?
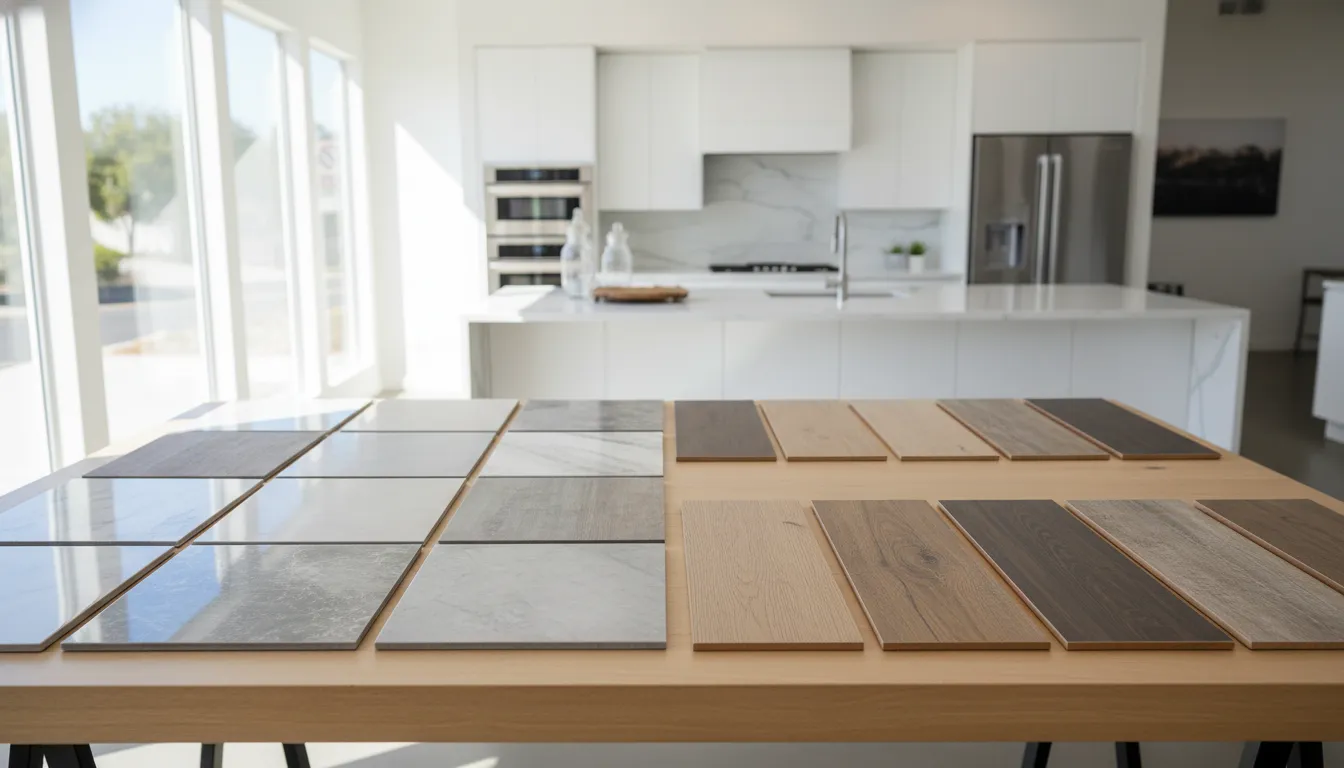
Material selection is not only a style decision. It affects installation method, subfloor preparation, maintenance, sound, comfort, moisture tolerance, and the likelihood of future movement. Current options can all work well when matched to the project, but there is no universal best flooring material for every room.
LVP
LVP can be a practical choice for busy areas because many products are designed for durable, easy-care performance and can offer strong moisture resistance. However, LVP still needs a properly prepared, sufficiently flat substrate. Click-lock systems require careful alignment and room for movement at the perimeter. Product construction varies, so installation should follow the specific instructions for the selected plank rather than a generic vinyl checklist. For more planning ideas, compare different luxury vinyl plank options before ordering material.
Engineered hardwood
Engineered hardwood has a real wood surface and a layered construction, but it is not immune to humidity changes or installation errors. Acclimation, moisture conditions, expansion space, subfloor type, and fastening or adhesive requirements must all be checked. A product that is suitable for one slab or room may not be suitable for another. Review the installation method with the product documentation and consider how the flooring will transition to adjacent rooms. This LVP and engineered hardwood comparison can help organize the decision.
Tile
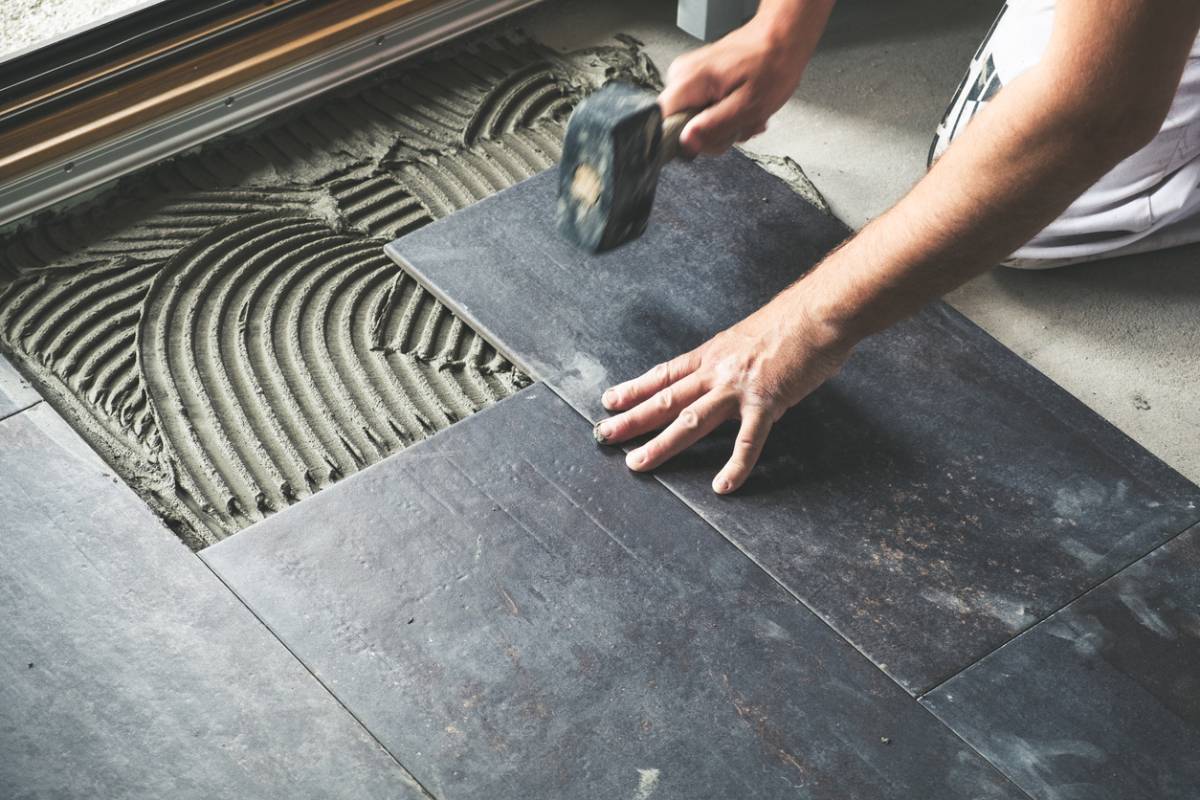
Tile is durable, but it is rigid and depends on a stable, properly prepared substrate. Tile, mortar, grout, layout, movement accommodation, and edge details work as one system. A tile installation can look level at the center of a room and still fail if the substrate flexes or if the layout leaves narrow, awkward cuts along the most visible wall. Select tile with the room’s water exposure, slip needs, cleaning expectations, and transition details in mind.
Which Installation Mistakes Affect LVP Flooring?
Mistake 3: Failing to leave the required expansion space
Floating LVP floors need room to respond to normal changes in the indoor environment. If planks are wedged tightly against walls, cabinets, door frames, or other fixed objects, the floor may buckle or separate. Baseboards and transitions can cover the planned perimeter space, but they should not be used to hide a random or inconsistent installation. Follow the product’s required gap and account for fixed obstacles before the first row is installed.
Mistake 4: Assuming every LVP product installs the same way
Thickness, locking profile, backing, underlayment requirements, seam details, and approved installation locations vary between products. Adding an unapproved pad, mixing cartons with different locking systems, or ignoring the required subfloor tolerance can cause movement and visible seams. Read the current installation guide for the exact product, retain the lot information, and inspect cartons before installation.
Request a project review to match your flooring material to the room and subfloor.
What Goes Wrong When Installing Engineered Hardwood?
Mistake 5: Skipping acclimation and indoor-condition checks
Wood flooring should be installed in conditions that match the manufacturer’s requirements, not simply when the boxes arrive at the house. Temperature, humidity, subfloor moisture, and the condition of the building can affect the result. The required acclimation period is product-specific, so a general promise such as 48 hours is not a substitute for the product guide. Keep records of the material and follow the instructions for the specific installation method.
Mistake 6: Neglecting layout and transitions
Plank direction, starting points, staggered joints, light from windows, closets, stair noses, and transitions should be planned together. Starting at the most convenient wall can leave an unbalanced final row or a narrow strip at a doorway. Measure the room, dry-plan difficult areas, and resolve height differences before adhesive or fasteners are involved. For additional planning context, review this guide to hardwood floor installation considerations.
How Do Tile Installation Mistakes Cause Cracks or Uneven Floors?
Mistake 7: Treating tile as a cosmetic layer only
Tile requires a compatible substrate and a setting system suited to the tile, room, and project conditions. If the base moves, the tile and grout may crack even when the surface looked level during installation. Layout should account for control or movement details where required, and mortar coverage should be appropriate for the installation. Cutting corners on substrate preparation is rarely saved by using more grout or a stronger-looking tile.
Mistake 8: Rushing mortar, grout, or movement details
Mortar and grout need time to set and cure. Walking on the floor, washing it, or loading the room too soon can disturb the installation. Grout joints also need consistent depth and proper treatment at changes of plane and other movement areas. Follow the product data sheets for working time, cure time, temperature, and cleaning. The schedule should be planned around these requirements rather than forcing the floor to be usable immediately.
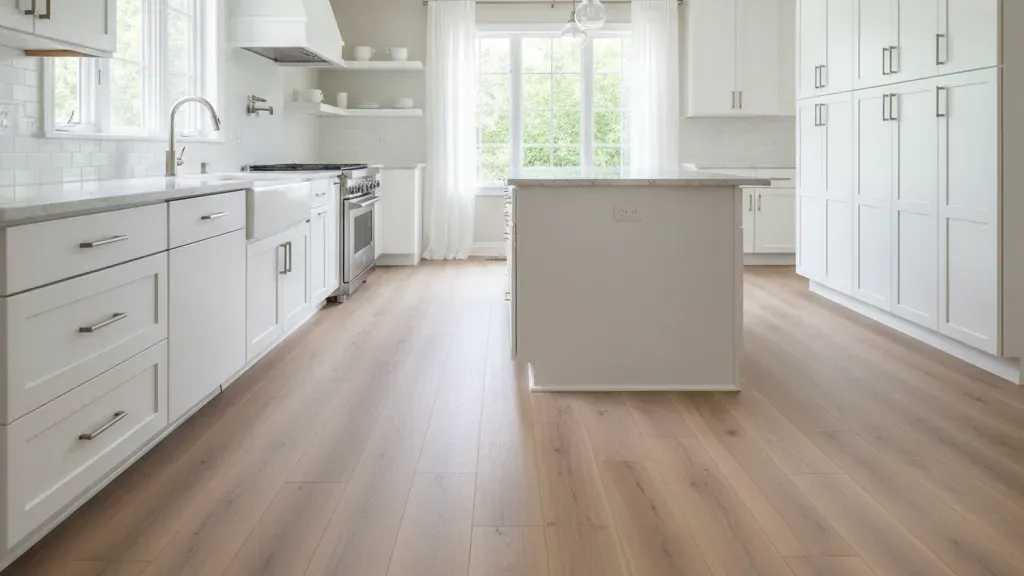
How Can You Avoid Mistakes in Flooring Layout and Installation?
Mistake 9: Failing to plan the complete floor assembly
A flooring decision affects more than the visible surface. Check underlayment, vapor or moisture management, trim, transitions, appliances, doors, baseboards, cabinets, and adjacent floor heights before ordering. A new floor may raise a doorway, change a refrigerator clearance, or leave an exposed edge at a stair. Planning these details early prevents last-minute cuts and makes the finished installation feel intentional.
Mistake 10: Relying on generic instructions or rushing the finish
Manufacturer instructions are not optional, and they can change as product systems change. Use the current guide for the exact material, adhesive, underlayment, tool, and accessory. Do not mix recommendations from unrelated products. Protect the finished floor during the remaining remodel work, use the recommended cleaning products, and wait for the specified cure time before normal traffic. Professional flooring installation support can help coordinate these details and reduce avoidable rework.
How Much Can Flooring Installation Mistakes Cost to Correct in 2026?
There is no reliable single correction price for every flooring project. The cost depends on the room size, material, access, demolition, subfloor condition, moisture remediation, trim and transition work, furniture or appliance moving, and whether the problem has spread beneath the visible surface. A small layout adjustment before installation can be far less disruptive than removing a finished floor after buckling, cracking, or moisture damage appears.
When comparing proposals, ask what is included in the preparation and correction allowance. A useful scope should identify:
- Removal and disposal of existing flooring, if needed.
- Subfloor inspection, preparation, leveling, or repair.
- Moisture testing and any approved moisture-management system.
- Material waste, transitions, trim, adhesive, underlayment, mortar, and grout.
- Protection, cleanup, cure time, and the expected handoff condition.
These are planning factors, not King Remodeling pricing. The most accurate way to understand a 2026 project budget is to request a room-specific assessment and quote after the material, scope, and existing conditions are reviewed.
How Can San Diego Homeowners Avoid Flooring Installation Problems?
San Diego homes can have different conditions from one neighborhood and building type to another. Coastal air, inland temperature swings, slab construction, older subfloors, open-plan rooms, and active kitchens or bathrooms all affect material selection and preparation. A good plan considers how the room is used, where water may be present, how much direct sun reaches the floor, and how the new flooring will meet adjacent rooms.
Before scheduling installation, bring the installer or remodeling team the product name, room measurements, photos of transitions and doorways, and any history of leaks or repairs. Ask which requirements are product-specific and which preparation steps are included in the scope. If you are still comparing materials, use King Remodeling’s waterproof flooring options guide as one input, then confirm the choice against your actual subfloor and household needs.
Talk with King Remodeling about a flooring plan built around your San Diego home.
Frequently Asked Questions About Flooring Installation Mistakes
What is the most important step before installing flooring?
Inspect and prepare the subfloor, including its condition, flatness, cleanliness, and moisture status, before ordering or installing the finished material.
Can LVP be installed over an uneven floor?
LVP still needs a substrate within the product’s flatness requirements. Correct high and low areas according to the manufacturer’s instructions before installation.
Does engineered hardwood need to acclimate?
Many products require acclimation, but the timing and conditions are product-specific. Follow the current installation guide and check indoor and subfloor conditions.
Why does tile crack after installation?
Common causes include substrate movement, inadequate preparation, poor mortar coverage, missing movement accommodation, and premature traffic or moisture.
How do I estimate flooring correction costs?
Request a project-specific assessment that accounts for material, demolition, subfloor work, moisture conditions, transitions, trim, labor, and protection.
Book your King Remodeling flooring consultation and avoid preventable installation mistakes.