The best kitchen lighting ideas do more than brighten a room. They make food preparation safer, help finishes look their best, and let the kitchen shift from an active workspace to a comfortable gathering place. A successful plan combines several light sources instead of relying on one ceiling fixture.
Request a kitchen remodeling consultation with King Remodeling.
A complete kitchen lighting plan combines ambient, task, and accent light. Recessed fixtures provide general coverage, under-cabinet LEDs illuminate counters, and pendants focus light over an island. Separate dimmers let each layer respond to cooking, dining, and entertaining.
Kitchen lighting ideas begin with three layers
Lighting works best when every fixture has a defined job. Ambient light supports safe movement throughout the room. Task light targets counters, sinks, cooktops, and islands. Accent light adds depth by highlighting a backsplash, display cabinet, or architectural detail.
This layered approach avoids two common problems. A single bright fixture creates glare while leaving work surfaces in shadow. Too many identical recessed lights can make a kitchen feel flat. Combining layers creates useful contrast without sacrificing visibility.
- Ambient light: recessed fixtures, flush mounts, or indirect ceiling light for overall coverage.
- Task light: under-cabinet strips and focused island fixtures for detailed work.
- Accent light: cabinet, toe-kick, and display lighting that adds visual depth.
- Natural light: windows and openings that reduce daytime demand and influence fixture placement.
Each layer should have its own control. Dimmers make the plan more flexible and can reduce unnecessary energy use. They also help adjacent rooms feel connected in an open floor plan.
How should recessed kitchen lights be laid out?
Recessed lighting should follow the room’s work zones, not a rigid ceiling grid. Begin with the counters, sink, range, circulation paths, and cabinet faces. Then place fixtures so people do not block the light while standing at a work surface.
Use spacing rules as a starting point
Dividing ceiling height by two offers a useful first estimate for fixture spacing. An eight-foot ceiling may begin with roughly four-foot spacing. The final plan still needs adjustment for beam angle, lumen output, cabinet depth, and ceiling conditions.
Fixtures near perimeter counters often work better when aligned closer to the counter edge. Lights placed behind the person cooking can cast their shadow directly onto the work area. A reflected ceiling plan helps identify this conflict before installation.
Control glare and visual clutter
Recessed fixtures should support pendants and decorative lights rather than compete with them. Select consistent trim colors and avoid overloading the ceiling. Wide-beam fixtures can create smooth coverage with fewer visible points.
Wall washing can make a compact kitchen feel larger. Place appropriate fixtures far enough from a textured wall or backsplash to spread light evenly. The exact offset depends on ceiling height and the fixture’s beam.
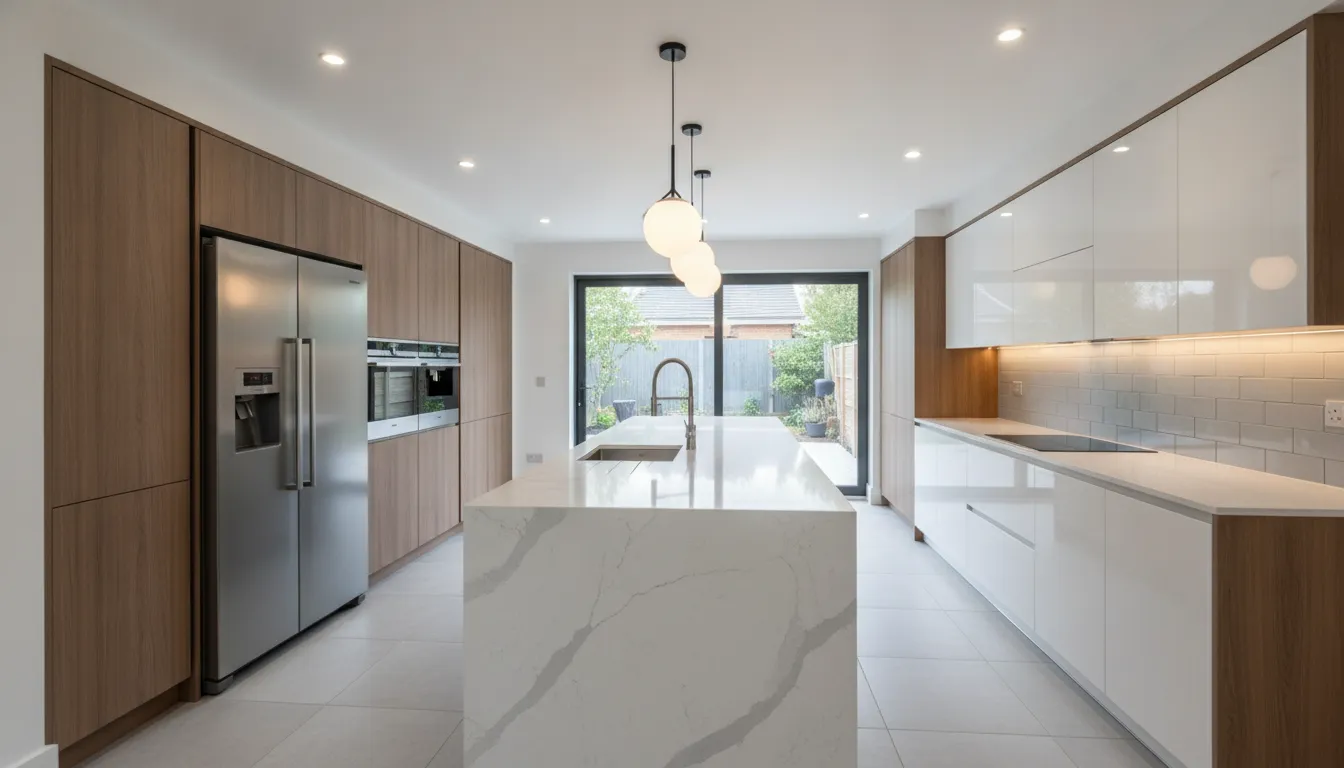
Under-cabinet lighting improves real work surfaces
Upper cabinets block ceiling light before it reaches the counter. Under-cabinet lighting solves that problem at the source. It improves visibility for chopping and reading while revealing the color and texture of a backsplash.
Choose strips for even illumination
Continuous LED tape or linear bars usually create a smoother result than widely spaced puck lights. A diffuser softens individual LED points, especially above reflective stone. Mounting the light near the front edge helps direct illumination toward the center of the counter.
Plan hardwired lighting before drywall and cabinets are installed. This keeps wiring and drivers out of sight. Plug-in options can work for a smaller update, but visible cords may weaken a clean design.
Coordinate color and color rendering
Color temperature changes how finishes appear. Many residential kitchens feel comfortable between 2700K and 3000K. A high Color Rendering Index helps wood, stone, paint, and food look accurate rather than dull.
Match color temperature across adjacent layers unless a deliberate contrast is part of the design. Mixing noticeably blue under-cabinet light with warm pendants can make a finished kitchen look disconnected.
Explore King Remodeling’s kitchen remodeling services in San Diego.
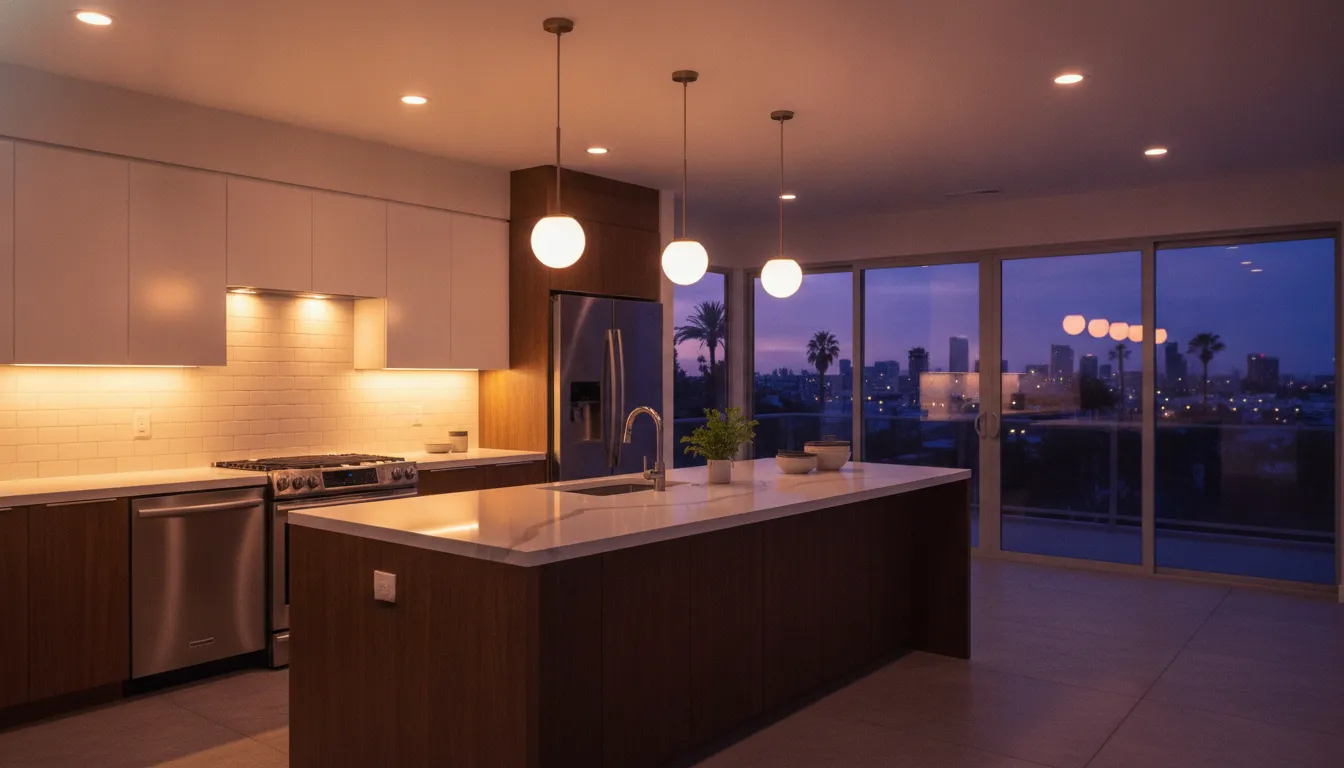
What makes kitchen island lighting work?
Kitchen island lighting must balance task performance, proportion, and sightlines. Pendants can become the room’s visual anchor, but their size and placement should relate to the island and surrounding architecture.
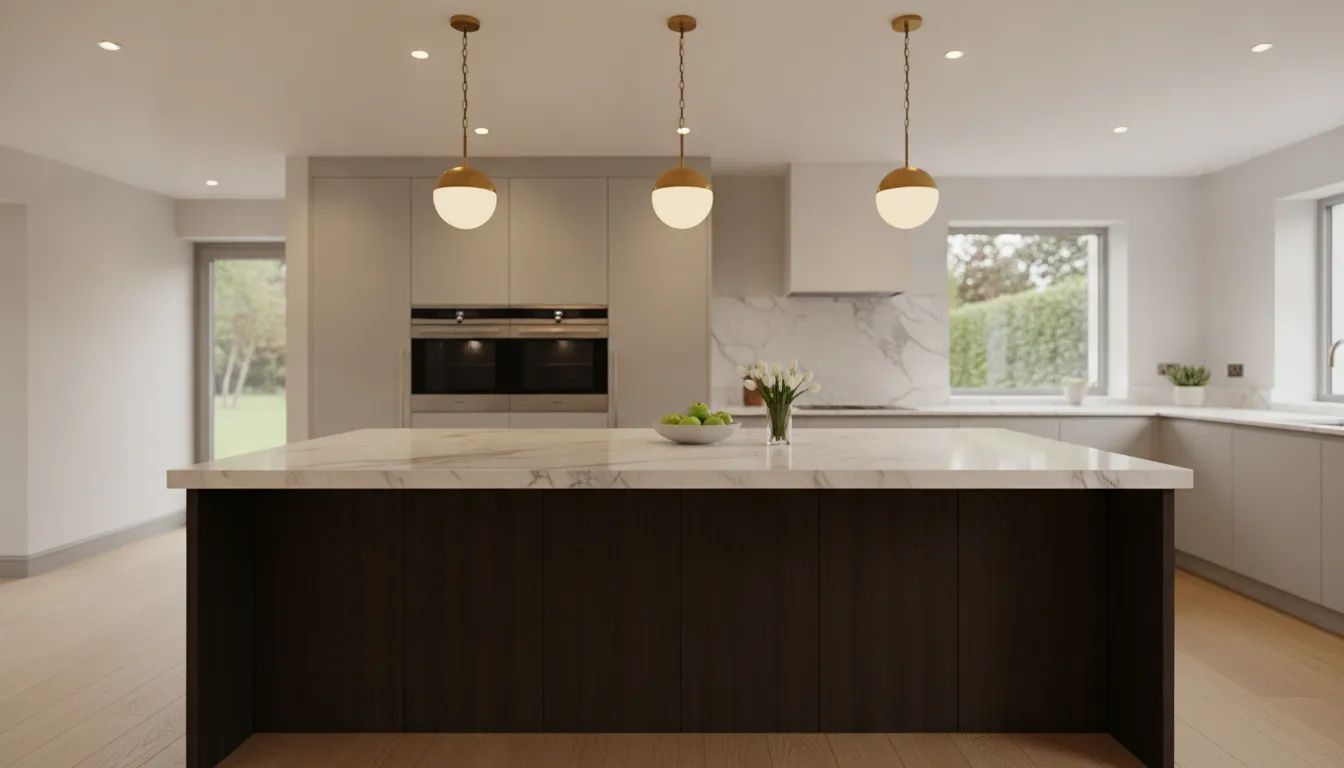
Match fixture scale to the island
Two substantial pendants may look more intentional than several small ones. A long island may suit three fixtures or one linear suspension. Leave enough space between fixtures for an even rhythm and unobstructed views.
A common starting height is 30 to 36 inches above the counter. Taller occupants, larger fixtures, and open sightlines may require adjustment. The goal is useful illumination without glare or a blocked view across the room.
Coordinate pendants with recessed lighting
Avoid placing a recessed fixture directly beside each pendant. That arrangement can create excess brightness and a busy ceiling. Use recessed lights for the broader zone, then let pendants define the island.
Put island lights on their own dimmer. Bright output supports prep and homework. Lower output creates a softer atmosphere during meals or conversation.
Kitchen lighting cost ranges by fixture type
Lighting costs vary according to fixture quality, wiring access, controls, ceiling conditions, and the number of circuits. A fixture swap on existing wiring is simpler than relocating several lights during a full remodel. Custom pendants and smart controls add both material and installation complexity.
| Lighting element | Relative cost | Main planning factor |
|---|---|---|
| Basic recessed LED | Standard | Ceiling access and spacing |
| Under-cabinet LED | Standard to mid-range | Hidden wiring and drivers |
| Decorative pendants | Mid-range to premium | Fixture design and support |
| Smart dimmers and zones | Mid-range | Compatible wiring and controls |
| Custom accent lighting | Premium | Integration with cabinetry |
Planning all circuits together is usually more efficient than adding lights after finishes are complete. During a complete kitchen remodel, designers can coordinate lighting with cabinet elevations, appliance locations, and electrical work.
Which lighting specifications matter most?
Fixture style matters, but performance specifications determine how the kitchen feels after installation. Compare fixtures by lumen output, beam spread, dimming range, color temperature, and Color Rendering Index. These details reveal far more than wattage alone.
Evaluate light output by zone
There is no useful one-size-fits-all lumen target for every kitchen. Dark cabinet finishes, tall ceilings, and limited daylight can increase the amount of light a room needs. Glossy counters and pale finishes reflect more light, so poorly aimed fixtures may create glare even when their output seems modest.
A professional plan treats each work zone separately. Counter lighting should be even and shadow-free. Island pendants must support tasks without shining into seated eyes. Recessed lights should fill gaps and circulation areas rather than duplicate every other source.
Confirm dimmer and fixture compatibility
Not every LED fixture works well with every dimmer. An incompatible pairing can flicker, buzz, or refuse to dim smoothly. Confirm compatibility before ordering a full set, and test the selected combination whenever possible.
Also decide where drivers, transformers, and junction boxes will remain accessible. Hiding equipment is important, but burying a serviceable component behind finished cabinetry creates unnecessary repair work later.
How can kitchen lighting use less energy?
Efficient lighting begins with LEDs, but fixture count and control strategy matter too. A thoughtful plan supplies light where it is needed. It avoids using every fixture at full output for every activity.
- Choose efficient LEDs. Compare lumens, color temperature, and color rendering rather than wattage alone.
- Create separate zones. Control counters, island, ceiling, and accent fixtures independently.
- Add compatible dimmers. Confirm that the selected LED fixtures and controls work together without flicker.
- Use daylight well. Keep window areas open and consider how reflective finishes distribute natural light.
- Plan switching locations. Convenient controls make it easier to turn off lights that are not needed.
Smart controls can support schedules and scenes, but they should not make everyday use difficult. A clear wall control remains valuable for guests and routine tasks. Technology should simplify the room, not add friction.
Talk with King Remodeling about a coordinated kitchen lighting plan.
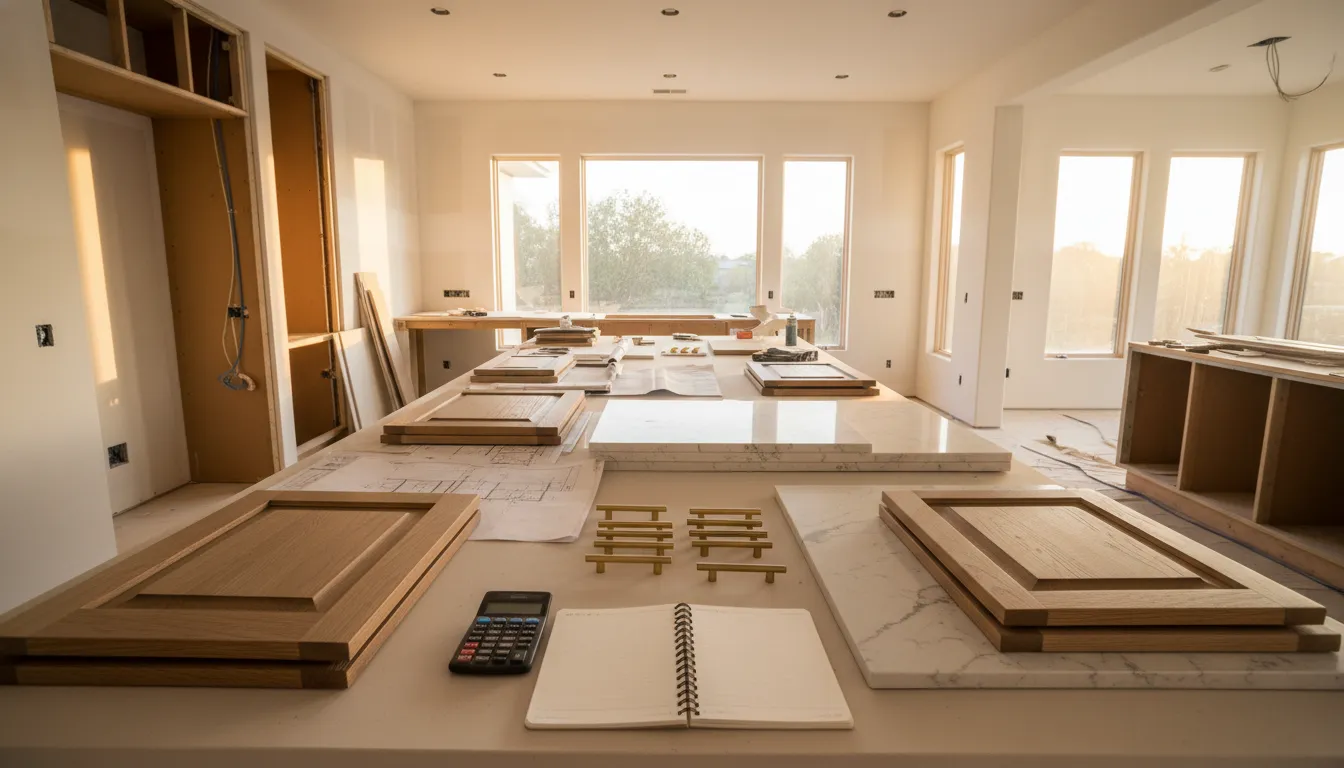
Plan lighting early in a kitchen remodel
Lighting decisions affect framing, electrical circuits, drywall, cabinetry, and finish selections. They belong near the beginning of design, not at the end. Early coordination also reduces the risk of lights colliding with cabinet doors, ventilation, or ceiling features.
Map tasks before selecting fixtures
Start by listing how each zone will be used. A sink needs direct task light. An island used for prep and seating needs flexible output. Display cabinets need subtle accent light. This process establishes performance needs before decorative choices take over.
Review the full room in elevation
A ceiling plan alone cannot show every conflict. Cabinet elevations reveal upper cabinet heights, crown details, appliance panels, and open shelves. Reviewing both views helps align lights with the finished architecture.
The plan should also record fixture model numbers, trim colors, color temperatures, switch locations, and control zones. That schedule helps the construction team install what the homeowner approved. It also reduces the chance of a last-minute substitution changing the room’s appearance.
King Remodeling brings design, material selection, and construction together for San Diego homeowners. Its integrated remodeling process helps lighting decisions stay coordinated with the complete renovation rather than becoming a late addition.
Working with one design-build team also makes it easier to review cabinetry, electrical work, and finishes together. King Remodeling is a licensed California contractor, license #1039019, with experience coordinating kitchen lighting as part of complete remodels.
Walk through the lighting plan before construction
A final design review should test the plan against everyday activities. Imagine preparing food at each counter, opening tall cabinet doors, cleaning the sink, and sitting at the island. This walk-through often reveals shadows, blocked views, or inconvenient switches before they become expensive field changes.
Ask to see each lighting layer by itself and in common combinations. The review should confirm which switch controls each zone and whether the dimmers are easy to understand. It should also confirm that decorative fixtures fit the intended ceiling boxes and do not conflict with cabinet doors or appliance panels.
Keep the final fixture schedule with the remodel records. Model numbers, lamp specifications, and dimmer information make future replacement and maintenance easier. They also help preserve consistent color and output if a fixture needs service later.
Frequently asked questions
How far from the wall should recessed kitchen lights be?
About two feet is a common starting point, but cabinet depth and beam angle should guide the final placement. Perimeter task lighting often needs to align closer to the counter edge.
What color temperature is best for a kitchen?
Many homeowners prefer 2700K to 3000K for a warm, comfortable appearance. Choose a high Color Rendering Index so food and finish colors remain accurate.
How high should pendant lights hang above an island?
A typical starting range is 30 to 36 inches above the counter. Adjust it for fixture size, ceiling height, occupant height, and clear sightlines.
Should kitchen lighting be on separate switches?
Yes. Separate controls for ambient, task, accent, and island lights improve flexibility. Dimmers allow each layer to support cooking, dining, or entertaining.
Build a brighter, better-coordinated kitchen
Effective kitchen lighting supports every part of the room. Layered fixtures make counters safer, improve the appearance of materials, and create a comfortable atmosphere after cooking ends. The strongest results come from planning placement, wiring, and controls with the rest of the remodel.
Contact King Remodeling to plan your San Diego kitchen remodel.