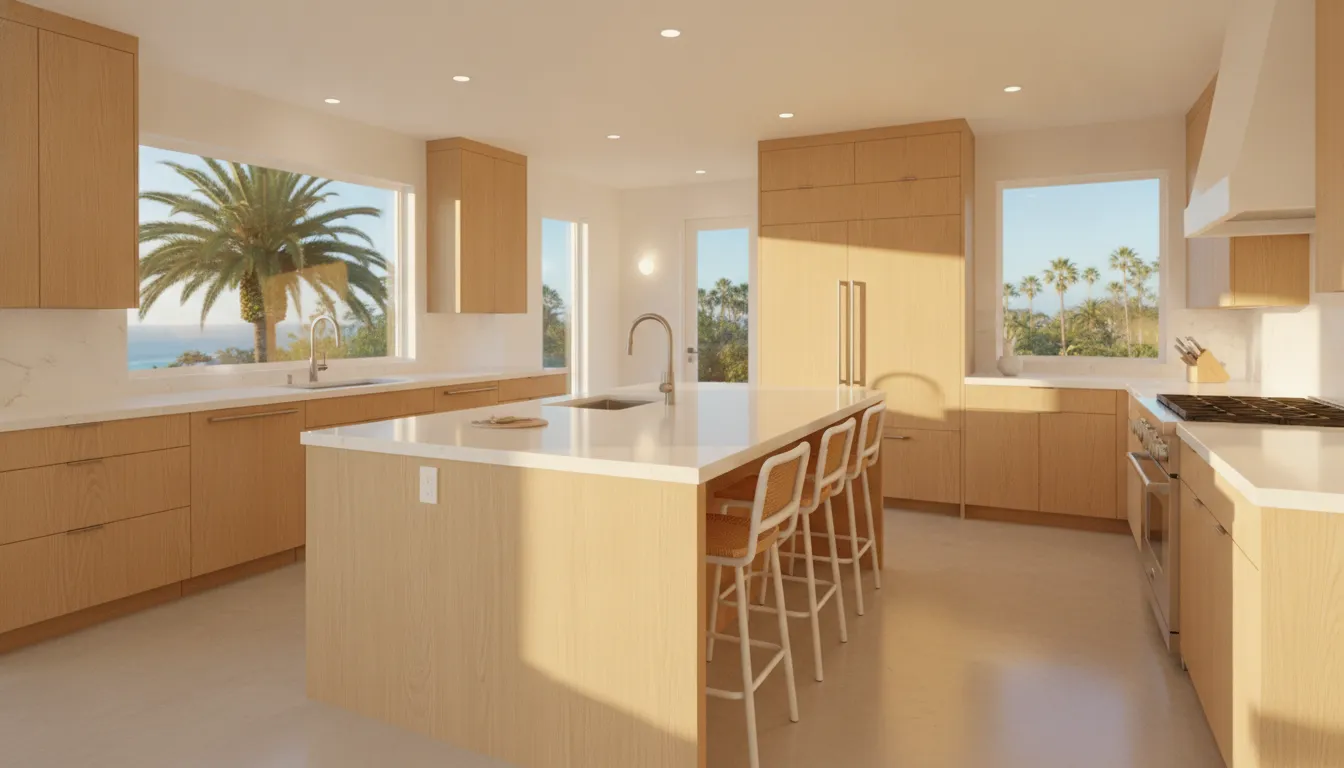
Learning how to paint kitchen cabinets starts with the boxes, not the color chip. Paint can refresh sound doors and frames. It cannot fix a sagging shelf, a swollen panel, or a layout that no longer fits how you cook. Check the cabinet boxes first, then plan the cleaning, sanding, primer, and cure time before you open a can.
Call (858) 299-7700 to talk through your cabinets
King Remodeling is a licensed San Diego design-build contractor (License #1039019). At our Design Center at 10035 Carroll Canyon Rd, Ste D, San Diego, CA 92131, you can compare a painted sample with custom cabinet options before you commit. The phone number on our site is (858) 299-7700.
Decide if the cabinets are worth painting
Open every door and drawer, then press on the shelves and look along the door edges with a light. You want solid boxes, hinges that still close, and a finish that is dull or dated rather than falling apart.
Painting is a reasonable plan when the layout still works and the boxes are dry and square. It is a poor plan when particleboard is swollen near the sink, veneer is peeling in sheets, or the doors no longer sit in the opening. A smooth coat of paint will not hide those problems. It often makes them easier to see.
Also look at how you use the kitchen. If you want different door sizes, a new island, or more drawer storage, paint will not change the bones of the room. In that case, compare a paint plan with custom cabinet options before you spend a weekend on prep. Our cabinet refacing versus replacement guide covers that choice in more detail. This article stays on the painting steps.
Older San Diego homes need one extra check. If the house was built before 1978, painted surfaces may contain lead. The U.S. Environmental Protection Agency says anyone paid to disturb paint in pre-1978 homes must be certified and trained in lead-safe work. Homeowners painting their own home are generally outside that rule, but rentals, in-home childcare, and house flips are not. Read the EPA Lead Renovation, Repair and Painting Program before you sand an older kitchen.
Set up the room before you paint
Empty the cabinets completely. Take out food, dishes, and anything else that can hold dust, then cover the counters, the floor, and the appliances. Kitchen paint work creates a fine dust, and that dust settles on every open surface nearby.
Plan the job around how you eat. Most kitchens need the doors off for several days, not one afternoon. Cleaning, sanding, primer, and two finish coats each need dry time. A small bank of doors can fit a long weekend. A full kitchen with many drawers usually takes longer, because every piece has to be labeled, painted, and put back in the same opening.
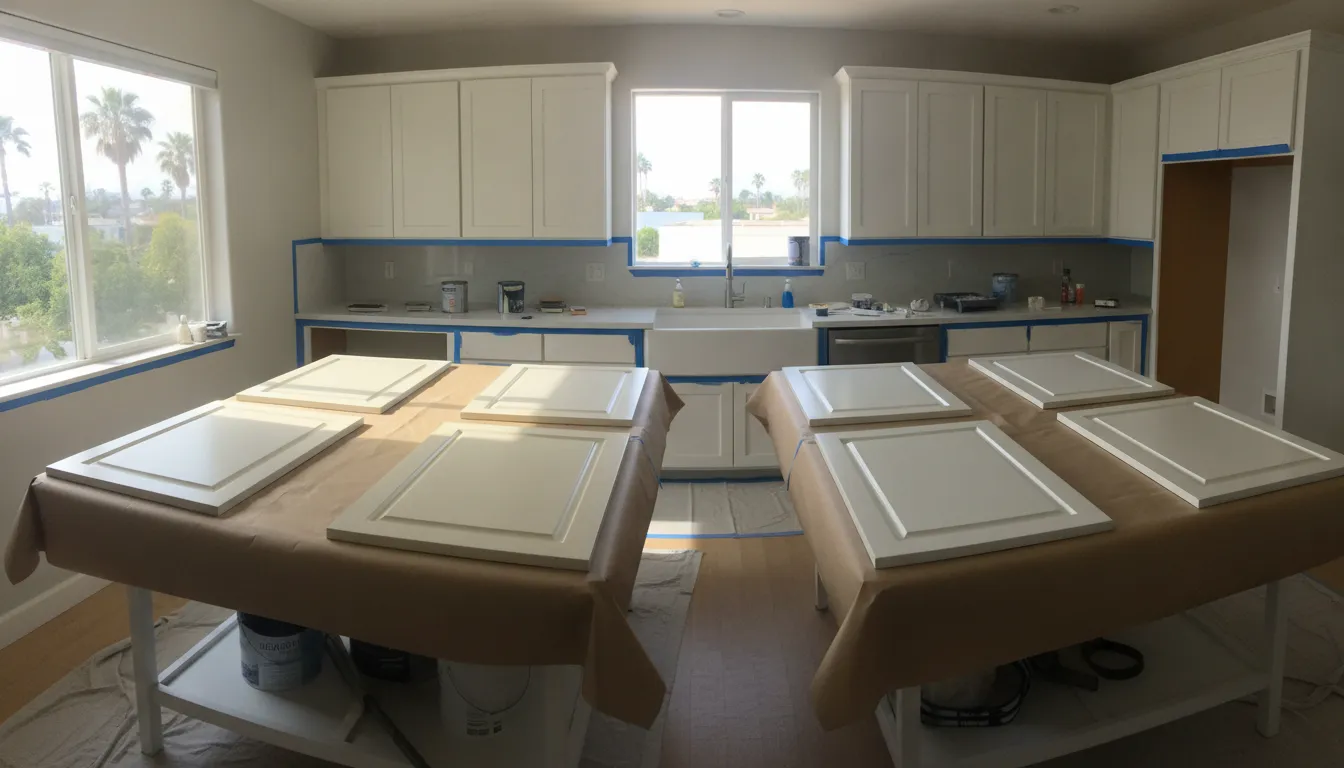
Work in a clean, dry space, because coastal humidity around San Diego can slow drying and a closed garage is a poor place to stack wet doors. Lay each door flat on a table you can walk around. Painting a door while it still hangs on the box is how drips collect in the panel corners.
Remove the doors, drawers, and hardware
Taking the doors off is the step most people want to skip. It is also the step that separates a smooth finish from a brushy one. You can paint the cabinet boxes in place. The doors and drawer fronts should come off so you can coat the edges.
Label every piece before it leaves the cabinet. A simple numbering system keeps the doors matched to the right openings when you hang them back up.
- Number the cabinet opening, starting at the top left and moving across, then down.
- Put the same number on the back edge of the matching door or drawer front.
- Bag the hinges and screws for that door in a labeled bag.
- Note which doors are left-hinged and which are right-hinged.
- Photograph the hinge side before you remove the hardware, in case a mark rubs off.
Keep the pulls and knobs if you plan to reuse them, and fill the old holes before primer when the new hardware will not match those holes. A filled spot that sits proud of the surface will show through the finish, so sand it flush before you prime.
Do not toss the hinge screws into one cup. Because cabinet screws are often specific to the hinge and a mismatched screw can strip the hole in the box. If a screw hole is already loose, repair it before the door goes back on. Paint will not tighten a stripped hinge.
Clean and sand so the paint can stick
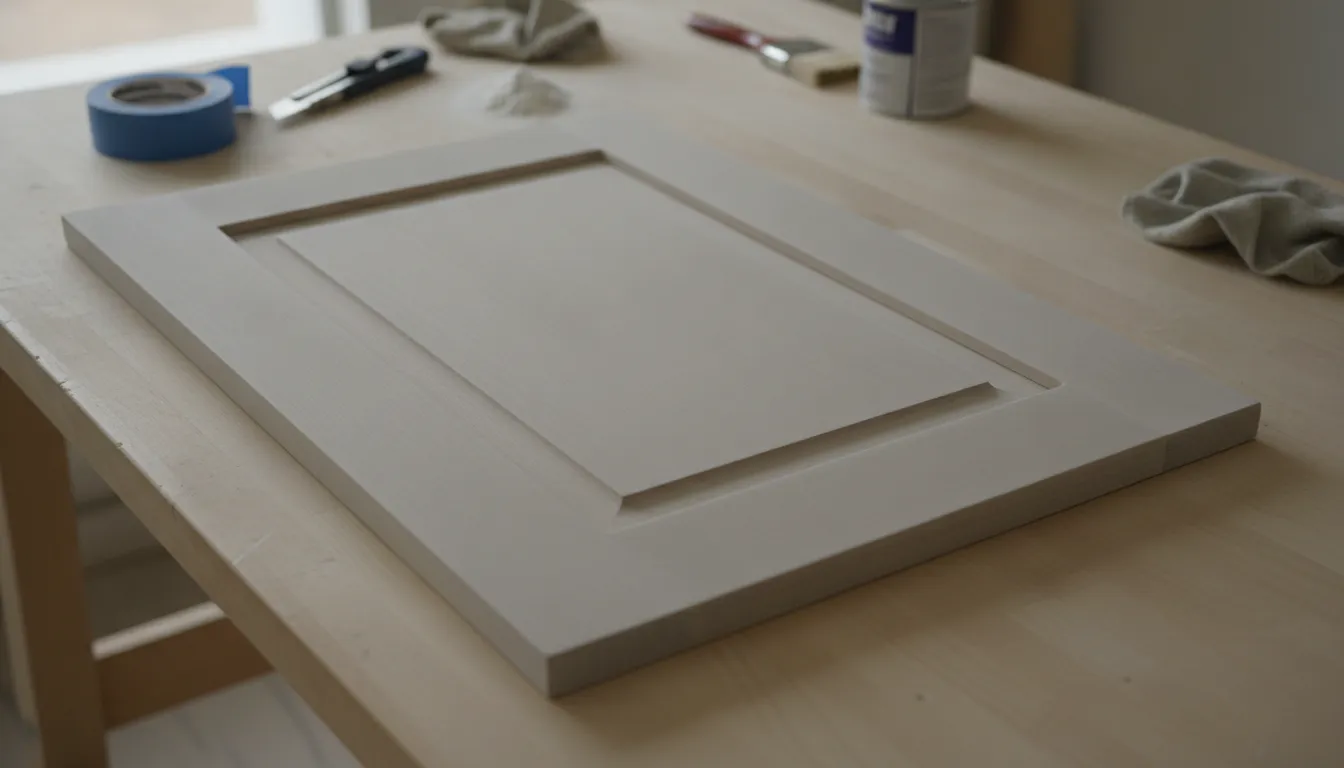
Grease is the main reason cabinet paint peels once the kitchen goes back into daily cooking. Cooking film sits on the rails near the stove and on the doors above it, and a light wipe with a dry cloth will not remove it. Wash every door, drawer front, and frame with a degreaser made for kitchen surfaces, then rinse so no soap film remains. Let the wood dry fully before you sand.
After the surface is clean, scuff it so the primer has a tooth to hold. You are not trying to strip the old finish down to bare wood. You are only dulling the shine so the primer has something to grip. A fine sanding sponge, or 180- to 220-grit paper, is enough on a factory finish that is still bonded. Sand with the grain on wood doors. On flat thermofoil or laminate doors, a scuff pad is safer than aggressive sanding, which can cut through a thin face.
Vacuum the dust, then wipe every piece with a tack cloth or a lightly damp microfiber cloth. Dust left in the panel groove becomes a ridge under the paint. If you can still see your fingerprint in the dust, wipe the door again before you open the primer.
Fill dents and open seams before you prime, using a sandable wood filler on wood and a filler rated for the door material on laminate or MDF. Deep damage along a sink cabinet is a warning, not a filler project. If the box is soft, stop and look at replacement instead of burying the damage under paint.
Choose primer and paint for a cabinet finish
Cabinet doors get slammed, wiped, and splashed, so ordinary wall paint is the wrong product for this job. Use a primer that bonds to the existing finish, then a cabinet enamel or a trim enamel made for hard use. Read the can and confirm the label says it is for cabinets, trim, or doors, not only for walls.
Match the primer to the surface you already have, because the old finish decides the product more than the color chip does.
- Stained or clear-coated wood usually needs a bonding primer so the new film does not sit on a slick coat.
- Dark wood going to a light color needs a stain-blocking primer, or the grain color can bleed through.
- Laminate and thermofoil need a bonding primer made for slick surfaces. If the film is already peeling, primer will not save it.
- Bare patches from sanding-through should be spot-primed so the finish coat does not flash a different sheen there.
Sheen changes how the kitchen looks and how it wears once the doors are back in daily use. A flat finish hides small waves but marks easily, while satin and semi-gloss are easier to wipe and are the usual choice for cabinet doors. A high gloss can look smooth from across the room, yet it shows every brush line when you stand close.
Color is the last choice, not the first one you should lock in. Paint a sample board and set it next to the counter and the floor in daylight and again at night. A white that looks clean in the store can look blue or yellow in a north-facing San Diego kitchen. If you want a two-color kitchen, our note on two-tone kitchen cabinets is about color pairing, not about the painting steps on this page.
How to paint kitchen cabinets, coat by coat
Prime every surface you will see, including door edges and the inside edge of the frame. Thin coats beat one heavy coat. A heavy coat sags in the corners of a shaker panel and takes longer to cure.
After the primer dries, sand it lightly with fine paper to knock down dust nibs, wipe the dust off, and then apply the finish paint. Most color changes need two finish coats, and a light color over a dark stain may need a third. Even when the new color is close to the old one, two coats is still the safer plan, because thin spots show once the kitchen lights are on.
Paint the details before the flat fields. On a shaker door, coat the inner panel edge first, then the panel, then the rails and stiles. Finish with the outer edges. That order keeps a wet edge from drying into a lap mark. Brush or roll with a product the paint maker names for smooth finishes, and keep a light touch. Pressing hard leaves ridges.
Do one side, let it dry, then flip the door only when the film is firm enough not to print. Painter points or a rack keep the wet face off the table. The cabinet boxes stay on the wall. Cut in along the tape line, then roll or brush the frame in thin passes. Remove the tape while the paint is still soft enough to leave a clean edge.
Wait the full recoat time on the can. Rushing the second coat wrinkles the first one. Between coats, look at the doors in raking light. Fix a run now. Once the film cures, a run has to be sanded back.
What the finish will and will not look like
A careful paint job looks clean. It does not look like a factory-finished door. Factory finishes are sprayed in a controlled shop and baked or cured under conditions a kitchen cannot match. You should expect a smooth, even color with a slight texture if you brush or roll. Spraying can get closer to a factory film, and it also puts overspray on everything you did not cover.
Brush marks, a bit of orange peel, and a softer edge on the panel are normal on a hand-painted door. Peeling, tacky spots, and paint stuck in the hinge cup are not. Those problems usually come from grease left on the door, a skipped primer, or coats that were applied too thick.
Cure time is longer than dry-to-touch time. Many cabinet enamels feel dry in hours and still need days, sometimes a couple of weeks, before they reach full hardness. During that window, do not scrub the doors, hang wet towels on them, or snap hardware on tight. Light use is fine. Hard cleaning is not.
Paint also will not change how the door is built, so a warped door stays warped and a gap at the stile stays a gap. If the goal is a new door profile, a different overlay, or boxes rebuilt around a new layout, painting is the wrong scope. That is a cabinet project, and it belongs with a kitchen remodeling plan rather than a can of enamel.
| What you notice | What it usually means | Sensible next step |
|---|---|---|
| Dull color, sound boxes, and doors that close square. | The finish is tired. The cabinet is not. | Clean, sand, prime, and paint. |
| Grease near the range, but the boxes are solid. | This is soil, not a failed cabinet. | Degrease twice, then scuff and prime. |
| A dark stain keeps showing through the new color. | The old color is bleeding through. | Add a stain-blocking primer before the light color. |
| Peeling thermofoil or loose veneer. | The face of the door is failing. | Stop painting and look at new doors or new boxes. |
| Soft wood under the sink. | Moisture has damaged the box. | Replace that cabinet rather than coating it. |
| You want new sizes, more drawers, or an island. | The layout is the real problem. | Plan new cabinets instead of a color change. |
Rehang the doors and live with the cure
Put the doors back only after the last coat is dry enough to handle. Use your labels while you do it. A door hung on the wrong opening is the most common last-day mistake, and the screw holes rarely line up the second time.
Start each hinge screw by hand so you do not strip a fresh hole in the frame. Adjust the hinges until the reveal looks even, and only then add the pulls. If a door rubs, correct the hinge rather than the paint, because sanding a rubbing edge after the film has cured leaves a raw line that the eye catches immediately.
Install the hardware last. Set the doors first, then mark the pull holes from a template so every pull lands in the same place. Drilling freehand is how a row of doors ends up looking slightly off.
For the first week, wipe spills with a soft damp cloth and skip any harsh cleaner. Give the film the full cure window printed on the can. If a spot stays tacky after that window, the coat was too thick or the room was too cold or too damp. That spot usually has to be sanded and recoated. Do not keep adding fresh paint on top of a film that is still soft.
When painting is the wrong project
Stop if the boxes themselves are the problem. Paint is only a finish, and it is not a repair for failed materials or a redesign of the kitchen. Homeowners who want new storage, a different door style, or cabinets that match a new counter usually get a better result by choosing doors and boxes on purpose.
King Remodeling has completed more than 2,000 kitchen remodels in San Diego, including work for homeowners in La Jolla, Del Mar, and Scripps Ranch. We are a design-build firm, so cabinet selection, counters, and the build sit with one team.
You can see door styles and finishes at the Design Center, then decide whether a paint refresh is enough or whether the kitchen needs new cabinets. If you are still sorting which parts of a kitchen you might do yourself, our DIY kitchen remodel guide separates light finish work from jobs that belong with a licensed crew. Installed cabinet work from our team includes a 3-year labor warranty on top of the material warranty.
We do not publish a single price for painting cabinets or for replacing them, because scope, door count, and condition change the work. A fixed-bid proposal comes after we see the kitchen, not from a guess printed on a web page.
If the boxes are sound, use the steps above. If they are not, come see door styles in the showroom or call (858) 299-7700 and we will look at the cabinets with you. You can also request a kitchen consultation.
Frequently asked questions
Can I paint the doors without taking them off?
You can, and the finish usually shows it. Doors left on the box collect drips in the panel corners, and the edges near the hinge are hard to coat. Take the doors and drawer fronts off, label them, and paint them flat.
Do kitchen cabinets need primer?
Yes, on almost every existing finish. A bonding primer gives the enamel something to hold. Dark stain and laminate also need a primer that blocks bleed-through and sticks to a slick face. Painting straight over a shiny factory coat is a common reason the new film peels.
How long before I can use the cabinets?
Dry to the touch is not the same as cured, so follow the can for recoat time and wait the full cure window before any hard cleaning. Many enamels need several days, and some need up to a couple of weeks, before the film is truly hard. Light daily use is fine sooner, but scrubbing is not.
What if my home was built before 1978?
Assume old paint may contain lead until you know otherwise. The EPA requires paid renovators who disturb paint in pre-1978 homes to be certified and to use lead-safe methods. Do not dry-sand unknown old paint. If you want a crew to do the work, ask about lead-safe practices before the job starts.
Will painted cabinets look like new custom cabinets?
No, they will not match a new factory finish. Paint changes the color and can make a worn but solid kitchen look cared for. It does not change the door style, the box size, or a failed veneer. If you want a new profile or a new layout, look at new cabinets instead of another coat.