A kitchen remodel is one of the biggest investments you can make in your home. It is also one of the easiest projects to derail when you skip the planning stage. Budget overruns, timeline delays, and design regrets almost always trace back to the same root cause: not having a clear plan before work begins.
This kitchen remodel checklist walks you through every phase of a renovation, from defining your goals and setting a realistic budget to selecting materials, hiring the right contractor, and managing construction. Whether you are planning a full kitchen overhaul or a targeted update, following these steps keeps your project organized, on budget, and on schedule.
Key takeaways:
- Define your goals and must-haves before looking at materials or getting quotes
- Build a detailed budget with a 15-20% contingency for surprises
- Choose a kitchen layout that supports how you actually cook and live
- Hire a licensed design-build contractor to manage the entire project under one roof
- Follow a phase-by-phase checklist so every decision happens in the right order
Ready to start your kitchen remodel? Request a free consultation to discuss your project with our team.
Phase 1: Define Your Goals and Priorities
Every successful kitchen renovation starts with clarity. Before you browse countertop samples or request quotes, you need to understand what you want this remodel to accomplish.
Identify Your “Why”
Ask yourself a few honest questions:
- Is the kitchen outdated? Worn cabinets, old appliances, and a dated layout are common motivators.
- Does the layout work? Maybe the sink is too far from the stove, traffic flow is awkward, or there is not enough counter space.
- Are you preparing for resale? Kitchen remodels consistently deliver one of the highest returns on investment among home improvement projects.
- Do you want to improve daily function? More storage, better lighting, or a layout that supports multiple cooks can transform how you use the space.
Write down your top three priorities. This list becomes your anchor when decisions get overwhelming later in the project.
Assess How You Use the Kitchen
Your kitchen should support how you actually live, not just how it looks in a magazine. Consider:
- How many people cook at the same time?
- Do you entertain often?
- Do kids do homework at the island or counter?
- How much storage do you realistically need?
These answers directly influence layout decisions, appliance choices, and where to invest your budget.
Set Your Timeline
A typical kitchen remodel takes 3 to 6 weeks for construction, but the total process from planning through completion can span 2 to 4 months. If you need the kitchen finished by a specific date, work backward from that deadline.
Pro tip: Material lead times are the most common source of delays. Custom cabinets, for example, can take 4 to 8 weeks from order to delivery. Plan for this early.
Phase 2: Set a Realistic Budget
Budget problems are the number one cause of remodel stress. The fix is straightforward: build your budget before you start making selections, not after.
Understand Where the Money Goes
Kitchen remodel budgets typically break down like this:
| Category | Percentage of Budget |
|---|---|
| Cabinets and hardware | 30-35% |
| Labor and installation | 20-25% |
| Appliances | 15-20% |
| Countertops | 10-15% |
| Flooring | 5-10% |
| Lighting and electrical | 5-8% |
| Plumbing and fixtures | 4-6% |
| Backsplash | 3-5% |
Build in a Contingency
Set aside 15-20% of your total budget for unexpected costs. Older homes especially can reveal surprises behind walls, such as outdated wiring, plumbing issues, or water damage that needs to be addressed before new finishes go in.
Prioritize Function Over Flash
When budget pressure hits, protect the investments that matter most day to day: layout, cabinets, and countertops. Cosmetic details like backsplash patterns and hardware styles can always be upgraded later.
Get a Fixed-Bid Quote
A fixed-bid contract gives you a clearly defined scope and total price before work begins. This protects you from the surprise change orders and cost creep that derail so many renovations. Look for contractors who offer this level of transparency upfront.
Phase 3: Plan Your Kitchen Layout
The layout is the backbone of your kitchen remodel. Even the most beautiful finishes will not save a kitchen with a poor floor plan.
Evaluate Common Kitchen Layouts
- L-shaped: Versatile and efficient for small to mid-size kitchens. Two perpendicular counter runs with an open side for an island or dining table.
- U-shaped: Three walls of cabinetry and counter space. Ideal for serious cooks who want everything within reach.
- Galley: Two parallel counters. Space-efficient and great for single-cook households.
- Open-concept with island: Removes walls to connect the kitchen with living areas. The island adds prep space, seating, and storage.
Apply the Work Triangle
The work triangle connects your sink, stove, and refrigerator. Each leg should be between 4 and 9 feet, with a total perimeter of no more than 26 feet. This keeps your most-used zones close without crowding them.
Plan for Storage
Kitchens rarely have too much storage. Consider:
- Deep drawers for pots and pans instead of lower cabinets
- Pull-out shelves and lazy Susans for corner cabinets
- A designated pantry or tall cabinet for dry goods
- Drawer organizers for utensils, spices, and small tools
Pro tip: A great layout is easier to achieve when your designer and builder work on the same team. A design-build approach ensures the design is buildable and efficient from the start.
Phase 4: Select Materials and Finishes
Material selection is where your kitchen starts to take shape visually. The key is balancing durability, aesthetics, and budget.
Cabinets
Cabinets are the largest single expense in most kitchen remodels. Key decisions include:
- Style: Shaker, flat-panel, raised-panel, or open shelving
- Material: Solid wood, plywood, MDF, or thermofoil
- Finish: Painted, stained, or natural wood
- Hardware: Pulls, knobs, or integrated handles
Custom cabinets offer the most flexibility for unusual layouts or specific storage needs. Semi-custom options deliver good quality at a lower price point.
Countertops
Popular choices for kitchen countertops include:
- Quartz: Durable, low-maintenance, and available in a wide range of colors and patterns. The most popular choice for modern kitchen remodels.
- Granite: A natural stone with unique veining. Requires periodic sealing.
- Butcher block: Warm and natural, ideal for island tops or secondary prep areas.
- Laminate: Budget-friendly and available in styles that convincingly mimic stone.
Flooring
Kitchen floors need to handle moisture, spills, and heavy foot traffic. Strong options include:
- Luxury vinyl plank (LVP): Water-resistant, durable, and comfortable underfoot
- Porcelain tile: Extremely durable and available in countless styles
- Hardwood: Classic look, but requires more maintenance in a kitchen environment
Backsplash and Fixtures
The backsplash and fixtures tie the room together. Choose a backsplash that complements your countertop, and select fixtures (faucet, sink, lighting) that match the overall style.
Pro tip: Seeing materials in person makes a real difference. A visit to a kitchen and bath showroom lets you compare finishes side by side, test textures, and make confident selections with expert guidance.

Need help selecting materials for your kitchen remodel? Visit our San Diego Design Center to explore options with our expert design team.
Phase 5: Hire the Right Contractor
The contractor you choose will have more impact on your remodel experience than almost any other decision. This step deserves serious attention.
What to Look for in a Kitchen Remodeling Contractor
- Licensing and insurance: Verify an active state contractor’s license and comprehensive insurance coverage. In California, this is non-negotiable.
- Kitchen-specific experience: General contractors and kitchen specialists are not the same. Look for a team with a portfolio of completed kitchen projects.
- References and reviews: Read online reviews and ask for references from recent kitchen remodel clients. A strong track record speaks for itself.
- Design-build capability: A design-build firm handles design, material sourcing, and construction with one team. This eliminates the coordination headaches of managing separate designers, suppliers, and builders.
Questions to Ask Before Signing a Contract
- How do you handle scope changes and cost adjustments?
- What is your typical timeline for a kitchen remodel of this size?
- Who will be my day-to-day point of contact during construction?
- Do you provide a fixed-bid contract or an estimate with allowances?
- What warranty do you offer on labor and materials?
For a deeper dive, see our guide on how to hire a kitchen renovation contractor.
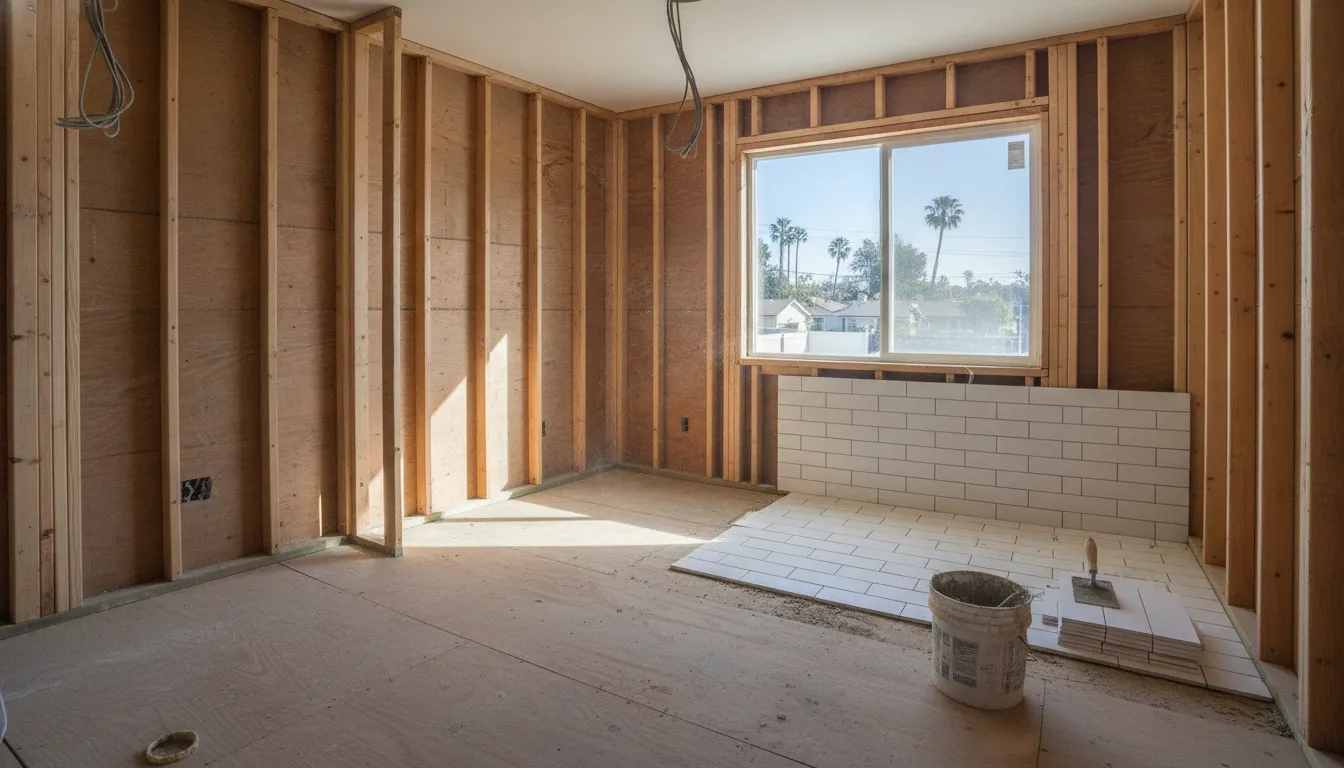
Phase 6: Prepare for Construction
Once your contract is signed and materials are ordered, there are a few things to do before demolition day.
Set Up a Temporary Kitchen
You will lose access to your kitchen for several weeks. Plan ahead:
- Set up a microwave, coffee maker, and small appliances in another room
- Stock up on disposable plates and utensils
- Plan simple meals or budget for eating out more than usual
- Keep a cooler or mini-fridge accessible
Protect Your Home
- Clear the kitchen completely: remove all items from cabinets, counters, and drawers
- Cover furniture and doorways in adjacent rooms with plastic sheeting
- Discuss dust and debris management with your contractor
Confirm the Schedule
Review the construction timeline with your contractor. Understand the sequence: demolition, rough-in (electrical, plumbing, framing), drywall, cabinet installation, countertop templating and installation, flooring, backsplash, fixtures, appliances, and final details.
Phase 7: Manage the Construction Phase
Even with a great contractor, staying engaged during construction keeps the project on track.
The Typical Construction Sequence
- Demolition: Old cabinets, countertops, flooring, and fixtures are removed.
- Rough-in work: Electrical, plumbing, and any structural changes happen now. Inspections follow.
- Drywall and paint: Walls are patched, primed, and painted.
- Cabinet installation: New cabinets are set, leveled, and secured.
- Countertop templating and installation: Fabricators measure after cabinets are in, then install countertops (allow 1-2 weeks for fabrication).
- Flooring: Installed before or after cabinets, depending on the material and approach.
- Backsplash, fixtures, and appliances: The finishing touches that bring the room together.
- Final cleanup: Debris removed, surfaces cleaned, and the space is made ready to use.
Stay Involved Without Micromanaging
- Ask for daily or weekly progress updates
- Make decisions promptly when your contractor needs input
- Communicate concerns early rather than waiting until the walkthrough
Handle the Unexpected
Surprises happen, especially in older homes. Water damage behind walls, outdated wiring, or subfloor issues are common discoveries during demolition. A contingency budget and a contractor who communicates clearly will help you navigate these without derailing the project.
Phase 8: Final Walkthrough and Warranty
The final walkthrough is your opportunity to inspect every detail before the project is officially complete.
Your Walkthrough Checklist
- [ ] All cabinets open, close, and align properly
- [ ] Countertop seams are tight and edges are smooth
- [ ] Appliances are installed, connected, and working
- [ ] Plumbing fixtures work with no leaks
- [ ] Electrical outlets and switches function correctly
- [ ] Lighting is installed and operational
- [ ] Flooring is even, with no gaps or damage
- [ ] Backsplash is properly grouted and sealed
- [ ] Paint touch-ups are complete
- [ ] All debris is removed and the kitchen is clean
Understand Your Warranty
A reputable contractor stands behind their work with a labor warranty in addition to manufacturer warranties on materials. Ask about the specifics: what is covered, for how long, and how to request service if an issue comes up after the project is complete.
Your Complete Kitchen Remodel Checklist (Quick Reference)
Use this kitchen remodel checklist as a quick reference to track your progress through each phase:
Pre-Planning – [ ] Define your top 3 goals for the remodel – [ ] Assess how you use the kitchen daily – [ ] Set a target completion date
Budget – [ ] Establish your total budget – [ ] Break it down by category (cabinets, labor, appliances, etc.) – [ ] Add a 15-20% contingency
Layout and Design – [ ] Evaluate layout options (L-shaped, U-shaped, galley, open-concept) – [ ] Apply the work triangle principle – [ ] Plan for adequate storage
Materials – [ ] Select cabinet style, material, and finish – [ ] Choose countertop material – [ ] Pick flooring, backsplash, and fixtures – [ ] Visit a showroom to compare materials in person
Contractor – [ ] Verify license and insurance – [ ] Review portfolio and references – [ ] Get a fixed-bid contract – [ ] Confirm timeline and communication plan
Pre-Construction – [ ] Set up a temporary kitchen – [ ] Clear and protect the space – [ ] Confirm material delivery dates
During Construction – [ ] Track progress against the timeline – [ ] Make decisions promptly – [ ] Communicate concerns early
Completion – [ ] Conduct a thorough final walkthrough – [ ] Test all fixtures and appliances – [ ] Review warranty documentation – [ ] Enjoy your new kitchen
Frequently Asked Questions
What is the first step in remodeling a kitchen?
The first step is defining your goals and priorities. Before you look at materials, layouts, or pricing, get clear on what you want the remodel to accomplish, whether that is improving function, updating style, increasing storage, or boosting your home’s value.
How long does a kitchen remodel take?
Most kitchen remodels take 3 to 6 weeks for construction, with the total process (including planning, design, and material lead times) spanning 2 to 4 months. Larger or more complex renovations may take longer.
What should I budget for a kitchen remodel?
Budget varies widely based on scope, materials, and your market. A good starting point is to allocate your budget across categories: 30-35% for cabinets, 20-25% for labor, 15-20% for appliances, and the remainder for countertops, flooring, lighting, and finishes. Always include a 15-20% contingency fund.
Should I hire a general contractor or a design-build firm?
A design-build firm manages design, materials, and construction under one roof. This streamlines communication, reduces coordination issues, and often results in faster project completion compared to hiring separate professionals for each phase.
How do I avoid going over budget on a kitchen remodel?
The best way to control costs is to plan thoroughly before construction begins: define a detailed budget, finalize all material selections early, get a fixed-bid contract, and maintain a contingency fund for unexpected issues.
A kitchen remodel is a significant undertaking, but it does not have to be overwhelming. With the right checklist, a clear budget, and a team that handles every detail from design to construction, you can transform your kitchen into a space that works beautifully for your life.
Ready to start planning your kitchen remodel? Contact us for a free consultation, learn more about our step-by-step remodeling process, or visit our San Diego Design Center to explore materials and get expert guidance.