Figuring out your budget is one of the first, and most important, steps in any home remodel. While a luxury vinyl plank flooring installation cost calculator can give you a general idea, it often leaves out the details that matter most. What about removing your old tile? Does the estimate account for leveling an uneven subfloor? These are the questions that can turn a simple project into a stressful one with unexpected costs. At King Remodeling, we believe in total transparency. This article breaks down every component of your flooring cost, from materials to labor, so you can understand exactly where your money is going and plan your project with complete confidence.
Key Takeaways
- Look beyond the plank price: Your total LVP flooring cost is a combination of material quality, subfloor preparation, and professional labor, not just the price tag on the box.
- Use cost calculators for a starting point: These online tools are great for initial budgeting but cannot see the unique details of your home, like a complex layout or an uneven subfloor.
- An in-person quote is essential for accuracy: The only way to get a reliable, fixed price is through a professional assessment where an expert can measure your space, check the subfloor, and account for all project details.
What Determines the Cost of LVP Flooring Installation?
When you start budgeting for new floors, it’s easy to focus on the price per square foot of the planks you love. But the final cost of your LVP flooring installation is shaped by several key factors. Understanding these variables helps you get a realistic picture of your total investment and shows you where you have control over the budget. From the specific type of vinyl you choose to the condition of your subfloor, each element plays a role in the final quote. Let’s walk through the five main components that determine what you’ll pay to get beautiful, durable LVP floors in your San Diego home.
The Quality and Thickness of Your LVP
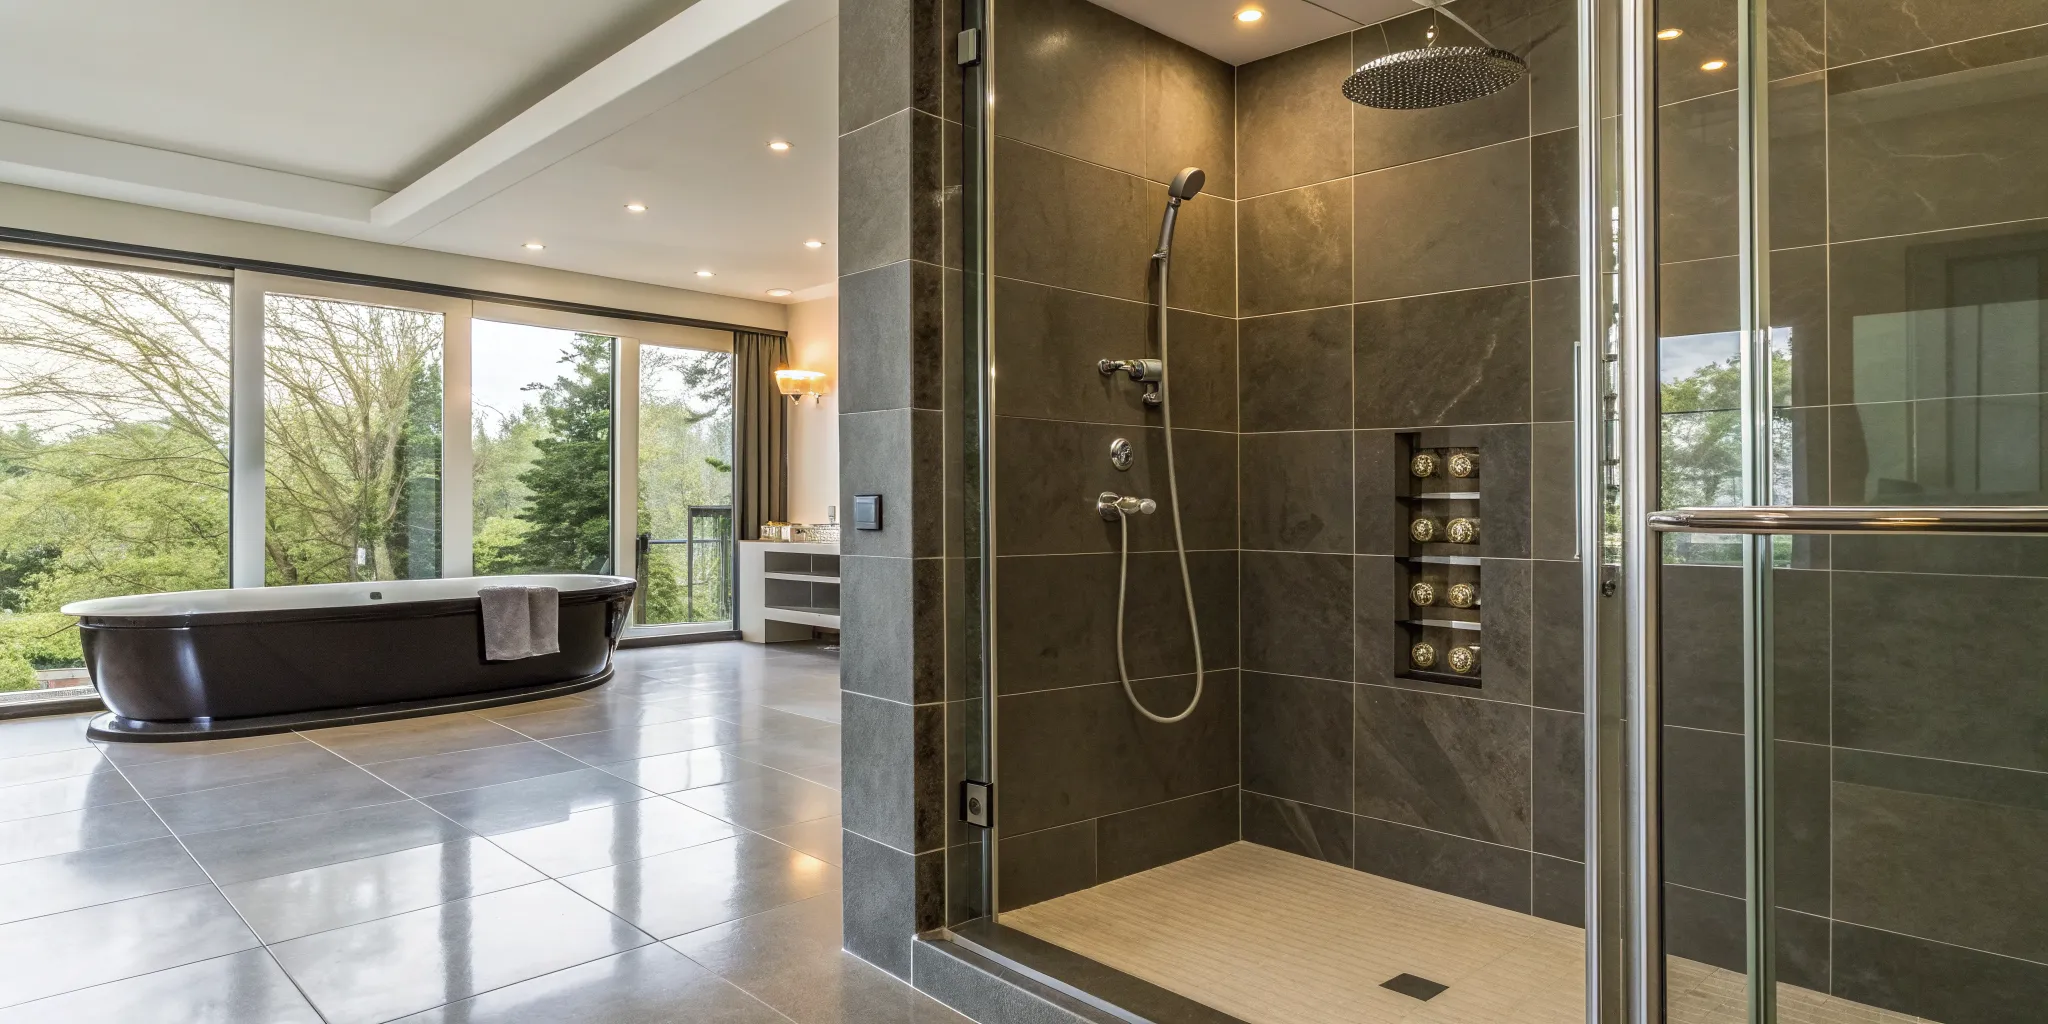
Not all luxury vinyl plank is created equal, and the price often reflects that. You can find LVP ranging from around $2.00 to over $4.50 per square foot, and this difference comes down to quality. Thicker planks with a more substantial wear layer (the top surface that resists scratches and scuffs) will be on the higher end of that range. These premium options offer better durability, more realistic wood or stone textures, and enhanced features like 100% waterproofing. While a budget-friendly plank works for low-traffic areas, investing in a higher-quality product is a smart move for busy spaces like kitchens and entryways. Seeing the options in person at a flooring showroom can help you feel the difference.
Your Room’s Size and Layout
This might seem obvious, but the bigger the room, the more you’ll spend on materials and labor. A small bathroom will naturally cost less than an entire open-concept living area. But it’s not just about square footage. The room’s layout also matters. A simple, rectangular room is straightforward to install. However, a space with lots of corners, closets, or architectural features like a kitchen island requires more precise cuts and fitting. This extra work increases labor time and can add to the overall vinyl flooring installation cost. Stairs are another factor, as they require specialized work and materials to get a clean, safe finish.
Prepping and Leveling the Subfloor
What’s underneath your new LVP is just as important as the planks themselves. LVP requires a clean, flat, and structurally sound subfloor to ensure a lasting installation. If your existing subfloor is uneven, cracked, or has moisture issues, it will need to be repaired or leveled before any new flooring can go down. This prep work is a critical step that prevents your new planks from buckling, separating, or wearing unevenly over time. The cost for subfloor preparation varies depending on its condition, but skipping this step can lead to much bigger, more expensive problems down the road. A professional assessment will tell you exactly what’s needed.
Labor and Installation Method
The cost of professional installation is typically priced per square foot, often falling into a similar range as the material itself. In San Diego, you can expect labor to be a significant part of your budget. This cost covers the expertise of an experienced crew who can handle complex cuts, ensure tight seams, and work efficiently. The installation method, whether it’s a floating click-lock system or a more permanent glue-down application, can also influence the price. While DIY is an option for some, a professional team ensures the job is done right, protecting your investment and giving you a flawless finish that’s backed by a warranty.
Extra Services and Potential Costs
Beyond the planks and the basic installation, a few other services can add to your total cost. The most common is the removal and disposal of your old flooring, whether it’s carpet, tile, or old vinyl. If you want to replace your baseboards for a fresh, updated look, that will be an additional line item for materials and labor. You’ll also need to account for moving furniture out of the room and back in again. A comprehensive quote from a design-build firm will outline these potential costs upfront, so you aren’t caught off guard. This is part of our end-to-end process to ensure total clarity.
What’s the Average Cost to Install LVP Flooring?
When you’re planning a flooring project, the budget is always top of mind. While online calculators provide a starting point, the final cost depends on several factors, from the materials you choose to the complexity of your space. Understanding these variables helps you set a realistic budget and see where your money is going. Let’s break down the typical costs associated with a professional LVP installation so you can plan your project with confidence.
Material Costs by Quality and Brand
The price of the planks themselves is your first major variable. On average, you can expect the cost of luxury vinyl planks to fall between $2.00 and $4.50 per square foot. The final price depends on the brand, the thickness of the wear layer (which determines durability), and the overall quality. Thicker, more resilient planks with realistic textures and premium finishes will be at the higher end of that range. Visiting a showroom helps you compare these options side-by-side to find the perfect balance of style and performance for your home’s needs.
Breaking Down Professional Installation Costs
Beyond the materials, professional installation is a key part of your budget. Generally, you can expect labor to cost between $2 and $3 per square foot. This fee typically covers removing your old flooring, preparing the subfloor, laying the new planks, and finishing the job with trim and transitions. When you work with an all-in-one team, these costs are bundled into a single, transparent quote. This approach simplifies budgeting and ensures there are no surprises, as every step of our process is clearly outlined from the start.
How San Diego Pricing Compares
While national averages are helpful, local market conditions play a big role. Across the country, homeowners might spend anywhere from $1,000 to over $4,000 on a vinyl flooring installation project. In San Diego, where labor and living costs are higher, you can expect project prices to lean toward the upper end of that range. The size of your space, the condition of your subfloor, and the specific LVP you select will all influence the final number. The best way to get an accurate figure is to schedule a consultation for a detailed, local quote.
LVP vs. Other Flooring Costs
It’s also smart to consider how LVP stacks up against other popular flooring options, especially when it comes to home value. For example, hardwood floors often deliver a higher return on investment, sometimes recouping 70% to 80% of their cost at resale. In comparison, LVP’s ROI is typically closer to 50% or 60%. However, LVP offers incredible durability, water resistance, and high-end style at a much more accessible price point. For many San Diego families, it’s the perfect long-term solution for a beautiful and functional home. You can see stunning examples in our featured projects.
How Do LVP Cost Calculators Work?
Online LVP cost calculators are handy tools for getting a quick snapshot of your potential project budget. Think of them as a starting point, not a final price tag. These calculators use industry-standard data to generate a ballpark estimate based on a few key details you provide. They’re designed to give you a realistic idea of what to expect before you start scheduling consultations, helping you plan your finances with a bit more confidence. While they can’t replace a detailed, professional quote, they are an excellent first step in your remodeling journey.
What You’ll Need for an Accurate Estimate
To get the most out of a cost calculator, you’ll need two basic pieces of information: your project’s size in square feet and your zip code. The square footage is simple to find, just multiply the length of your room by its width. If you have multiple rooms, measure each one and add the totals together. Your zip code helps the calculator pull local data for material and labor costs, giving you a more relevant estimate for the San Diego area. The more precise your measurements are, the more accurate your initial estimate will be, giving you a solid foundation for your flooring project.
Calculating for Waste and Cuts
One thing that often surprises homeowners is the need for extra material. No flooring installation is perfect; there will always be planks that need to be cut to fit around corners, along walls, or in tricky layouts. To account for this, professionals always add a “waste factor” to the order. Most online calculators automatically build in about 10% extra material to cover these necessary cuts and potential mistakes. This ensures the estimate reflects the amount of LVP you’ll actually need to purchase, preventing a last-minute trip to the store and keeping your project on track.
Understanding the Results (and Their Limits)
It’s important to remember that a calculator’s output is an estimate, not a guarantee. The final cost of your project can change based on several factors the tool can’t see. For example, the specific brand and thickness of LVP you choose, the condition of your subfloor, and the complexity of your room’s layout all play a role. Use the number you get as a guide for budgeting and for initial conversations with contractors. For a firm price, you’ll need an in-person assessment where a professional can evaluate every detail of the job and provide an accurate quote.
What Makes a Calculator More Accurate?
The best cost calculators use up-to-date, localized pricing information for both materials and labor. However, the accuracy also depends heavily on you. The more details you can provide, the better. Some advanced calculators might ask about removing old flooring, installing new baseboards, or moving furniture. Each of these tasks adds to the final cost. Ultimately, the most accurate figure comes from a comprehensive evaluation. Visiting a design showroom allows you to select your exact materials and discuss your project specifics with an expert, turning a rough estimate into a reliable plan.
What to Know Before Using a Cost Calculator
Online cost calculators are fantastic tools for getting a ballpark figure for your new LVP floors. They can help you set a realistic budget and compare material costs before you commit. But to get the most out of them, you need to come prepared with the right information. Think of a calculator as a starting point, not a final quote. It gives you a solid foundation for a more detailed conversation with a professional who can account for the unique details of your home. With a little prep work, you can turn a vague estimate into a powerful planning tool.
Measure Your Space Accurately
Before you can get a useful estimate, you need to know the size of your room. To get an accurate measurement of your flooring needs, grab a tape measure and find the length and width of the space. Multiply those two numbers together to get your total square footage. If you have closets, nooks, or other attached areas getting the same flooring, measure them separately and add them to your total. It’s also smart to plan for about 10% extra material to account for cuts, mistakes, and tricky angles. This extra bit is called a waste factor, and it ensures you won’t have to make a last-minute run to the store mid-installation.
Choose Your LVP Specifications
The term “LVP” covers a wide range of products, and the specific type you choose will have a big impact on your total cost. When using a calculator, you’ll often be asked to select the quality of vinyl you’re considering. This includes factors like the thickness of the plank and its wear layer, which is the top surface that protects against scratches and scuffs. You’ll also want to consider the style, whether you prefer traditional wood-look planks or LVT (luxury vinyl tile) that mimics stone. Seeing these options in person can make the decision much easier. A visit to a design showroom lets you compare textures, colors, and quality side-by-side.
Assess Your Subfloor’s Condition
What’s underneath your floor is just as important as the floor itself. Your subfloor, the surface beneath your flooring, needs to be clean, flat, dry, and structurally sound for a successful LVP installation. If your subfloor is uneven, cracked, or has moisture issues, it will need to be repaired or leveled before the new planks can be laid down. This prep work is a crucial step that online calculators can’t account for, but it’s a common and necessary part of many flooring projects. A professional inspection is the only way to know for sure what your subfloor needs.
Plan Your Installation Timeline
Remember that the number a cost calculator gives you is an estimate, not a fixed price. It’s best to use this figure as a starting point for a conversation with a qualified contractor. A professional quote will include details the calculator misses, like the cost of moving furniture, removing and disposing of your old flooring, and addressing any subfloor issues. Once you have your estimate, you can approach a remodeling partner with a clear budget in mind. This helps streamline the entire remodeling process and ensures everyone is on the same page from the very beginning.
Where to Find Professional LVP Installation in San Diego
Once you have an idea of the costs, the next step is finding a trusted team to bring your vision to life. In San Diego, you have options, but the right partner can make all the difference between a stressful project and a seamless one. A professional installer not only guarantees a beautiful result but also ensures your new floors are durable enough to handle daily life for years to come. Look for a team that offers clear communication, expert craftsmanship, and a process that puts your needs first.
King Remodeling’s All-in-One Flooring Service
If you’re looking for a team that handles everything from start to finish, you’ve found it. At King Remodeling, we provide a complete, in-house flooring service designed to make your life easier. You won’t have to juggle a designer, a materials supplier, and an installation crew. Our integrated team manages every detail, from helping you select the perfect LVP to the final, flawless installation. We protect your home, respect your schedule, and deliver a finished space you’ll love without the typical remodeling headaches. It’s a simpler, more accountable way to get your project done right.
Why Choose a Pro Over DIY?
While a DIY flooring project can seem tempting, LVP installation has its challenges. An uneven subfloor, tricky cuts around doorways, or improper plank spacing can lead to buckling, gaps, and a floor that fails prematurely. Our professional installers have the tools and experience to properly prep your subfloor, which is the single most important step for a lasting finish. Following our proven process, we ensure every plank is perfectly placed for a durable, waterproof, and beautiful result that also protects your material warranty.
Get an Accurate Quote and Select Your Materials
Online calculators are great for a ballpark figure, but a true, reliable quote requires an in-person look. We provide detailed, fixed-bid proposals so you know exactly what to expect, with no surprises. During a consultation, we’ll measure your space, assess the condition of your subfloor, and discuss your design goals. This allows us to create a comprehensive plan and an accurate quote tailored to your specific project. Ready to get a clear number for your flooring update? You can contact us to schedule a consultation with our team.
See and Touch Materials in Our Design Center
Choosing the right flooring from a tiny sample or an online picture is tough. That’s why we invite you to visit our private San Diego Design Center. Here, you can see, touch, and compare full-size LVP samples in a comfortable, guided environment. Our designers will help you explore different styles, textures, and colors, making it easy to find the perfect match for your home’s aesthetic. This hands-on experience helps you finalize your selections with confidence, ensuring the flooring you choose is exactly what you envisioned for your space.
Related Articles
- 6 Best Luxury Vinyl Planks for Kitchens & Bathrooms
- Get a Vinyl Plank Flooring Quote: A Simple Guide
Frequently Asked Questions
Why is subfloor preparation so important for LVP? Think of your subfloor as the foundation for your new flooring. Because luxury vinyl plank is flexible, it will conform to whatever is underneath it. If your subfloor has dips, cracks, or bumps, those imperfections can eventually cause the LVP to separate, buckle, or wear down unevenly. Proper preparation ensures the surface is perfectly flat and stable, which is the key to a beautiful, long-lasting installation and protecting your investment.
How long does a typical LVP flooring installation take? The timeline really depends on the scope of the project. For a few straightforward rooms, installation might take just two to three days. For a larger area or an entire floor of your home, it could take closer to a week. The biggest variables are the amount of prep work the subfloor needs and the complexity of the layout. Our process includes a clear project schedule, so you’ll know exactly what to expect before we even begin.
What’s the real benefit of visiting a design showroom to choose LVP? Seeing flooring online or as a tiny sample can be misleading. In our showroom, you can see and touch full-size planks, which gives you a much better sense of their true color, texture, and quality. It also allows you to compare different options side-by-side and see how they look with other materials, like countertop or cabinet samples. Working with a designer in this setting helps you make a confident choice that fits your home perfectly.
Can I buy my own flooring and just hire a team to install it? While it might seem like a way to save money, we generally advise against it. When one team manages both the material sourcing and the installation, you have a single point of accountability. If there’s an issue, you know exactly who is responsible for making it right. This integrated approach also simplifies warranties and ensures the correct amount of material is ordered, preventing delays and extra costs.
Is the price per square foot all I should look at when comparing quotes? A low per-square-foot price can be tempting, but it often doesn’t tell the whole story. Some quotes might exclude essential steps like removing your old flooring, preparing the subfloor, or installing new baseboards. It’s better to compare the total, all-in project cost. A comprehensive quote should clearly outline every service included, so you can avoid surprise charges and understand the full value you’re receiving.