Before you lay the first plank, the success of your project has already been determined by your preparation. A truly professional-looking hardwood floor installation is built on a foundation of careful planning, from selecting the right materials to ensuring your subfloor is perfectly prepped. Many DIY projects go wrong not during the main event, but in these crucial early stages. This guide is here to change that. We’ll walk you through the non-negotiable steps that professionals never skip, like proper acclimation for our climate and creating a flawless layout, giving you the tools to achieve a durable, beautiful floor that truly lasts.
Key Takeaways
- Prioritize preparation to prevent problems: Your subfloor must be perfectly clean, level, and dry before you begin. Acclimating your new wood to your home’s environment for at least 72 hours is also essential to avoid future gaps and warping.
- Master the details for a professional look: Always leave a 3/4-inch expansion gap around the room’s perimeter to allow for natural movement. Staggering your plank joints by at least six inches and using the correct fasteners will give you a secure, long-lasting result.
- Match your method to your materials: The right installation technique depends on your flooring and subfloor. Whether you nail, glue, or float the planks is determined by your choice of solid or engineered wood and whether you have a wood or concrete foundation.
Choose Your Hardwood Flooring
Before you start measuring or moving furniture, your first big decision is selecting the right wood. This choice sets the tone for your entire space and determines how your floors will wear over time. Getting it right from the start makes all the difference. The two main considerations are the type of construction (solid or engineered) and the wood species. Let’s walk through what you need to know to feel confident in your choice.
Solid vs. Engineered Hardwood
The first choice you’ll make is between solid and engineered planks. Solid hardwood is milled from a single piece of lumber. Its main advantage is its longevity; you can sand and refinish it multiple times over decades, making it a lifetime investment. However, it’s sensitive to moisture and temperature changes, so it’s best installed in rooms with stable humidity.
Engineered hardwood, on the other hand, is constructed with a top layer of real wood bonded to layers of high-quality plywood. This structure makes it much more stable and resistant to warping. It’s an excellent choice for San Diego homes, as it can be installed in basements or directly over concrete slabs. While you can’t refinish it as many times as solid wood, high-quality hardwood flooring options offer plenty of durability for busy households.
Find the Right Wood Species for Your Home
Now for the fun part: choosing a wood species that reflects your personal style and meets your lifestyle needs. Oak is a timeless favorite, known for its prominent grain and incredible durability, making it perfect for high-traffic areas. If you prefer a darker, more luxurious look, walnut offers rich, deep tones that make a statement. For homes with active kids or pets, hickory is one of the hardest domestic woods available and holds up beautifully to wear and tear.
Other popular choices include maple, which has a subtle grain for a clean, modern look, and cherry, which warms to a beautiful reddish-brown over time. The best way to find your perfect match is to see the materials in person. Visiting our San Diego showroom allows you to compare the unique colors and textures of each species side-by-side.
Gather Your Tools and Materials
Getting your tools and materials organized before you start is one of the best things you can do for a smooth installation. A well-prepped workspace saves you from making frantic trips to the hardware store and helps you focus on laying your floors correctly. Think of it as your project’s foundation. With everything you need within arm’s reach, you can work efficiently and confidently, turning a potentially stressful job into a satisfying one.
Your Tool Checklist
Having the right tools is non-negotiable for a professional-looking finish. While you might own some of these already, specialized flooring tools are what really make the difference. You can often rent items like a flooring nailer if you don’t plan on using it again.
Here’s what you’ll want to have ready:
- Measuring and Marking: Tape measure, chalk line, and a pencil.
- Cutting: A miter saw for clean, straight cuts and a jigsaw for fitting boards around vents or doorways.
- Installation: A flooring nailer or stapler, rubber mallet, tapping block, pull bar, and pry bar. The tapping block and pull bar help you fit planks together tightly without damaging them.
- General Tools: A drill for pilot holes, a hammer, and a nail setter.
Essential Materials and Supplies
Once your tools are sorted, it’s time to gather your materials. Start with your beautiful new hardwood, of course. A crucial rule of thumb is to buy about 10% more flooring than your room’s square footage requires. This extra material, or “waste factor,” covers any cutting mistakes and ensures you have enough planks to complete the job. If you’re still deciding on the perfect look, visiting a showroom can help you see and feel the options in person.
Your supply list includes:
- The hardwood flooring planks
- Underlayment or a moisture barrier, especially for installations over concrete
- Flooring nails, staples, or cleats recommended by the manufacturer
- Wood putty that matches your floor’s color for filling in nail holes
- Spacers (usually 3/4-inch) to maintain expansion gaps along the walls
Don’t Forget Safety Gear
It’s easy to overlook safety when you’re excited to get started, but please don’t skip this step. A little preparation keeps you protected and focused. Sawdust will be flying, and power tools are loud, so gearing up is just part of the job. Before you make your first cut, make sure you have these items on hand.
Your essential safety kit should include:
- Safety glasses: Protect your eyes from sawdust and stray wood chips.
- Dust mask: Sawdust can irritate your lungs, so a mask is a must.
- Ear protection: Power saws are loud enough to cause hearing damage over time.
- Knee pads: You’ll be spending a lot of time on the floor, and your knees will thank you.
Prep Your Room for Installation
Before you can lay that beautiful first plank, you need to create the perfect canvas. Proper preparation is the single most important factor in a successful hardwood floor installation. It ensures your new floors will look great and last for years without buckling, squeaking, or shifting. Taking the time to get your room ready will save you from major headaches down the road. Think of it as setting the foundation for a project you can be proud of.
Clear Out the Old Flooring
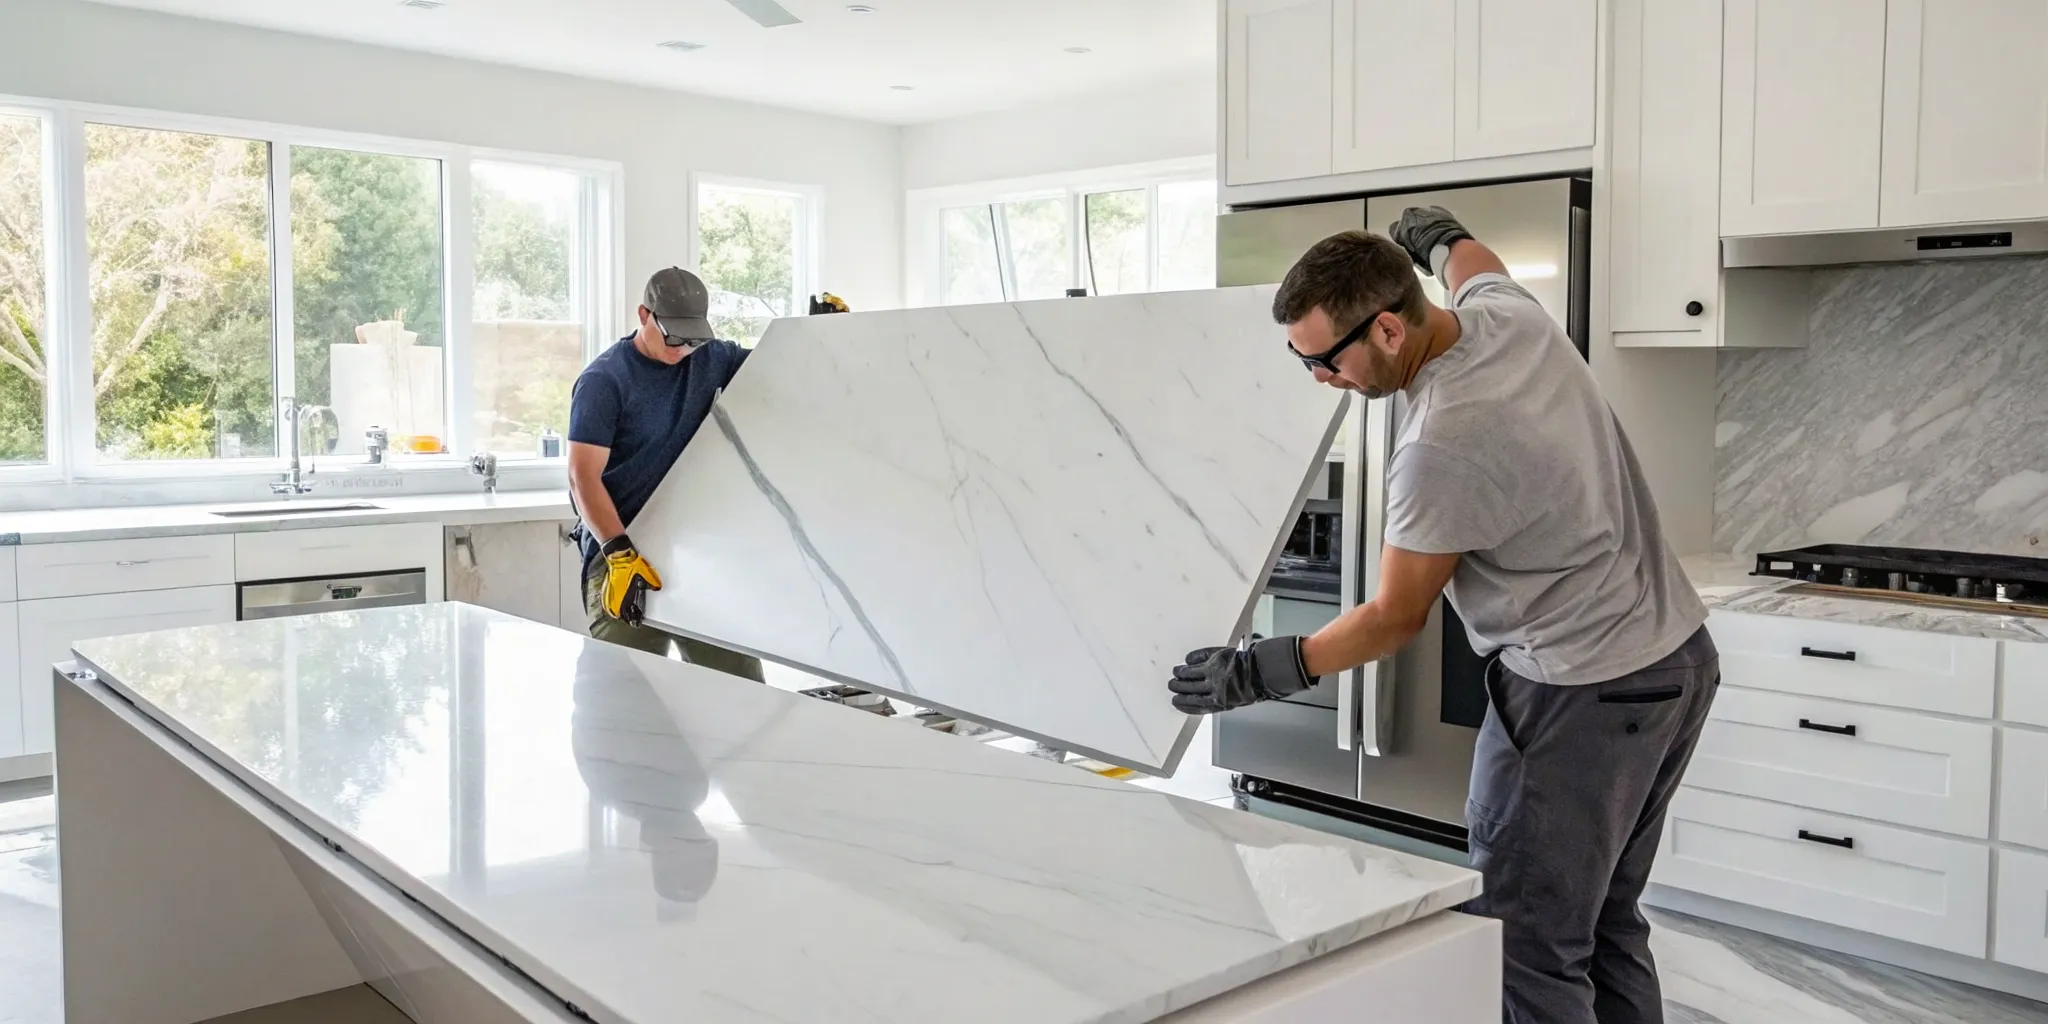
First things first: the old floor has to go. Whether you’re dealing with worn-out carpet, dated vinyl, or cracked tile, it all needs to be removed. Start by clearing the room of all furniture and anything else touching the floor. For carpet, you’ll use a utility knife to cut it into manageable strips for easier disposal. If you plan on reusing your baseboards, pry them off carefully with a pry bar, using a small block of wood to protect your walls from damage. Once the old flooring is out, give the subfloor a thorough sweep and vacuum. You want to get rid of any lingering dust, staples, or adhesive residue that could create bumps under your new floor.
Inspect and Prep the Subfloor
Your subfloor is the structural base for your new hardwood, and it needs to be in top shape. A solid installation requires a subfloor that is clean, dry, strong, and perfectly flat. Walk around the room and listen for any squeaks, which you can usually fix by driving a long screw through the subfloor into the joist below. To check for flatness, lay a long, straight edge across the floor in several spots. Any gaps larger than 3/16 of an inch over 10 feet need attention. You’ll need to sand or grind down any high points and fill any dips with a leveling compound. If you uncover significant damage, it’s wise to consult with a professional flooring team before moving forward.
Test for Moisture and Add a Barrier
Moisture is the number one enemy of hardwood floors, causing planks to swell, cup, and buckle. Before you install anything, you must test the moisture content of both your subfloor and your new wood planks using a moisture meter. This step is especially important in San Diego, where coastal air can affect indoor humidity levels year-round. Aim for a moisture difference that’s within the manufacturer’s recommended range. Once you confirm the levels are safe, you can roll out a moisture barrier. This underlayment acts as a shield, protecting your beautiful new floors from any moisture that might seep up from a concrete slab or crawl space over time.
Why You Can’t Skip Acclimation
Think of your new hardwood planks as living things. Because wood is a natural material, it expands and contracts with changes in temperature and humidity, especially here in San Diego. Skipping acclimation is one of the biggest DIY mistakes, often leading to frustrating problems like gaps, cupping, or buckling down the road. This simple waiting game protects your investment and ensures a beautiful, long-lasting floor.
What is Acclimation?
Acclimation is the crucial resting period where your new flooring adjusts to your home’s unique climate before installation. Wood naturally absorbs and releases moisture from the air. If you install planks with a higher moisture content than your subfloor, they will shrink over time, creating unsightly gaps. Conversely, if the wood is too dry, it will expand and cause the boards to buckle or warp. Properly acclimating your hardwood flooring ensures it’s stable before you permanently fix it in place.
How to Store Your Wood Correctly
Proper storage is key to successful acclimation. First, bring all the boxes of flooring into the room where they will be installed, not the garage. The conditions need to be identical. Next, open the boxes and remove any plastic wrapping to let the air circulate freely. Don’t just leave the planks in a single pile. Instead, stack them in small, separated piles with spacers between layers. This technique allows air to flow around every board. Let the flooring sit like this for at least three to seven days before you begin.
Manage Your Home’s Climate
During the acclimation period, maintain normal living conditions in the room. This means keeping the temperature and humidity consistent with how you’ll typically live in the space. Don’t turn off the HVAC system or open all the windows if you wouldn’t normally do that. The goal is for the wood to adapt to your everyday environment. For the most accurate results, professionals use a moisture meter to test both the new hardwood and the subfloor. The moisture content should be within 2% of the subfloor before you begin, a detail covered in many professional installation guides.
Pick Your Installation Method
The type of hardwood you chose and your home’s subfloor are the two biggest factors in determining how your new floors will be installed. There are three primary methods, each with its own set of tools, challenges, and benefits. Getting this choice right is fundamental to a successful installation that lasts for decades. While a professional flooring installation crew can handle any situation, a DIY project means you need to match the method to your skill level and your home’s specific needs. Let’s break down your options.
Nail-Down Method
This is the classic approach. The nail-down method involves using a special flooring nailer to fasten solid or engineered wood planks to a wooden subfloor with nails or staples. It’s a traditional technique that creates an incredibly secure and durable floor with a permanent feel. If you have a plywood or OSB subfloor and are working with solid hardwood, this is often the recommended path. The main challenge for a DIYer is the equipment. You’ll need to rent or buy a pneumatic flooring nailer and learn to use it correctly to avoid damaging the tongues of the planks. When done right, the result is a beautiful, long-lasting floor that’s truly part of your home’s structure.
Glue-Down Method
A glue-down installation is exactly what it sounds like: the wood planks are adhered directly to the subfloor with a powerful adhesive. This method is the go-to for installing engineered hardwood over a concrete slab, where nailing isn’t possible. It results in a floor that feels very solid and quiet underfoot. The key to success here is meticulous prep and using the right products. The subfloor must be perfectly flat and clean. You also have to use the specific adhesive and trowel size recommended by the flooring manufacturer, as the wrong combination can lead to failure. It can be a messy job, but it’s an excellent solution for many San Diego homes with concrete foundations.
Floating Floor Method
The floating floor method is often the most approachable for DIYers. With this technique, the planks aren’t attached to the subfloor at all. Instead, they connect to each other (usually with a click-lock system) and “float” on top of a thin foam or cork underlayment. This is a common installation method for engineered wood and luxury vinyl. The biggest advantage is speed and simplicity, since you don’t need nailers or messy adhesives. However, floating floors can sometimes feel less substantial underfoot and may create a slightly hollow sound. While repairs can be tricky, the ease of installation makes it a popular choice for anyone looking to transform a room over a weekend.
Your Step-by-Step Installation Guide
With your room prepped and your wood acclimated, it’s time for the main event. Installing hardwood floors is a methodical process that rewards patience and precision. While it’s a challenging DIY project, breaking it down into clear steps can make it much more manageable. Remember, the goal is a beautiful, durable floor that lasts for decades. If you ever feel overwhelmed or want to ensure a flawless result, our professional flooring installation team is always here to help. But if you’re ready to tackle it yourself, let’s walk through the process together, one plank at a time.
Plan Your Layout
Before you lay a single board, map out your game plan. First, measure your room’s square footage and add about 10% to account for cuts and mistakes. Next, decide which direction the planks will run. For structural integrity, the standard practice is to lay boards perpendicular to the floor joists. However, running them parallel to the longest wall can make a room feel more spacious and open. If your room is square, consider laying the boards in the same direction as the primary source of natural light. This simple trick helps hide the seams between planks, creating a smoother, more uniform look.
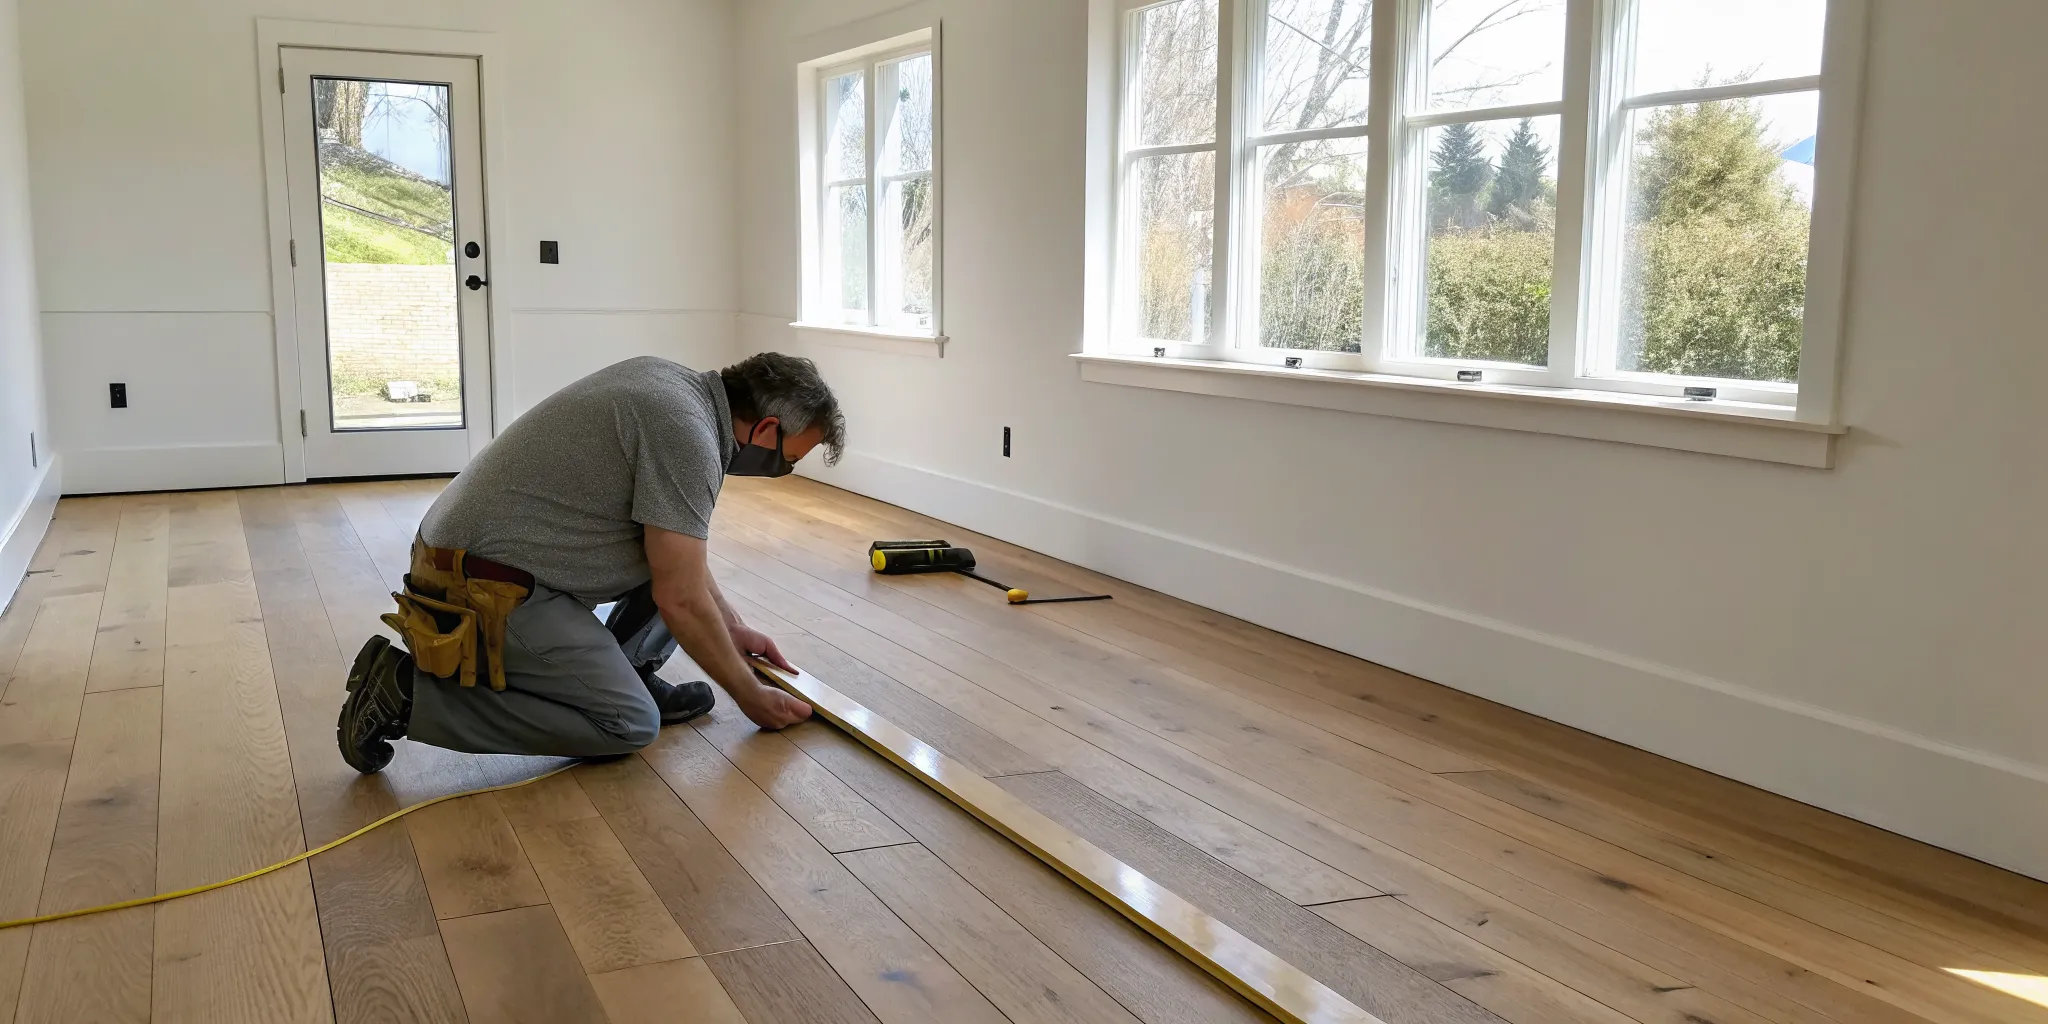
Lay the First Row
Your first row sets the standard for the entire floor, so take your time to get it right. Start by snapping a chalk line about 3/4 of an inch away from your starting wall. This creates a straight guide and accounts for your expansion gap. Place the first board down with its grooved side facing the wall. Because you can’t use a flooring nailer this close to the wall, you’ll need to “face-nail” this row. Drill pilot holes and drive finishing nails through the face of the board, about a half-inch from the wall-facing edge. Place a nail every 6 to 8 inches for a secure start.
Install the Remaining Planks
Now you can get into a rhythm. Use a flooring nailer to drive fasteners through the tongue of each plank at a 45-degree angle, which hides the nail heads from view. As you lay new rows, make sure the end joints are staggered by at least six inches from the joints in the previous row. This pattern isn’t just for looks; it adds significant strength to the entire floor. When you get to the last couple of rows, the flooring nailer won’t fit. Just like the first row, you’ll need to face-nail these boards into place, using a nail set to sink the nail heads just below the surface.
Leave Room for Expansion Gaps
This step is non-negotiable. Wood is a natural material that expands and contracts with changes in humidity and temperature. To prevent your beautiful new floor from buckling or warping, you must leave a 3/4-inch expansion gap around the entire perimeter of the room. This includes around walls, door jambs, and any other fixed objects like kitchen islands or cabinets. Use small wood scraps or spacers between the wall and your planks as you work to maintain a consistent gap. Don’t worry about how it looks; this space will be completely covered by trim later.
Add Trim and Finishing Touches
With all the planks in place, you’re ready to finish the job. Install your baseboards and shoe molding or quarter-round trim to cover the expansion gap along the walls. A critical tip: always nail the trim directly to the wall, never into the floor. This allows the flooring to move freely underneath it. Finally, use a wood putty that matches your floor’s color to fill any visible nail holes from your first and last rows. Once that’s done, you can step back and admire your brand-new hardwood floor. If this final stage feels daunting, remember our team can handle everything from installation to the final finishing touches.
Avoid These Common DIY Mistakes
Even the most beautiful hardwood can’t make up for installation shortcuts. Taking your time on the prep work and following a few key rules will save you from headaches and costly repairs down the road. A successful DIY project is all about getting the fundamentals right, so let’s walk through the most common mistakes and how you can sidestep them for a floor you’ll love for years. When you pay attention to these details, you get a finish that looks truly professional.
Poor Subfloor Prep
Think of your subfloor as the foundation for your new hardwood. If it isn’t perfectly prepared, you’ll see (and hear) the consequences later. Before a single plank goes down, your subfloor must be completely clean, dry, level, and structurally sound. Sweep and vacuum every last bit of dust and debris, as even small particles can prevent the boards from fitting together snugly. Fix any squeaks or weak spots, and use a leveling compound to fill in dips. A flat, stable subfloor is your secret weapon against creaks, gaps, and that hollow sound underfoot. It’s the most important step in any professional flooring installation.
Ignoring Moisture Issues
Wood is a natural material that expands and contracts with changes in humidity and temperature. That’s why you can’t skip acclimation. This process allows the wood to adjust to the climate inside your home before it’s installed. To do it right, unbox the planks and spread them out in the room where they will be installed for at least 72 hours (or whatever the manufacturer recommends). This simple step helps the wood reach a moisture level that matches the subfloor, preventing it from swelling or shrinking dramatically after installation, which can cause buckling or gapping. Always follow the manufacturer’s specific rules for acclimation to get the best results.
Inaccurate Layouts and Measurements
A solid plan is your best friend. Before you start, measure the room’s dimensions carefully and add about 10% to your total square footage to account for cutting mistakes and unusable boards. Next, decide on the direction of your planks. Laying them parallel to the longest wall can make a room feel larger, while installing them perpendicular to the floor joists adds structural strength. A poor layout can lead to awkward-looking patterns or excessive waste. Taking the time to map out your first few rows ensures your entire floor looks balanced and intentional. This Old House offers a great guide to installing hardwood floors that covers layout planning in detail.
Using the Wrong Tools or Fasteners
This is not the place to get creative. The flooring manufacturer provides specific recommendations for fasteners, adhesives, and tools for a reason: they’ve been tested to work perfectly with that specific product. Using the wrong size cleats, the wrong type of glue, or an incorrect trowel can lead to a weak bond, squeaky boards, or even total floor failure. It can also void your warranty. When you’re selecting your materials, make sure you get a list of the exact supplies needed for the job. At our San Diego design showroom, we always guide clients on the right installation materials to pair with their chosen flooring.
Get a Professional-Looking Finish
The small details are what separate a DIY project from a professional installation. Once you’ve got the basics down, focusing on the finishing touches will ensure your new floors look polished and last for years. These techniques are second nature to experienced installers and are crucial for achieving a seamless, durable surface. Paying attention to joint placement, spacing, and fastener techniques will give you a result you can be proud of. It’s these final steps that prevent common issues like buckling, gapping, and unevenness down the road, making your hard work truly pay off.
Stagger Joints for a Natural Look
To avoid a floor that looks artificial or patterned, you need to stagger the end joints of your planks. A good rule of thumb is to make sure the seams in adjacent rows are at least six inches apart. This creates a more random, natural appearance and adds structural strength to the entire floor. Be careful to avoid creating obvious patterns, like “H” joints where seams line up every other row, or a stair-step effect. The goal is to make the layout look organic, as if the planks were placed without a rigid formula. You can see examples of beautifully staggered layouts in our featured projects.
Keep Your Spacing Consistent
Wood is a natural material that expands and contracts with changes in humidity and temperature. To allow for this movement, you must leave an expansion gap around the entire perimeter of the room. A 3/4-inch gap between the flooring and the walls is standard. This space gives the wood room to breathe without buckling or warping over time. Use spacers to maintain this gap consistently as you install each row. Don’t worry about it being visible; this gap will be completely covered later when you install your baseboards and shoe molding, giving you a clean, finished edge.
Place Fasteners Correctly
For a truly professional look, you want your fasteners to be invisible. The best way to achieve this is with a flooring nailer, which drives nails or staples at a 45-degree angle through the tongue of each plank. This technique, called blind nailing, secures the board to the subfloor without leaving any visible marks on the surface. Place a fastener every six to eight inches along the length of the board and within a few inches of each end. This ensures each plank is held down securely, preventing squeaks and movement later on.
Check Your Work as You Go
Quality control is not something you save for the end; it’s an ongoing process. Before you even begin, open several boxes of hardwood flooring and mix the planks to blend any variations in color and grain. As you install, give each board a quick inspection for defects like cracks, chips, or finish imperfections. It’s far easier to set a problematic board aside than it is to remove it after it’s been nailed into place. Pausing every few rows to look back at your work will help you spot any layout issues before they become bigger problems.
Care for Your New Hardwood Floors
You’ve put in the work, and now you have beautiful new hardwood floors. The final step is learning how to care for them so they stay stunning for years to come. With a few simple habits, you can protect your investment and keep that fresh-install look.
First Steps: Cleaning and Protection
Before you start decorating, give your new floors a little time to settle. The finish needs to cure completely, so hold off on using any water or liquid cleaners for the first few days. You can gently sweep up any dust with a soft broom or use a vacuum designed for hardwood. After waiting 24 to 48 hours, you can bring your furniture back in. Just be sure to place felt pads under the legs of every chair, table, and sofa to prevent scratches and scuffs from the very beginning.
Long-Term Care Tips
Your long-term care routine is all about consistency. Regular sweeping or vacuuming is your best defense against dirt and grit that can scratch the finish. For a deeper clean, use a slightly damp mop, but never saturate the floor; too much water can cause the wood to warp. Always wipe up spills as soon as they happen to prevent stains. Placing area rugs in high-traffic spots like entryways and hallways is also a great way to protect the surface from daily wear. Every few years, you may want to apply a new coat of finish to maintain its protective layer and shine, a service our flooring experts can handle for you.
Manage Humidity and Seasonal Changes
Wood is a natural material that responds to its environment, so managing your home’s humidity is key. Keeping indoor humidity between 30% and 50% helps prevent the wood from expanding in the summer or shrinking in the winter. You might notice small gaps between boards during dry seasons; a humidifier can often help them close up. If you see larger gaps or hear persistent squeaks, it might be a sign of a bigger issue. While some minor fixes are possible, significant changes often require a professional eye to ensure your beautiful floors stay in top condition.
Related Articles
- Hardwood Floor Installation Tips & Ideas | King Remodeling
- Ultimate Guide: Hardwood Flooring & Installation San Diego
- hardwood floor installation Archives – King Remodeling
- laminate flooring installation Archives – King Remodeling
Frequently Asked Questions
Which is better for a San Diego home: solid or engineered hardwood? While both are beautiful options, engineered hardwood is often the more practical choice for homes in our area. Its layered construction makes it much more stable against the humidity shifts we experience, so it’s less likely to warp or swell. It’s also the best option if your home is built on a concrete slab, which is very common throughout San Diego County.
Do I really need to remove my old flooring before installing hardwood? Yes, you absolutely do. It might seem like a tempting shortcut to lay new floors over old tile or vinyl, but it almost always leads to problems. Installing over an existing floor can create an unstable surface, cause squeaks, and may even void your new flooring’s warranty. For a lasting, professional result, you need to start with a clean, flat, and properly prepped subfloor.
What’s the single biggest mistake DIYers make when installing hardwood floors? The most common and costly mistake is rushing the preparation stage. This includes two critical steps: failing to properly acclimate the wood to your home’s environment and not ensuring the subfloor is perfectly flat and clean. These foundational steps prevent major issues like buckling, gapping, and squeaking down the road. Taking your time on prep work is what truly protects your investment.
How long does the acclimation process actually take? You should plan for the wood to acclimate in your home for at least three to seven days before you begin the installation. The goal isn’t just to let it sit, but to allow the moisture content of the new planks to match the climate inside your home. Make sure you open the boxes and stack the boards with space between them so air can circulate around every piece.
When does it make more sense to hire a professional instead of doing it myself? A DIY installation can be very rewarding, but it’s smart to call a professional if you run into certain situations. If your subfloor has significant damage, if your layout is complex with multiple angles or transitions, or if you simply want a guaranteed flawless finish without the stress and time commitment, hiring an experienced team is the best path forward. A pro can handle any challenge and ensure the job is done right the first time.