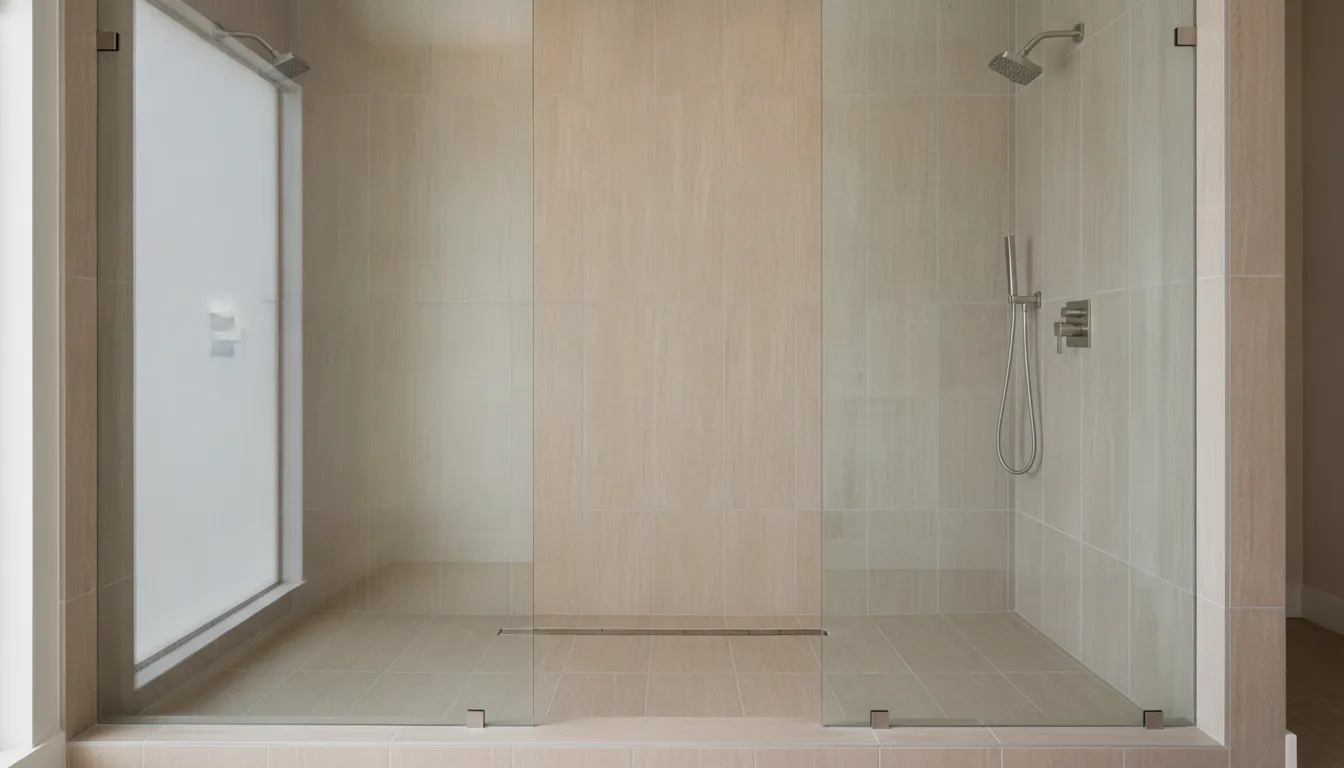
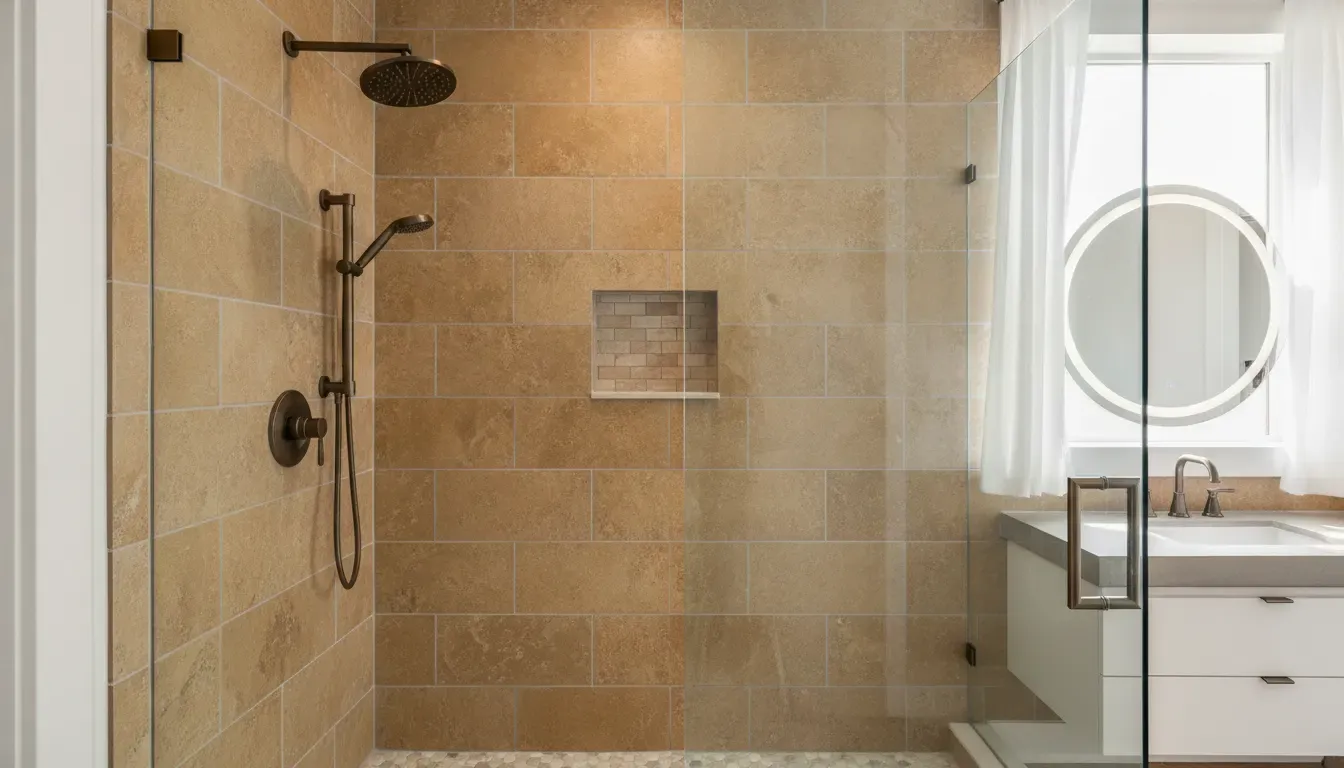
A custom tile shower installation is more than choosing a tile color and setting pieces on a wall. The finished shower depends on decisions made before demolition, including the room measurements, shower base, drainage, waterproofing system, niche location, tile scale, grout, and trim. A clear plan helps San Diego homeowners create a shower that looks intentional and performs well for years.
Talk with King Remodeling about your custom shower project.
What Does Custom Tile Shower Installation Involve?
Custom tile shower installation is the coordinated process of designing, preparing, waterproofing, tiling, and finishing a shower for a specific bathroom. Unlike a surface-only update, it accounts for the underlying wall assembly, shower base, drainage, fixture locations, storage, tile layout, and final water-management checks.
The best results come from treating the shower as one system. A niche that looks centered on a drawing may conflict with plumbing or a glass panel in the finished room. A beautiful large-format tile may require a flatter substrate and a more deliberate layout. Planning these relationships early protects both the appearance and the performance of the remodel.
- Measure the room, walls, ceiling height, doors, windows, and existing plumbing.
- Choose the shower base, drain location, fixtures, tile, grout, trim, and storage details together.
- Confirm the substrate and waterproofing approach before tile is ordered.
- Map tile joints around corners, niches, valves, benches, and transitions.
- Inspect each stage before it is covered by the next layer of work.
Which Materials Should You Choose for a Custom Tiled Shower?
The right materials balance water exposure, traction, cleanability, visual scale, and the structure of the bathroom. Porcelain and ceramic tile are common choices for shower walls, while smaller-format or mosaic tile can help follow the slope of a shower floor. Natural stone can create a distinctive look but may require more specific sealing and maintenance.
Tile is only one part of the assembly. The material plan should also identify the backer or approved tile substrate, waterproofing membrane, thin-set mortar, grout, sealant, edge profiles, shower pan or base, drain, and any bench or niche components. Each product must be compatible with the others and installed according to its manufacturer requirements.
How do porcelain, ceramic, stone, and mosaic tile differ?
- Porcelain: A dense option suited to wet areas, available in many sizes and finishes.
- Ceramic: A flexible wall-tile choice with broad color, shape, and pattern options.
- Natural stone: A material with unique variation that needs a maintenance plan appropriate to the stone.
- Mosaic: Smaller pieces that can support shower-floor transitions, accents, borders, and niche interiors.
Finish matters as much as appearance. A glossy wall tile can reflect light beautifully, while a floor tile needs a surface appropriate for a wet, sloped area. Samples viewed in King Remodeling’s Design Center can make it easier to compare the tile, grout, trim, fixtures, and adjacent bathroom finishes under the same design plan.
Visit the King Remodeling Design Center to compare shower materials.
How Do Substrate and Waterproofing Protect the Shower?
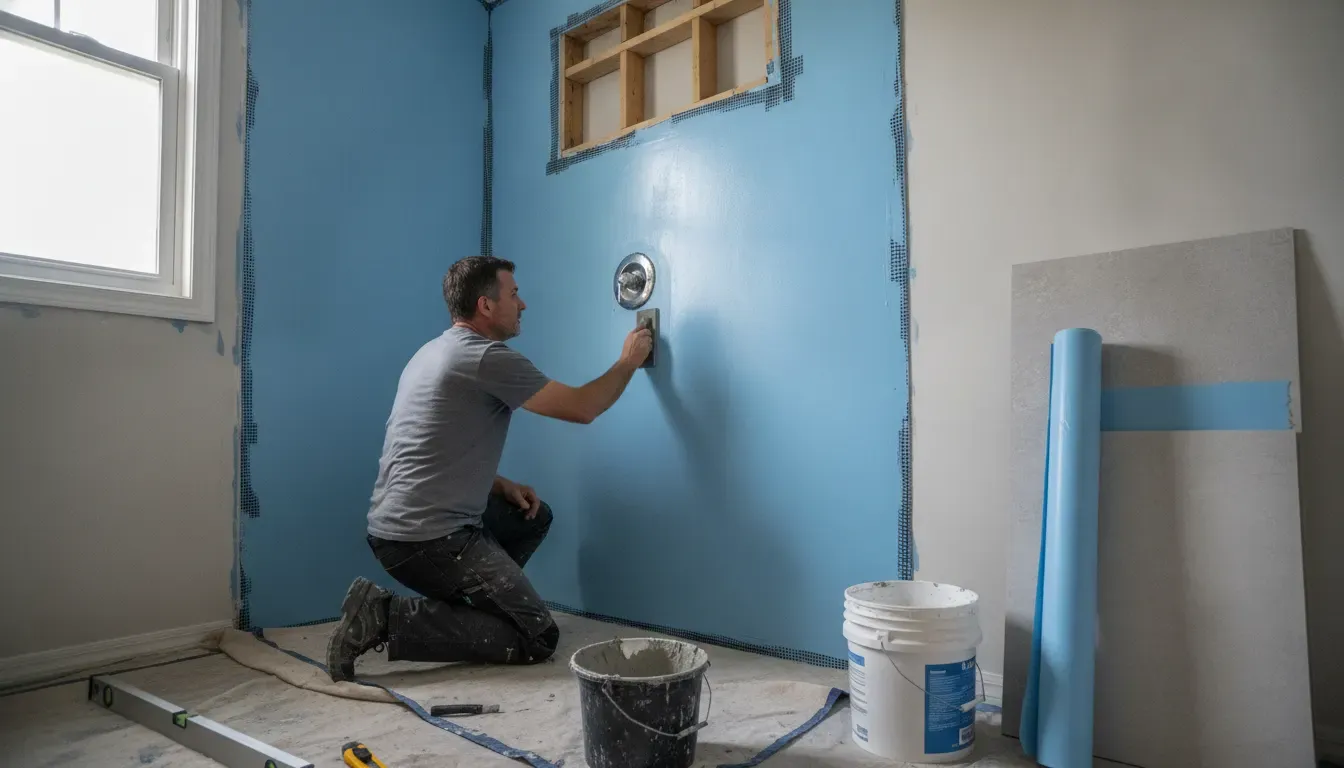
The substrate and waterproofing assembly protect the framing and surrounding bathroom from moisture that reaches behind the tile. Tile, grout, and caulk create the finished surface, but they should not be treated as the primary waterproofing layer. A durable custom shower uses a compatible system that covers the intended wet areas and addresses seams, corners, fasteners, penetrations, niches, benches, and the shower base.
The exact products and sequence depend on the selected assembly. The installer should follow the system manufacturer’s instructions instead of combining materials that were not designed to work together. A professional review before tile is installed can confirm that the surface is sound, the waterproofing is continuous, and the drain and floor transition are ready for the finish layer.
- Substrate: Use an approved, stable surface that is suitable for the selected tile and wet-area system.
- Seams and corners: Treat changes in plane and board joints using the method specified for the waterproofing system.
- Penetrations: Coordinate valves, showerheads, niches, benches, and other openings so each is sealed as part of the assembly.
- Base connection: Tie the wall waterproofing into the shower base and drain details rather than stopping it at an arbitrary tile line.
- Verification: Inspect the work before it is concealed by mortar and tile, and document key rough-in details when appropriate.
This stage is where careful planning pays off. Moving a niche or fixture before waterproofing is complete is much less disruptive than changing a finished tile wall. It is also a reason to select the tile layout, storage, plumbing, and shower base before the walls are closed.
How Do You Plan the Shower Base, Drain, and Slope?
A shower base must move water toward the drain without creating standing areas, awkward transitions, or a difficult tile layout. Planning starts with the existing floor, the desired shower footprint, the drain position, the entry style, and the relationship between the finished shower floor and the rest of the bathroom.
Homeowners should decide early whether the project uses a custom-built base, a compatible prefabricated base, a center drain, a linear drain, a curb, or a curbless entry. The choice affects framing, plumbing, waterproofing, tile size, and the finished threshold. A curbless shower has its own structural and drainage requirements, so it should be planned as part of the full bathroom design rather than added after tile selections are complete.
- Confirm the footprint: Measure the usable shower area and account for doors, glass, benches, niches, and fixture clearances.
- Coordinate plumbing: Place the drain, shower valves, hand shower, and other fixtures before walls are closed.
- Plan water movement: Select a base and drainage approach that directs water to the drain under the finished tile assembly.
- Resolve the entry: Coordinate the curb or curbless transition with the bathroom floor, glass, and waterproofing details.
Local requirements can vary with the scope and jurisdiction. A qualified remodeling team can confirm the applicable permit and inspection steps for the project instead of assuming that every shower remodel follows the same process.
How Should Tile Layouts and Niches Be Planned?
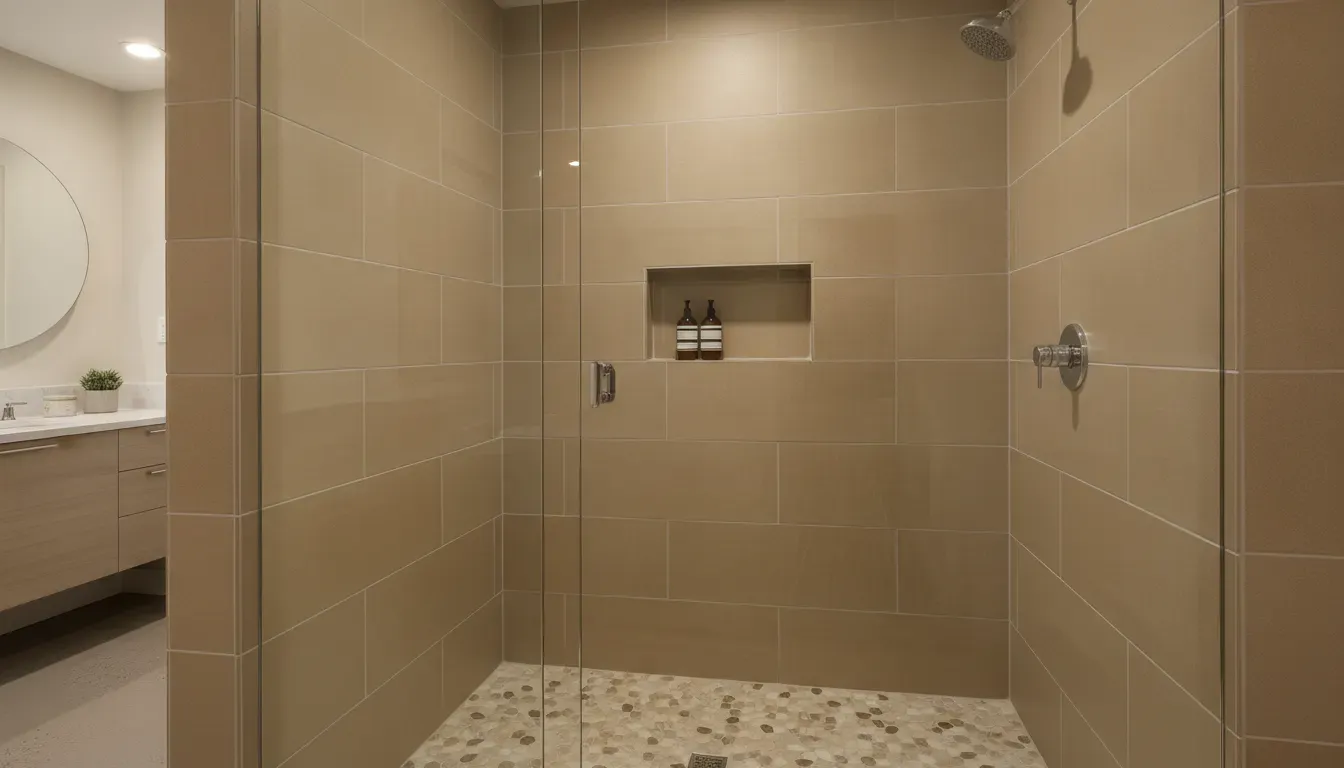
A good tile layout is drawn before installation begins. The plan should show where full tiles land, where cuts occur, how grout lines continue around corners, and how the pattern meets the floor, ceiling, fixtures, niche, bench, and glass. This prevents small slivers in visible locations and keeps the finished shower visually balanced.
What should the layout drawing account for?
- Starting lines: Establish level and plumb reference lines rather than relying on the floor or ceiling to be perfectly square.
- Tile scale: Match tile size to wall dimensions so the pattern feels intentional and cuts are distributed thoughtfully.
- Pattern direction: Decide whether the pattern runs horizontally, vertically, stacked, offset, or in another approved arrangement.
- Niche alignment: Coordinate the niche with grout joints or frame it as a deliberate accent instead of forcing a last-minute cut.
- Edges and transitions: Select a trim or finished edge where tile meets drywall, stone, glass, or another surface.
- Fixture coordination: Keep valve trim, showerheads, controls, and body sprays aligned with the design grid where possible.
Niches deserve special attention because they combine storage, waterproofing, slope, trim, and visual alignment in a small area. The bottom of a niche should shed water, the corners should be properly treated, and the opening should be sized around the products the household plans to store. If a niche would interfere with framing or plumbing, another storage solution may be the better choice.
What Happens During a Custom Tile Shower Installation?
The installation sequence protects the work that will be hidden later. Demolition exposes the existing conditions, framing creates a sound plane, waterproofing controls water behind the tile, and tile setting creates the finished surface. The exact sequence depends on the chosen system, so the crew should follow the approved product instructions rather than improvising between systems.
- Protect and prepare: Protect nearby surfaces, establish the work area, and document the existing bathroom conditions.
- Remove existing finishes: Demolish the old shower materials and inspect the framing, plumbing, subfloor, and surrounding walls.
- Correct the structure: Repair or adjust framing and surfaces so the substrate is sound, flat, and ready for the selected assembly.
- Install the base and plumbing: Set the shower base or build the approved base, coordinate the drain, and place the rough plumbing.
- Build the waterproofed enclosure: Install the approved substrate and waterproofing system, including corners, seams, penetrations, niches, and transitions.
- Set the tile: Use the approved layout, mortar, joint spacing, and sequence to install wall tile, accents, niche tile, and floor tile.
- Grout and finish: Apply compatible grout, flexible sealant at changes of plane, trim, fixtures, glass, and other finishing elements.
Tile setting should not be used to hide an uneven or unprepared wall. A professional installer checks the substrate and layout at each stage, keeps the design lines consistent, and leaves enough time for mortar, grout, and sealants to cure according to the product instructions.
Review King Remodeling’s design-build process before your shower remodel.
What Should a Professional Quality Check Include?
A professional quality check looks beyond whether the tile appears attractive from across the room. It verifies the details that protect the assembly and the homeowner’s daily experience, including plane changes, grout joints, drainage, fixture penetrations, finish transitions, and the operation of doors and hardware.
- Water-management details: Confirm that waterproofing covers the intended areas and that penetrations, seams, corners, niches, and transitions are treated as specified.
- Drainage: Check that the finished floor directs water to the drain and that the drain, grate, and surrounding tile sit cleanly together.
- Tile alignment: Review level courses, plumb corners, consistent joints, pattern continuity, and cut placement around fixtures.
- Surface finish: Look for chipped edges, lippage, hollow spots, excess mortar, grout haze, and inconsistent caulk lines.
- Function: Operate valves, showerheads, hand showers, doors, and hardware. Confirm that the niche and other storage areas are usable.
- Closeout: Review cleaning, maintenance, cure times, warranty information, and any items to address during the final walkthrough.
Photos of the waterproofing and rough-in stages can also help document what was installed before it was covered. King Remodeling’s design-build approach keeps design, materials, and construction coordination under one team, which can make it easier to resolve questions before they become finish-stage problems.
How Can You Maintain a Custom Tiled Shower?
Maintenance starts with using the right cleaning method for the tile, grout, stone, glass, and fixtures in the finished shower. Regularly remove surface residue, keep the enclosure ventilated, and follow the care instructions for the selected materials. Natural stone and some grout systems may have specific sealing or cleaning requirements.
- Use the cleaner recommended for the tile and grout instead of an unverified harsh product.
- Keep the shower dry and ventilated between uses when practical.
- Check flexible sealant at corners and changes of plane for separation or deterioration.
- Address loose tile, cracked grout, slow drainage, or recurring moisture promptly.
- Keep niche shelves and the shower floor free of products that can hold standing water.
A simple maintenance plan protects the finish and makes small issues easier to identify. During design, choose materials and details that fit the household’s cleaning habits, desired look, and willingness to maintain natural stone or specialty finishes.
What Should San Diego Homeowners Confirm Before Work Starts?
Before work begins, the homeowner and remodeling team should agree on the shower’s scope, layout, materials, responsibilities, schedule, and quality checkpoints. In San Diego County, the plan should also identify whether the project requires permits or inspections based on the work involved. The right answer depends on the project, not on a generic shower checklist.
- Confirm the final design, tile quantities, grout, trim, fixtures, niche, base, drain, and glass details.
- Review the substrate and waterproofing system, including how changes and penetrations will be handled.
- Clarify the communication cadence, jobsite protection, cleanup expectations, and final walkthrough.
- Ask who coordinates applicable permits and inspections when the scope requires them.
- Review the written scope and fixed-bid proposal so the included work is easy to understand.
- Visit the showroom or Design Center when seeing physical samples will help finalize the selections.
King Remodeling serves homeowners throughout San Diego County with in-house design, materials, and construction coordination. The team can help connect a custom shower’s technical requirements with the broader bathroom plan, from the first consultation through the final walkthrough. Learn more about King Remodeling bathroom remodeling services or browse completed remodeling projects for examples of the team’s work.
Get a clear custom tile shower installation plan for your San Diego bathroom.
Frequently Asked Questions
How long does custom tile shower installation take?
The timeline depends on demolition, framing, plumbing, waterproofing, tile complexity, inspections, glass, and curing requirements. A written project schedule should account for each stage.
Can any tile be used on a shower floor?
No. The shower floor needs a tile and surface appropriate for a wet, sloped area. The installer should confirm compatibility, traction, size, and the approved installation method.
Where should a shower niche be placed?
A niche should be placed where it is comfortable to use, clear of framing and plumbing conflicts, properly waterproofed, and coordinated with the tile layout and stored products.
Is waterproofing needed behind shower tile?
Yes. Tile and grout are not a substitute for a properly selected and installed waterproofing system behind and around the wet-area assembly.
Should I choose tile before the shower is framed?
Choose the main materials and layout early. Tile size, pattern, niche dimensions, trim, drain, and fixture locations can affect framing and installation decisions.
Request a custom tile shower installation consultation with King Remodeling.