Have you ever looked at a bathroom in a magazine and wondered what makes it feel so special? It’s rarely one single element. More often, it’s the sophisticated interplay of different materials. Creating a beautiful bathroom tiles combination is an art, but it’s one with clear rules that anyone can learn. It’s about adding depth with texture, creating harmony with color, and balancing scale for visual interest. This is how you give your space personality and a luxurious, custom feel without it looking busy or chaotic. We’re pulling back the curtain to share the designer-approved strategies we use to help San Diego homeowners create cohesive, beautiful bathrooms that look and feel professionally designed.
Key Takeaways
- Prioritize Performance Over Pattern: Before you choose a style, think about the job the tile needs to do. Use highly durable and water-resistant materials like porcelain for hardworking areas like shower floors, and save more delicate options like natural stone for accents.
- Create Harmony by Limiting Your Choices: Stick to the “Rule of Three”—a floor tile, a wall tile, and an accent—to keep your design cohesive. Unify these choices with a shared color undertone and create interest by mixing scales, such as pairing a large floor tile with a small mosaic.
- Use Grout and Layout as Design Tools: The final details can transform your space. A contrasting grout color will make your tile pattern pop, while a matching one creates a seamless look. Similarly, a vertical tile layout can draw the eye upward, making a small bathroom feel taller.
What Are the Main Types of Bathroom Tile?
Walking into a tile showroom can feel a little overwhelming, but it doesn’t have to be. Understanding the four main types of tile is the perfect starting point for your bathroom remodel. Each material has its own unique personality, strengths, and ideal uses. Whether you’re drawn to something classic and budget-friendly or a luxurious, one-of-a-kind stone, getting to know the basics will help you choose a tile that you’ll love for years to come. Let’s break down the most popular options.
Ceramic: The Versatile Classic
Think of ceramic as the people-pleaser of the tile world. It’s affordable, comes in a massive range of colors, shapes, and patterns, and is incredibly versatile. Because it’s a softer tile, it’s easier to cut and install, which can help with project costs. Ceramic is a great choice for bathroom walls and backsplashes since it handles moisture well. While it’s a solid performer, it isn’t quite as water-resistant as porcelain, so we typically recommend its tougher sibling for areas that see constant water, like shower floors.
Porcelain: The Durable Powerhouse
If you need a tile that can handle anything, porcelain is your answer. It’s fired at a higher temperature than ceramic, making it denser, stronger, and exceptionally resistant to water. With a water absorption rate of less than 0.5%, it’s the ideal material for wet environments and high-traffic bathroom floors. Porcelain is also a master of disguise—it can convincingly mimic the look of natural stone, wood, or concrete without the associated maintenance. It’s a low-maintenance, long-lasting option that delivers both beauty and performance.
Glass: For a Touch of Sheen and Light
Glass tile is perfect for adding a touch of glamour and brightness to your bathroom. Its surface reflects light beautifully, which can make a small or windowless bathroom feel more open and airy. You’ll often see it used as a decorative accent in a shower niche, as a shimmering backsplash behind the vanity, or even as a full statement wall. Since it’s non-porous, glass is completely waterproof and resistant to stains and mildew, making it surprisingly easy to clean. It’s a fantastic way to introduce color and a luminous quality to your design.
Natural Stone: For Timeless, Organic Beauty
For a truly luxurious and grounded feel, nothing compares to natural stone. Materials like marble, travertine, and slate bring an organic, timeless elegance into your bathroom. Because it’s a product of nature, each tile is completely unique, with its own distinct veining, color variations, and texture. This variation creates a one-of-a-kind, sophisticated look that simply can’t be replicated. Keep in mind that natural stone is porous and requires regular sealing to protect it from moisture and stains, but for many homeowners, the unparalleled beauty is well worth the upkeep.
How to Mix and Match Bathroom Tiles Like a Pro
Pairing different tiles is one of the best ways to give your bathroom a custom, high-end feel. But if you’ve ever stood in a tile showroom feeling completely overwhelmed, you know it’s easier said than done. The secret isn’t about finding one “perfect” tile; it’s about creating a thoughtful combination that feels balanced, intentional, and uniquely you. Getting it right adds depth, personality, and a touch of luxury to your space.
The good news is you don’t need to be a professional designer to master the art of the mix. By following a few simple principles, you can create a beautiful and cohesive look for your bathroom remodel. Think of it as a formula: stick to a limited palette, play with scale and texture, and make sure every choice connects back to a central theme. Let’s walk through the four key rules that our design team uses to create stunning, layered bathrooms every day.
Follow the “Rule of Three” for a Cohesive Look
When it comes to mixing tiles, less is definitely more. A great guideline to follow is the “Rule of Three.” As a general principle, you should choose no more than three different types of tiles for your bathroom. Any more than that, and the space can start to feel busy and disjointed rather than curated. This simple constraint helps you make focused decisions and ensures the final result feels harmonious.
For example, you might select a large-format tile for the main floor, a classic subway tile for the shower walls, and a beautiful mosaic for the shower niche or as a backsplash behind the vanity. Each tile has a distinct role, and together they create a balanced design. You can see how this plays out in some of our featured projects, where a limited tile palette creates a serene and sophisticated atmosphere.
Balance Different Tile Sizes for Visual Harmony
Varying the scale of your tiles is a simple yet powerful way to create visual interest without introducing competing colors or patterns. One of the easiest ways to approach this is to use the same tile in different sizes. For instance, you could pair a large 12×24 floor tile with a 2×2 mosaic of the same material on the shower floor. The shared color and material create continuity, while the change in size adds a subtle, textural contrast.
This technique also helps define different zones within the bathroom. Large tiles on the floor can make the room feel more open and spacious, while smaller tiles can add detail and grip in wet areas like the shower. It’s a classic designer trick for adding depth to a simple palette.
Unify Your Design with a Clear Color Palette
Even if your chosen tiles differ in shape, size, and finish, they need a common thread to tie them all together. That thread is color. Establishing a clear color palette from the start will guide your selections and ensure your final design feels cohesive. This doesn’t mean everything has to be the same shade. Instead, look for a shared undertone or a specific color that appears in each tile.
For example, the warm, gray veining in a Calacatta marble floor tile could be picked up by a solid gray ceramic tile on the walls. This creates a subtle connection that makes the combination feel intentional. When you visit our San Diego showroom, our designers can help you lay out your samples to find those common color threads that will unify your entire space.
Mix Textures to Add Depth and Interest
A bathroom designed with only one type of finish can sometimes feel a bit flat. Mixing textures is the key to adding dimension and a tactile quality to the room. Think about pairing a smooth, polished tile with something more organic or matte. For example, the rich, natural texture of marble or limestone can provide a beautiful contrast to sleek, glossy ceramic or glass tiles.
This contrast not only looks great but also feels luxurious. Imagine a shower with smooth porcelain walls and a floor of tumbled river rock pebbles, or a matte black hex tile floor paired with a high-gloss white subway tile on the walls. These combinations engage the senses and prevent a monochromatic color scheme from feeling one-dimensional. Natural stone, in particular, often acts as a neutral, adding pattern and texture without overwhelming the space.
What Colors and Patterns Work Best Together?
Choosing the right colors and patterns is where your bathroom’s personality really comes to life. It’s also where things can get a little tricky. The key isn’t just picking tiles you love, but picking tiles that love each other. A successful combination feels intentional and harmonious, creating a space that’s both beautiful and balanced. The goal is to create a cohesive palette that guides the eye without overwhelming the senses. Let’s walk through a few simple principles to help you pair colors and patterns with confidence.
Match the Color Temperature of Your Tiles
Think of color temperature as the underlying mood of a color—is it warm (with red, orange, or yellow undertones) or cool (with blue, green, or purple undertones)? For a design to feel connected, your tiles should share a similar temperature. Even if they are different shapes and sizes, having a common undertone will tie them together. For example, a creamy beige floor tile (warm) will pair beautifully with a warm white wall tile, while a crisp gray floor tile (cool) works better with a stark white or light blue. This simple check ensures your bathroom remodeling project feels cohesive from the ground up.
Start with a Neutral Base, Then Add a Bold Accent
When you’re not sure where to begin, start with the largest surface: the floor. Choose your floor tile first, as it will ground the entire space. From there, select your main wall tile, keeping in mind how it complements the floor. Once you have those two foundational elements, you can introduce a bolder accent tile. This could be a colorful mosaic for a shower niche or a striking pattern for a feature wall behind the vanity. Building your palette this way gives you a solid, neutral canvas that allows your accent tile to truly shine. Visiting a showroom can help you lay out your options and see how they work together in person.
Know When to Go Big with Pattern (and When to Pull Back)
Pattern adds energy and interest, but it’s all about balance. A good rule of thumb is to let one pattern be the star of the show. If you fall in love with a busy, intricate pattern for your floor, opt for a simpler, larger-format tile for the walls. This contrast keeps the patterns from competing with each other and prevents the room from feeling too busy or small. Conversely, if you want a dramatic patterned wall, keep the floor tile understated. This approach ensures your design has a clear hierarchy and feels thoughtfully curated. You can see great examples of this balance in our featured projects.
Create a Focal Point with a Statement Tile
A statement tile is a fantastic way to add a custom, high-design touch to your bathroom. By creating a single feature wall—often in the shower or behind the sink—you can make a big impact without committing to a bold look everywhere. This focal point immediately draws the eye and can define the entire style of the room. Using the same tile for the shower floor and a feature wall can also create a seamless, continuous look that feels both modern and spacious. It’s a strategic way to incorporate a tile you love in a way that feels both intentional and impactful.
Can’t-Miss Tile Combinations That Always Look Great
If you’re feeling a little stuck, don’t worry. While the possibilities are endless, some tile pairings are classics for a reason—they just work. Think of these as designer-approved combinations that deliver a cohesive and beautiful result every time. They provide a great starting point that you can customize to fit your personal style.
Classic Subway Tile with a Mosaic Niche
You can’t go wrong with subway tile. It’s clean, timeless, and surprisingly versatile. While a traditional offset pattern is always in style, you can also stack them horizontally or vertically for a more modern grid look. To give this classic a personal touch, add a recessed shower niche lined with a vibrant mosaic tile. This creates a perfect focal point for a pop of color or an intricate pattern without overwhelming the space. It’s a simple way to add custom character to your bathroom remodel and showcase your personality.
Large-Format Floor Tiles with Small-Scale Shower Tiles
Here’s a trick designers use to make a bathroom feel more open and airy: use large-format tiles on the floor. Because they have fewer grout lines, “big tiles make a small bathroom feel larger.” To create a pleasing contrast and define the shower area, pair the large floor tiles with smaller-scale tiles on the shower walls or floor. This not only adds visual interest but also improves safety, as more grout lines on a shower floor can provide better traction. You can explore these kinds of dynamic pairings in person at our San Diego showroom.
Earthy Natural Stone with Sleek Porcelain
If you love the organic, one-of-a-kind look of natural materials, this combination is for you. “Natural stone has unique patterns and comes in many colors, giving your bathroom a special character.” Whether it’s marble, travertine, or slate, its inherent variations bring warmth and texture to a space. To keep the look balanced and prevent it from feeling too busy, pair it with a simple, sleek porcelain tile in a solid, complementary color. The clean lines of the porcelain allow the natural stone to be the star, creating a serene, spa-like retreat you can see in some of our featured projects.
A Dynamic Mix of Matte and Glossy Finishes
Mixing textures is a sophisticated way to add depth to your bathroom design, even with a monochromatic color scheme. Pairing matte and glossy finishes creates a subtle yet dynamic interplay of light. For example, you could use a honed matte tile on the floor for a soft, velvety look and a high-gloss tile on the shower walls to reflect light and brighten the space. As one expert notes, a mix of matte and glossy finishes can create a “sparkling, metallic look that is also durable and waterproof.” This thoughtful detail gives your bathroom a custom, high-end feel.
How Do Grout and Tile Size Affect Your Final Design?
Think of tile and grout as a team—one can’t function without the other, and how they work together completely defines the final look of your bathroom. It’s a detail that’s easy to overlook when you’re focused on finding the perfect tile, but these choices are just as important. The color of your grout, the width of the lines, and the scale of your tile can make a pattern pop, create a seamless surface, or even make a small bathroom feel twice its size. These are the finishing touches that pull the entire design together, and our designers at the King Remodeling Showroom are experts at guiding homeowners through these exact decisions to achieve the perfect balance.
Decide Between Matching or Contrasting Grout
One of the first grout decisions you’ll make is whether to match it to your tile or create a contrast. Choosing a grout that blends with your tile color creates a subtle, uniform look. This is a great strategy when you want the tile itself to feel like a single, continuous surface, which can make a space feel calmer and more expansive. On the other hand, using a contrasting grout—like a dark gray with a white subway tile—makes each individual tile stand out. This approach highlights the shape of the tile and the pattern of your layout, turning your wall or floor into a graphic statement. Your choice depends entirely on the vibe you want for your bathroom remodel: serene and blended, or bold and defined.
Understand How Grout Width Changes the Vibe
The thickness of your grout lines also plays a big role in the final aesthetic. Thinner grout lines, often around 1/16 or 1/8 of an inch, lend a sharp, modern, and precise feel to a space. Wider lines can feel more traditional, rustic, or casual. The type of tile you choose can sometimes dictate the minimum grout width needed. Beyond style, there are practical considerations. For example, if you’re using a light-colored tile on the floor, a pure white grout can be tough to keep clean in high-traffic areas. A smart alternative is to choose a light gray grout that offers a similar look with much more forgiving maintenance.
Use Large Tiles to Make a Room Feel More Spacious
If you want to make a small bathroom feel larger, large-format tiles are your best friend. Tiles in sizes like 12×24, 24×24, or even larger create fewer grout lines. This visual trick makes the floor or walls appear as a single, unbroken surface, which expands the sense of space. It’s a simple but incredibly effective strategy for powder rooms, guest baths, or any area where you want to create an open, airy feel. Using large tiles on both the floor and shower walls can produce a serene, spa-like atmosphere that feels both luxurious and clean. You can see how we’ve used this technique in some of our featured projects to transform compact San Diego bathrooms.
Use Small Tiles for Intricate, Detailed Designs
While large tiles expand a space, small tiles are perfect for adding personality and detail. Mosaics, penny rounds, and small hexagonal tiles allow you to create intricate patterns and introduce texture. They are ideal for creating a focal point, like an accent wall behind the vanity or a decorative niche in the shower. Small tiles are also a practical choice for shower floors, as the increased number of grout lines provides better grip and slip resistance. By using smaller tiles in a specific zone, you can add a layer of visual interest that complements the larger, simpler surfaces elsewhere in the room, resulting in a design that feels custom and thoughtfully curated.
What’s the Best Tile for Showers and Wet Areas?
Not all tiles are created equal, especially when it comes to the demanding environment of a shower. Constant exposure to water, steam, and soap means you need a material that’s as functional as it is beautiful. Choosing the right tile for your shower walls and floor is crucial for preventing water damage, ensuring safety, and minimizing your cleaning time down the road. Let’s break down the key factors to consider for a tile that will look great and perform flawlessly for years.
Check Water Absorption Ratings
The most important factor for any tile in a wet area is its ability to resist water. A tile’s water absorption rate tells you how much moisture it will soak up. For showers, you want a tile that is “impervious” or “vitreous,” meaning it absorbs very little water. Porcelain tile is the undisputed champion here, with a water absorption rate of less than 0.5%. This makes it incredibly dense and perfectly suited for a complete bathroom remodeling project. While ceramic tile is also a good option, it’s slightly more porous, making porcelain the safer, more durable choice for areas that are constantly wet.
Prioritize Slip Resistance for Flooring
Your shower floor is no place for a slippery surface. When choosing a tile for the floor, safety should be your top priority. Look for tiles with a textured or matte finish, as these naturally provide more grip than smooth, glossy ones. Smaller tiles, like a 2×2 mosaic, can also increase safety because the additional grout lines create more traction for your feet. When you’re exploring options, ask about the tile’s slip-resistance rating. A tile designed for shower floors will have the right texture and finish to help prevent falls, giving you peace of mind every time you step inside.
Factor in Long-Term Maintenance Needs
Think about how much time you want to spend cleaning your shower. Non-porous materials are your best friend here because they resist soap scum, mildew, and staining. Because it’s so dense, porcelain tile is exceptionally easy to maintain and doesn’t require any special sealing. On the other hand, beautiful natural stones like marble or travertine are porous and require regular sealing to protect them from water damage and stains. Being honest about your tolerance for upkeep will help you choose a material that fits your lifestyle. Visiting a showroom can help you compare these finishes in person.
Choose Durable Options for High-Traffic Zones
The floor of your shower is a high-traffic zone that needs to withstand daily use. Durability is key. You need a tile that can resist scratches, chips, and wear over time. Once again, porcelain is a top performer. It’s fired at higher temperatures than ceramic, making it harder and more durable for demanding applications like flooring. While glass tiles can look stunning on shower walls or as an accent, they are generally not recommended for floors as they can scratch or crack under pressure. Investing in a durable floor tile from the start ensures your beautiful new shower stays that way.
Smart Layouts to Complement Your Tile Mix
The way you arrange your tiles can completely change the look and feel of your bathroom. A layout isn’t just a technical detail; it’s a design tool that can make a room feel bigger, add drama, or create a calm, orderly vibe. Once you’ve chosen your tiles, the next step is deciding on a pattern that enhances their beauty and works with your space. Think of the layout as the final piece of the puzzle that pulls your entire design together.
The Classic Grid vs. a Modern Offset
The two most fundamental tile patterns are the grid and the offset. A classic grid, where square or rectangular tiles are aligned in straight lines, creates a clean, uniform look that feels both timeless and modern. It’s a simple pattern that lets a beautiful, high-quality tile be the star of the show. An offset pattern, also known as a running bond, is what you typically see with subway tiles. Each row is shifted, usually by half a tile’s width. This adds a bit of visual interest and is very forgiving, helping to hide minor imperfections in a wall. It’s a versatile choice that works in nearly any bathroom remodeling project.
Herringbone and Chevron for a Touch of Drama
If you want to make a statement, herringbone and chevron patterns are your go-to options. Both create a sense of movement and sophistication that instantly draws the eye. A herringbone pattern uses rectangular tiles arranged in a V-shape, creating a beautiful, interlocking zigzag effect. It’s perfect for adding texture to a shower wall or making a floor the focal point. A chevron pattern is similar, but the tiles are cut at an angle to meet at a perfect point, forming a continuous V. This creates a slightly more streamlined and formal look. Both are excellent choices for adding a dramatic flair to your design.
Vertical Stacking to Make Ceilings Feel Taller
Here’s a designer trick for bathrooms that feel a bit cramped: stack your tiles vertically. By arranging rectangular tiles in a straight, vertical grid, you draw the eye upward, creating the illusion of height. This simple change can make your bathroom feel more spacious, open, and airy. A vertical stack is a clean, contemporary look that works especially well in showers or on the wall behind a vanity. It’s a great way to add a subtle architectural detail that has a big impact on the overall feel of the room, proving that smart design can truly transform a space.
Combining Patterns for a Custom Look
Mixing different tile patterns is a fantastic way to create a unique, personalized design, but the key is to keep it cohesive. A good rule of thumb is to pair a complex pattern with a simple one. For example, you could use a bold herringbone pattern on the floor and a simple offset pattern on the shower walls. The trick is to unify the space with a consistent color palette or material. You can also create a small focal point, like a mosaic in a shower niche, while keeping the surrounding tiles understated. Our designers in the King Remodeling showroom can help you find the perfect balance for a custom look that feels intentional, not chaotic.
Common Tile-Mixing Mistakes to Avoid
Knowing the rules for mixing tiles is a great start, but knowing what not to do is just as important for getting a beautiful, lasting result. A few simple missteps can turn a dream design into a busy or unbalanced space that you’ll regret down the line. The good news is that these mistakes are easy to sidestep once you know what to look for.
We’ve seen it all over our 25+ years of remodeling San Diego homes, and our design team is here to guide you past the common pitfalls. From using too many patterns to forgetting about the practical side of things, here are the top four tile-mixing mistakes we see homeowners make—and how you can avoid them. By keeping these points in mind, you can move forward with your project confidently, knowing your final design will be both stunning and smart.
Mistake #1: Using Too Many Different Styles
It’s easy to fall in love with a dozen different tiles, but using too many in one bathroom can create a chaotic, visually cluttered look. When every surface is competing for attention, nothing stands out. Instead of a cohesive design, the room can feel disjointed and even smaller than it is. A great rule of thumb is to stick to a maximum of three different tiles. This allows you to create interest and define zones without overwhelming the space. You can see how beautifully this works in our featured projects, where curated combinations create a serene and polished feel.
Mistake #2: Ignoring Scale and Proportion
Beyond the number of tiles, it’s crucial to consider how their sizes relate to each other and to the room itself. A common mistake is using tiles that are improperly scaled for the space—like a tiny mosaic on a large floor, which can look incredibly busy, or a massive tile in a tiny powder room, which can feel awkward. A balanced approach often involves using a large-format tile for the main floor, a complementary tile for the shower walls, and a smaller-scale mosaic for the shower floor (where more grout lines add slip resistance). Our bathroom remodeling designers are experts at creating this visual harmony, ensuring every tile choice feels intentional and perfectly proportioned.
Mistake #3: Forgetting How Lighting Affects Color
A tile’s color can change dramatically depending on the light. That cool gray tile you loved in the store might look warm and beige under your bathroom’s vanity lights, while a glossy finish can create unexpected glare next to a sunny window. Always take samples home and look at them in your space at different times of day. This is why we encourage clients to borrow samples from our Design Center. This also applies to grout—a pure white grout might look brilliant at first but can be tough to keep clean on a high-traffic floor. Opting for a light gray or off-white can offer the same clean look with far more durability.
Mistake #4: Choosing Looks Over Longevity
While aesthetics are key, your bathroom tile needs to stand up to daily life. Prioritizing looks over function is a mistake that can lead to long-term frustration. For example, a porous, unsealed natural stone might look gorgeous, but it will require constant maintenance in a shower. Similarly, a super-slick polished tile is a poor choice for a bathroom floor where slips are a concern. Our team always helps you balance beauty with practicality, guiding you toward durable, low-maintenance flooring and surface options that fit your lifestyle without compromising on style. The best choice is always one that you’ll love for years to come, both for how it looks and how it performs.
Ready to Plan? Start Here.
Feeling inspired? Great! Now it’s time to turn those ideas into a concrete plan. Choosing the right tile combinations can feel like a huge decision, but breaking it down into a few simple steps makes the process feel much more manageable. This is the part where you get to be the creative director of your own space, and a little bit of prep work now will ensure you absolutely love the final result.
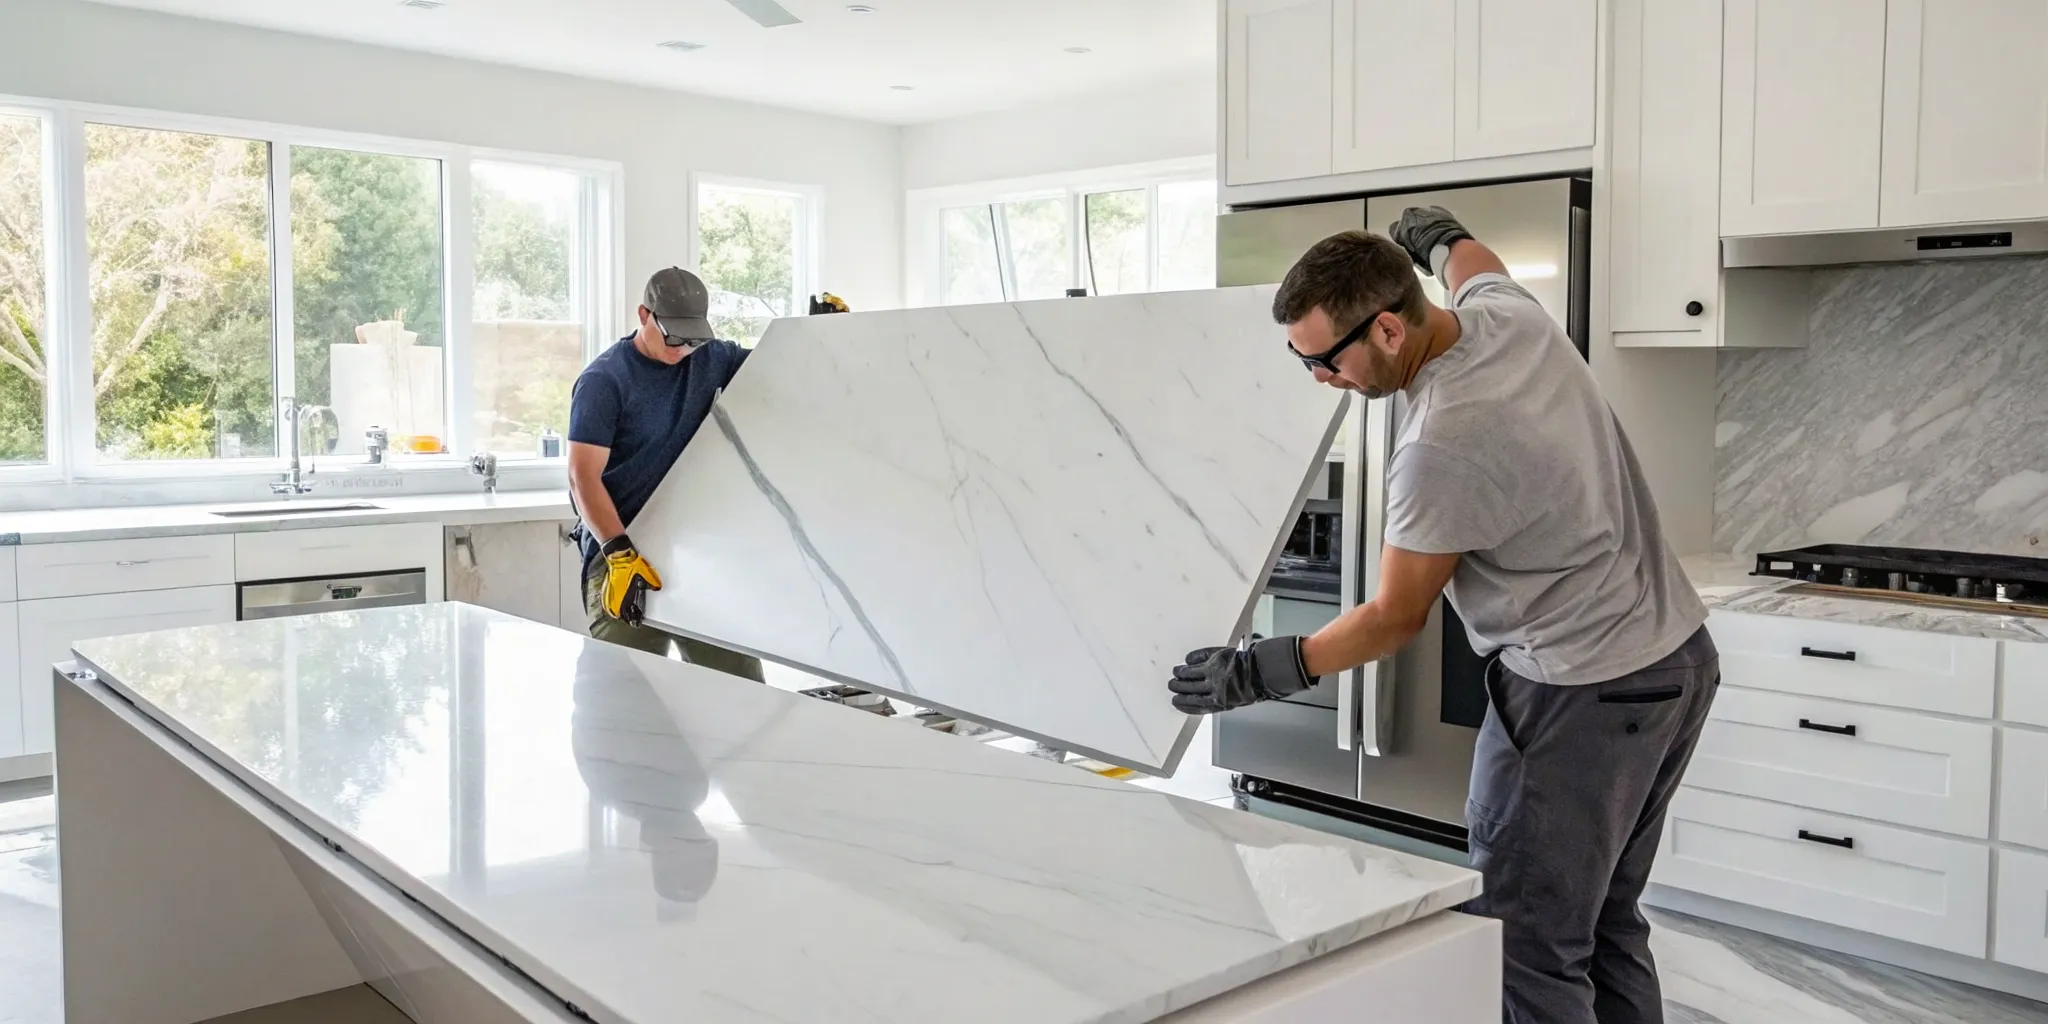
Think of this as your pre-remodel checklist. By working through these steps, you’ll build a clear vision for your project, which helps streamline everything that comes next. Whether you’re working with a design-build team or tackling parts of the project yourself, having a solid plan is your best tool. At King Remodeling, we guide our clients through every one of these stages as part of our proven process, ensuring no detail is overlooked. The best place to start is by seeing and touching the materials in person at our San Diego showroom, where you can compare textures and colors side-by-side.
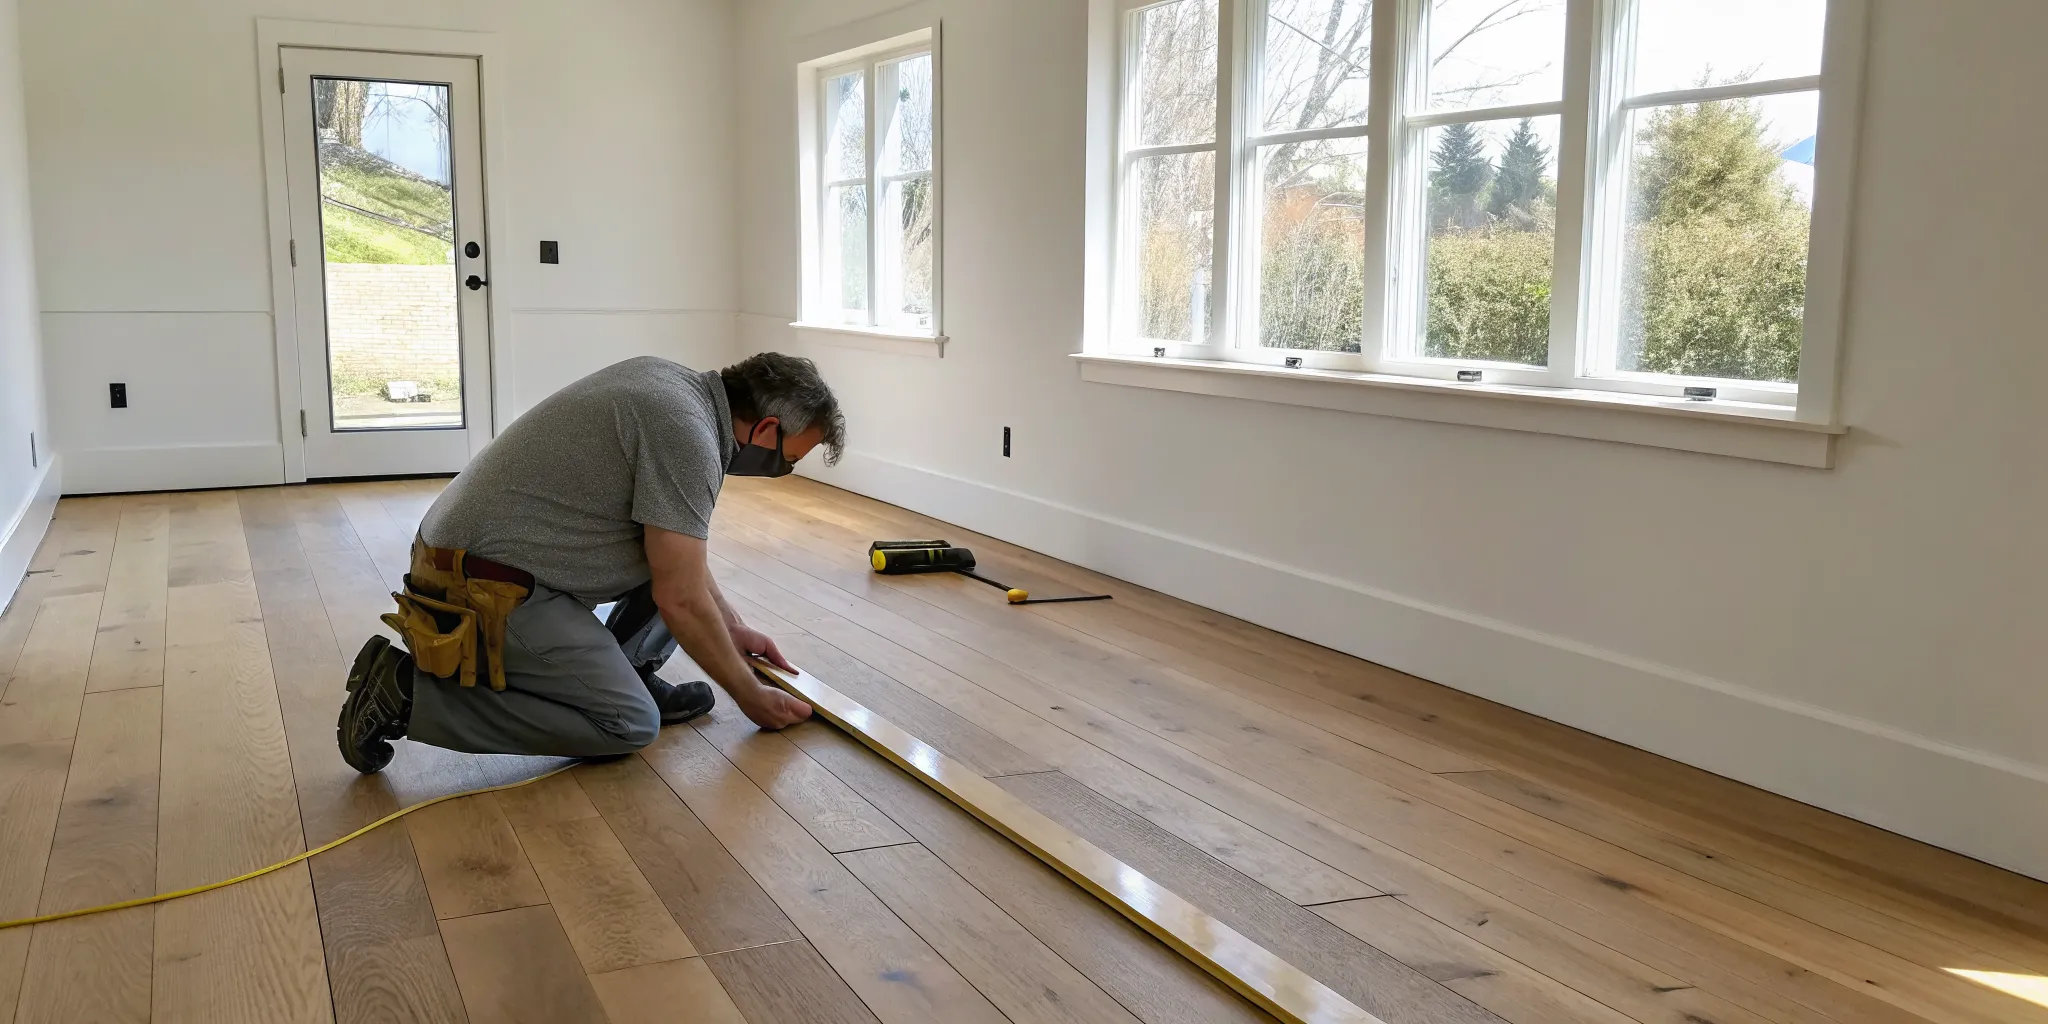
Step 1: Measure Your Space and Sketch a Layout
Before you fall in love with a specific tile, you need to know your numbers. Grab a tape measure and get the dimensions of your bathroom, including the floor area, shower walls, and any niches or accent walls you plan to tile. This is essential for calculating how much tile you’ll need to order (always add 10%–15% for cuts and waste!).
Once you have your measurements, create a simple sketch of the room. It doesn’t have to be a work of art—just a basic floor plan and wall elevations will do. Use it to map out where each tile will go. Will you use a large-format tile on the floor and a classic subway tile in the shower? Do you want a mosaic accent in the shampoo niche? Visualizing the layout helps you plan transitions and ensures your bathroom remodeling project feels intentional and cohesive.
Step 2: Order Samples and Test Them in Your Bathroom
This step is non-negotiable. A tile that looks perfect on a website can look completely different in your home. The lighting in your bathroom—both natural and artificial—will dramatically affect how colors and finishes appear. Order physical samples of your top contenders and place them in the space.
Live with them for a few days. See how they look in the morning light, in the middle of the day, and under your vanity lights at night. Move them from the floor to the shower wall. Does the glossy finish create too much glare? Does the matte texture feel right underfoot? This is also your chance to check for durability and water resistance. Seeing how different tiles look in our featured projects can give you context, but nothing beats testing samples in your own space.
Step 3: Plan for a Seamless Flow Between Zones
A well-designed bathroom feels like a single, unified space, even when you use multiple tile types. The key is to create a seamless flow from one zone to the next. For example, if you choose a bold, patterned tile for the floor, you might opt for a simpler, neutral tile on the walls to avoid overwhelming the room.
Think about how the different materials will meet. Will the floor tile continue right into a curbless shower? How will the shower wall tile transition to the main bathroom wall? Consider using a common color to tie different tiles together or stick to materials with a similar finish (like all matte or all polished) for a subtle, sophisticated look. Each stone or porcelain tile has its own character, and planning the flow ensures they all work together in harmony.
Step 4: Set a Clear Budget for Your Project
Finally, let’s talk budget. Tile prices can range from a few dollars per square foot for basic ceramic to hundreds for high-end natural stone or custom mosaics. Before you get too attached to a specific look, you need a clear understanding of what you can afford.
Your budget should include not just the tile itself but also the cost of installation, grout, thin-set, backer board, and waterproofing materials. When you know your total number, you can make informed decisions. For instance, you might splurge on a statement tile for a small accent wall and choose a more affordable but durable porcelain for the main floor. Having a clear budget from the start prevents surprises and helps you and your contractor stay on the same page. Ready to get a clear number for your project? You can contact us to schedule a consultation.
Related Articles
- Top 10 materials for shower walls – King Remodeling – Blog
- 25+ Small Bathroom Ideas on a Budget
- 8 Tips For Designing the Perfect Bathroom – King Remodeling
- Tile Installation Made Easy – With King Remodeling – King Remodeling
- Tile Installation Done Right – With King Remodeling – King Remodeling
Frequently Asked Questions
How do I make my small bathroom feel bigger using tile? This is one of the most common goals we hear from homeowners, and tile can make a huge difference. The best strategy is to use large-format tiles on the floor and walls. Because there are fewer grout lines, the surfaces look less busy and more expansive. Another great trick is to lay rectangular tiles in a vertical pattern on the shower walls. This draws your eye upward, creating the illusion of a taller ceiling and a more open, airy space.
Is it a bad idea to use natural stone like marble in a shower? Not at all, as long as you know what you’re signing up for. Natural stone is absolutely beautiful and brings a unique, organic elegance to a bathroom. However, it is porous, which means it can absorb water and is susceptible to staining. To keep it looking its best in a wet environment like a shower, it will need to be sealed upon installation and then resealed periodically. If you love the look and are comfortable with that routine maintenance, it can be a stunning choice.
I’m worried about my shower floor being slippery. What’s the safest tile to use? Safety is always the top priority for a shower floor. The best choices are tiles with a textured, matte finish, as they provide more natural grip than glossy surfaces. Smaller tiles, like mosaics or penny rounds, are also an excellent option. The increased number of grout lines creates more traction underfoot, significantly reducing the risk of slipping. Porcelain is a fantastic material for this because it’s durable, water-resistant, and comes in countless safe and stylish options.
Does grout color really make that big of a difference? Yes, it completely changes the final look! Think of it this way: choosing a grout color that closely matches your tile will create a smooth, seamless, and uniform surface. This can make a space feel calmer and larger. On the other hand, choosing a contrasting color, like dark grout with white tile, will make each tile shape pop and turn your layout into a graphic pattern. Neither is right or wrong—it’s purely a design choice that depends on whether you want a blended look or a bold statement.
I love a lot of different tiles. How do I keep my design from looking too busy? This is a common challenge when you’re surrounded by so many beautiful options. The key is to follow the “Rule of Three,” which means limiting yourself to no more than three different tiles in the space. A great approach is to choose one “hero” tile—a bold pattern or unique texture that you absolutely love—and use it as a focal point, like on the floor or an accent wall. Then, select two more subtle, complementary tiles to support it. This creates a balanced, curated design instead of a chaotic one.