Figuring out your bathroom tile renovation cost can feel like trying to solve a puzzle with constantly changing pieces. You see a tile you love, but the price per square foot is only the beginning of the story. The final number on your invoice is influenced by so many other factors, from the size of your bathroom and the complexity of the layout to the essential prep work happening behind the walls. This guide is designed to demystify the process. We’ll break down every component, from materials and labor to those often-overlooked expenses, so you can build a realistic budget and plan your project with total confidence.
Key Takeaways
- Budget for the entire project, not just the tile: A realistic budget accounts for the full scope of work, including demolition, subfloor preparation, waterproofing, professional labor, and finishing materials like grout and trim.
- Control costs with smart material choices: Your tile selection is the biggest factor in your budget. Consider high-quality porcelain or ceramic to get a luxury look without the premium price of natural stone.
- Prioritize professional installation for long-term value: Hiring a skilled installer is your best defense against costly future repairs from water damage or cracked tiles. Remember that complex patterns require more labor and will increase your installation cost.
How Much Does a Bathroom Tile Renovation Cost?
Figuring out the cost of a bathroom tile renovation can feel like trying to hit a moving target. The final price tag depends on so many variables, from the size of your space to the type of tile you fall in love with. But don’t worry—we can break it down into manageable pieces. Understanding the key cost drivers will help you set a realistic budget and make choices that align with your vision and your wallet.
A tile renovation is one of the most impactful ways to transform a bathroom, but it’s also a project where costs can vary dramatically. The difference between a simple floor update and a full-blown, floor-to-ceiling transformation is significant, not just in appearance but in price. Factors like removing old tile, preparing the subfloor, intricate pattern layouts, and the type of grout and sealant all play a role. It’s more than just the price of the tile itself; it’s the complete system and the skilled labor required to install it correctly for a lasting, waterproof finish. Getting a clear picture of these costs upfront prevents surprises down the road and ensures your investment is a sound one. Let’s look at the typical costs and what goes into them so you can plan your project with confidence.
Average Costs by Project Size
On a national level, a straightforward bathroom retiling project can cost anywhere from a few thousand dollars to over $10,000. According to national averages, most homeowners spend around $2,000, but this can climb quickly with premium materials or complex layouts. For a more comprehensive bathroom remodeling project here in San Diego that includes new tile, the investment is higher. For example, a full master bathroom overhaul often lands in the $15,000 to $30,000 range, reflecting the scope of work beyond just the tile itself. The key is to distinguish between simply replacing tile and a full-scale renovation where tile is just one component.
Breaking Down the Cost Per Square Foot
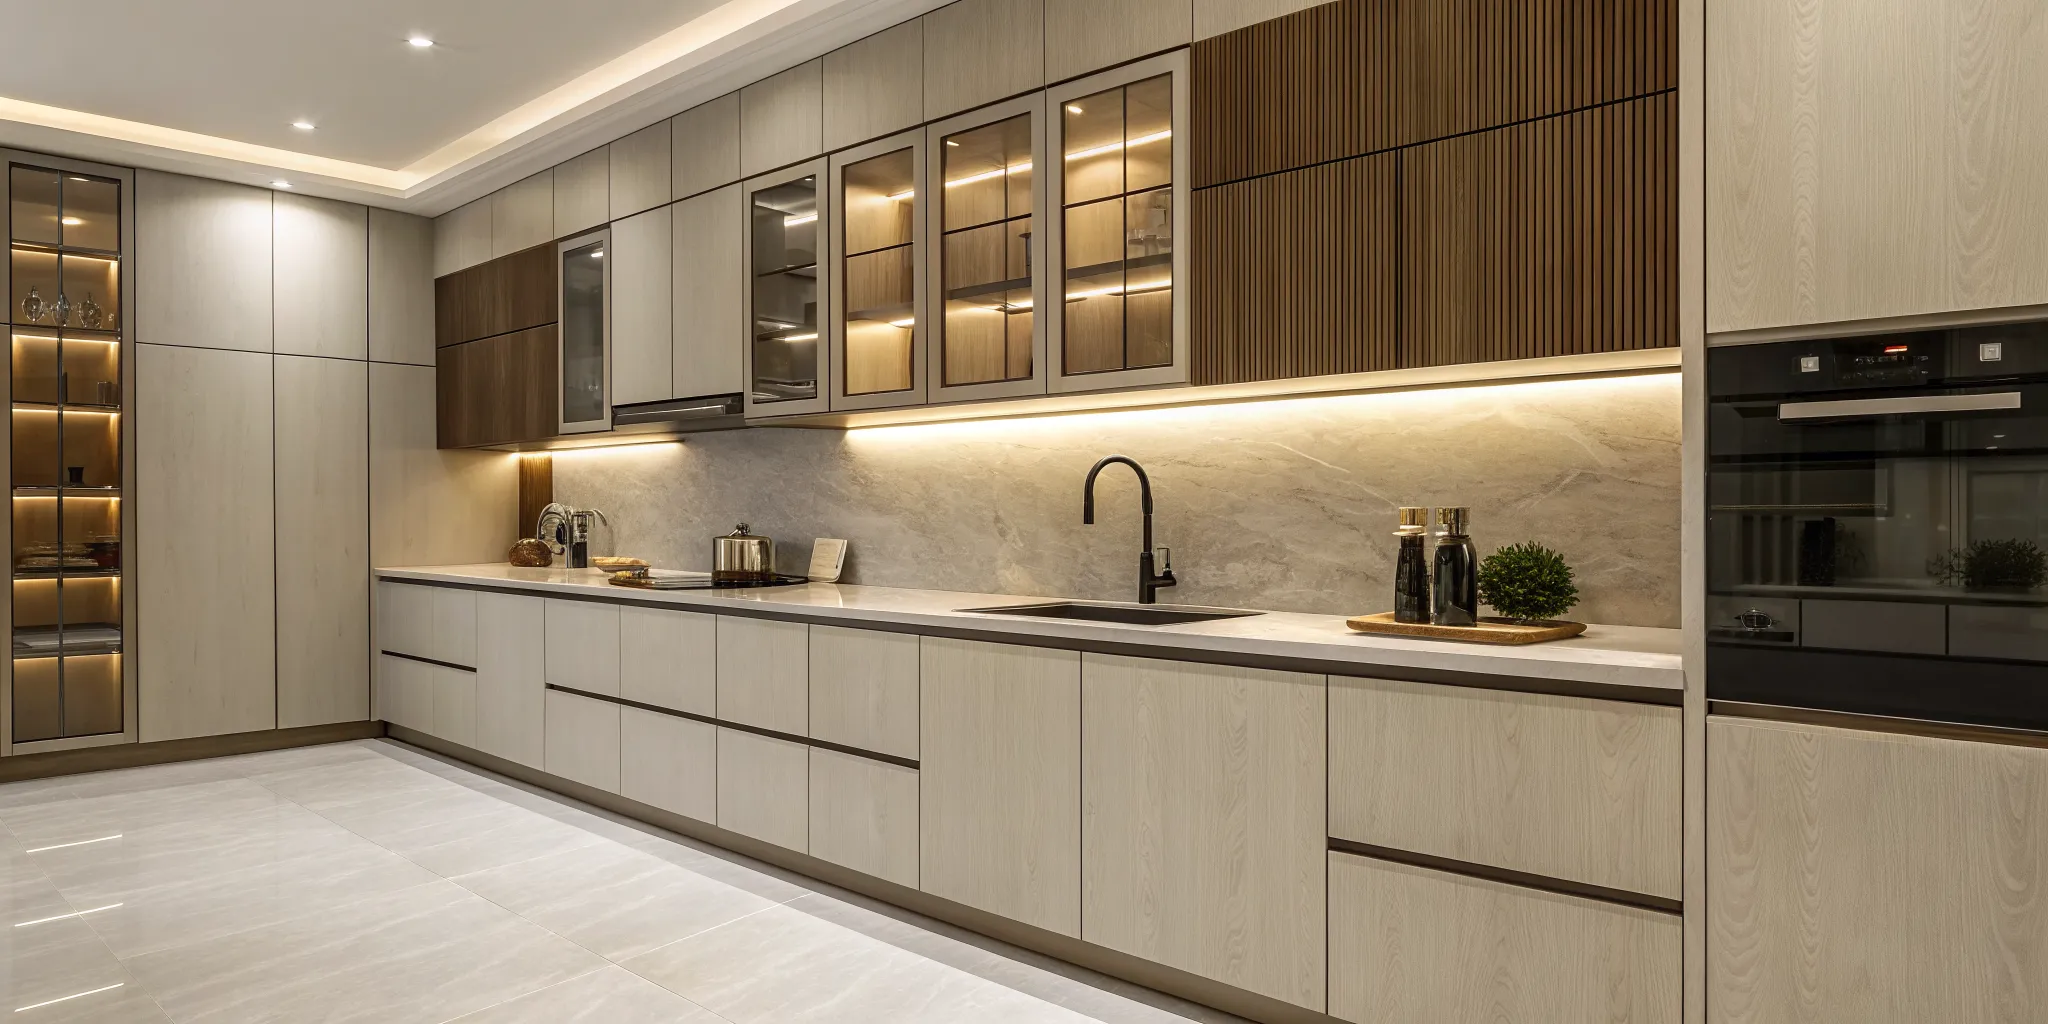
Looking at the cost per square foot is a great way to compare materials and estimate your budget. Generally, you can expect to pay between $10 and $50 per square foot for new bathroom tile, including installation. The tile material itself is a major factor in this equation. Simple ceramic or porcelain tiles might be just a few dollars per square foot, while high-end natural stone or intricate mosaic patterns can cost $30 or more. Visiting a design showroom is the best way to see these options side-by-side and understand how your material choices will impact the final number.
What Factors Influence Your Bathroom Tile Cost?
When you start budgeting for a bathroom remodel, it’s easy to focus on the price tag of the tile you love. But the final cost on your invoice is shaped by much more than just the material. Several key factors come together to determine the total investment for your project. Understanding these variables from the start helps you create a realistic budget, make informed decisions, and avoid surprises down the road. From the size of your space to the complexity of the installation, each element plays a crucial role in the final number.
Bathroom Size and Layout
This is the most straightforward factor: the bigger the bathroom, the more tile you’ll need. A small powder room will naturally cost less to tile than a spacious primary ensuite. But it’s not just about the total square footage. The layout of your bathroom also matters. A simple, rectangular room is easier and faster to tile than one with tricky angles, built-in shower niches, or curved walls. These complex features require more precise cuts and detailed work from your installer, which adds to the labor hours and, ultimately, the overall cost of your project.
Your Choice of Tile
The tile material you select is one of the biggest drivers of your budget. The options range from affordable to high-end luxury, and the price per square foot can vary dramatically. Classic ceramic and porcelain tiles are often the most budget-friendly choices, while natural stone like marble, travertine, or slate sits at the premium end of the spectrum. Visiting a design showroom is the best way to see and feel these differences firsthand. Beyond the material itself, the tile’s size, shape, and finish also influence the price, with intricate mosaics or specialty glazes costing more than standard, widely available options.
Labor and Installation
Professional installation is an investment in quality and longevity, and it makes up a significant portion of your tile budget. The cost isn’t just for laying the tile; it also covers essential prep work. This includes demolishing and disposing of the old tile, repairing or leveling the subfloor, and applying proper waterproofing—a critical step in any bathroom. A simple grid pattern on a flat floor will cost less in labor than a complex herringbone design running up a shower wall. The more detailed and time-consuming the installation, the higher the labor cost will be.
San Diego Market Rates
Where you live matters. Material and labor costs fluctuate based on your local market, and San Diego has its own set of rates for skilled tradespeople and building supplies. While tile is just one part of a full renovation, it’s helpful to have a local benchmark. A complete bathroom remodeling project in the San Diego area can range significantly based on the scope and finishes you choose. Understanding these local dynamics ensures your budget is grounded in reality, reflecting the true cost of achieving a high-quality, professional result in our city.
Comparing Tile Material Costs
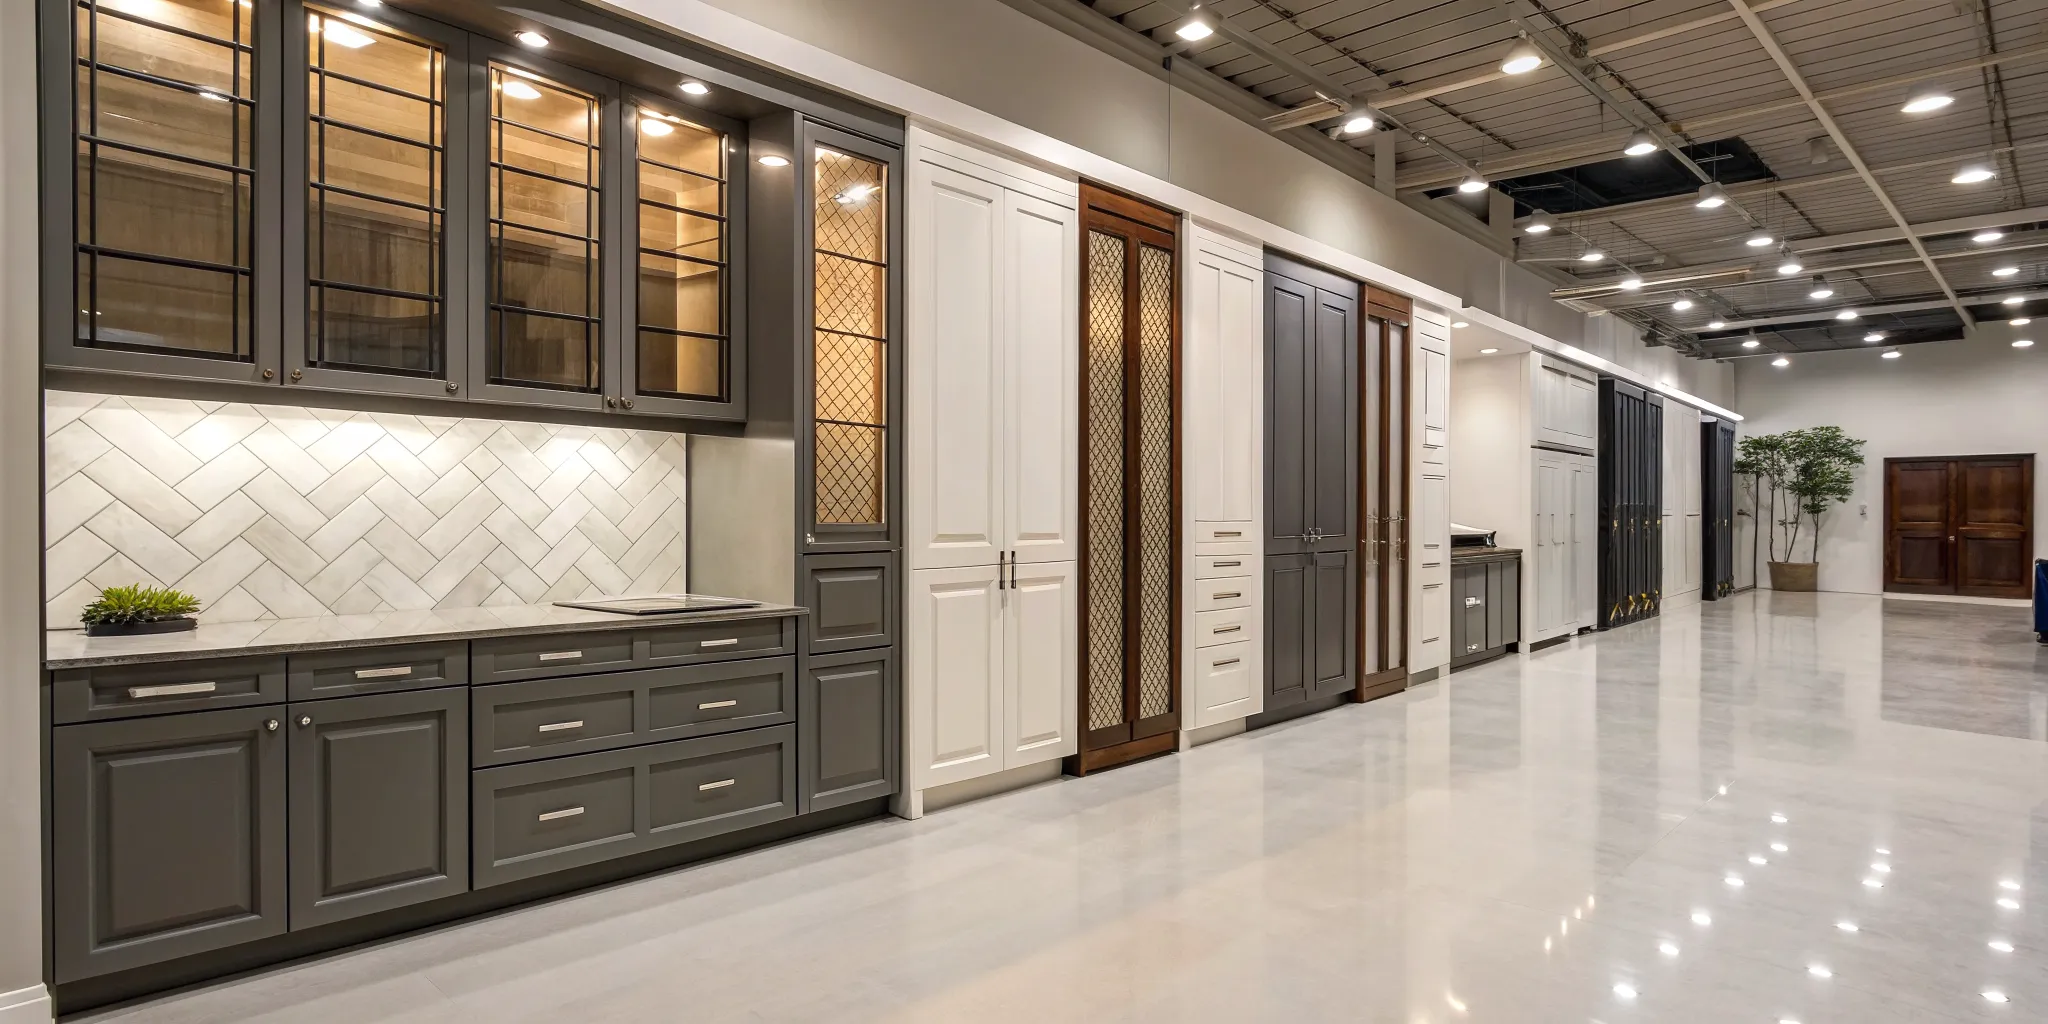
The material you choose for your tile is one of the biggest factors in your total renovation cost. The good news is that there are beautiful, durable options at every price point. From classic ceramics to luxurious natural stone, the right tile can completely transform your space. While photos are great for inspiration, nothing beats seeing and feeling the materials in person. That’s why we always recommend visiting our San Diego showroom to compare textures, colors, and finishes side-by-side. Our designers can walk you through the pros and cons of each option, helping you find a tile that fits your budget and your vision perfectly. Understanding the cost spectrum before you start shopping will help you narrow down your choices and make decisions with confidence.
Budget-Friendly: Ceramic & Porcelain
When you want a stylish look without a hefty price tag, ceramic and porcelain tiles are your best friends. Basic ceramic tiles are often the most affordable option, giving you the flexibility to create a fresh, clean look without stretching your budget. Porcelain, a denser and more durable type of ceramic, offers incredible versatility. Modern manufacturing techniques mean you can find porcelain tiles that convincingly mimic the look of wood, concrete, or even marble at a fraction of the cost. These materials are workhorses in a bathroom—they’re strong, water-resistant, and easy to clean, making them a practical and popular choice for floors and shower walls.
Mid-Range: Designer Porcelain & Subway Tile
This category is the sweet spot for many homeowners, offering elevated style at an accessible price. Here you’ll find designer porcelain tiles with intricate patterns, unique textures, and rich colors that can serve as a stunning focal point. Classic subway tile also falls into this range; its timeless appeal allows it to work in nearly any design scheme, from modern farmhouse to sleek contemporary. Choosing a simple, elegant tile like a subway tile can create a high-impact look that feels custom and intentional. We’ve used these materials to create beautiful bathroom remodels that feel both personal and timeless.
Premium: Natural Stone & Luxury Finishes
If you’re aiming for a truly luxurious, spa-like retreat, natural stone is the ultimate choice. Materials like marble, granite, travertine, and slate bring an organic, one-of-a-kind beauty to a bathroom that simply can’t be replicated. Each slab has unique veining and color variations, making your space truly unique. Keep in mind that these premium materials come with a higher price tag for both the tile itself and the specialized installation required. You can see how these stunning materials create a high-end feel in our portfolio of projects, where they often become the centerpiece of the design.
Factoring in Durability and Maintenance
Your budget shouldn’t just account for the upfront cost of the tile—it’s also important to consider long-term value. Durability and maintenance needs can impact your costs and satisfaction down the road. For example, ceramic and porcelain tiles are incredibly durable and water-resistant, making them a low-maintenance choice perfect for busy bathrooms. Natural stone, on the other hand, is more porous and often requires regular sealing to protect it from stains and moisture. These are the kinds of practical considerations we discuss during our design process to ensure you choose a material that not only looks great but also fits your lifestyle.
Do Wall and Floor Tiles Cost the Same?
It’s a common question, and the short answer is no—wall and floor tile projects usually come with different price tags. While the tile material itself is a big factor, the real difference often comes down to the installation process. Floor tiling covers a large, open surface, but wall tiling, especially in a shower, requires more intricate cuts around plumbing fixtures, niches, and windows. This difference in labor complexity is a key reason why the costs per square foot can vary so much between the two. Let’s break down what you can expect for each.
Wall Tile Installation Costs
When you’re budgeting for wall tile, it’s helpful to think in terms of a range. According to industry cost data, you can expect to pay between $10 and $50 per square foot for a professional installation. Why such a wide gap? It comes down to the tile you choose and the complexity of the design. A simple, large-format ceramic tile will be on the lower end, while a detailed mosaic or a natural stone that requires special handling will push the cost higher. The more cuts needed for niches, windows, and fixtures, the more labor is involved, which also affects the final price.
Floor Tile Installation Costs
In most cases, installing floor tile is a bit more straightforward, and the cost reflects that. You can typically expect to budget between $7 and $25 per square foot. While the material choice still plays a big role, laying tile on a flat, open floor generally requires less intricate cutting than shower walls. Of course, the total cost will depend on the size of your bathroom—a small powder room will be much less than a sprawling primary suite. A beautiful, durable floor is the foundation of any great bathroom remodel, and getting the installation right is key to a long-lasting finish.
The Cost of Subfloor Prep
This is one of those “hidden” costs that can catch homeowners by surprise. Before any new tile can go down, the subfloor has to be perfectly level, stable, and free of damage. If your subfloor needs repairs, especially due to water damage common in older bathrooms, it can add $40 to $65 per square foot to the project. It might seem like a steep price, but this step is non-negotiable for a quality installation. A faulty subfloor can lead to cracked tiles and failing grout lines down the road. A professional team will always inspect the subfloor as part of our process to ensure your new tile has a solid foundation.
How Much Does Professional Tile Installation Cost?
Beyond the price of the tile itself, labor is one of the biggest line items in your renovation budget. Professional installation is a skill that requires precision, experience, and the right tools to get a flawless, long-lasting finish. While costs vary based on your project’s complexity, understanding the typical rates helps you set a realistic budget from the start. In San Diego, you can generally expect installation to cost between $10 and $50 per square foot, with the total for a standard bathroom retiling project often landing around $2,000 for both labor and materials.
Of course, these are just industry averages. The final price depends on the specifics of your space, the tile you choose, and the level of preparation needed. The best way to get a clear number for your project is to get a detailed quote from a trusted local expert who can assess your bathroom in person. A design-build firm can provide a comprehensive estimate that covers every detail, from demolition to the final polish, ensuring there are no surprises along the way. This integrated approach simplifies the entire bathroom remodeling process.
Typical Rates for a Pro Installer
When you hire a professional tile setter, you’re paying for their expertise, specialized tools, and efficiency. For a standard bathroom tile installation, labor costs average around $12.50 per square foot. This rate covers the meticulous work of laying, cutting, and grouting the tile to ensure clean lines and a level surface. For a small-to-medium-sized bathroom, this can translate to a total installation cost between $450 and $2,000, depending on the job’s complexity. Remember, this price reflects the skill needed to handle everything from complex layouts to ensuring proper waterproofing—a critical step you don’t want to get wrong.
DIY vs. Hiring a Pro: What’s the Real Cost?
Tackling a tile project yourself might seem like a great way to save money, and you could cut $600 to $800 in labor costs. However, the savings aren’t always what they seem. First, you’ll need to buy or rent specialized tools, like a wet tile saw, which can cost hundreds of dollars. More importantly, tile installation is unforgiving. A small mistake in layout or waterproofing can lead to crooked lines, cracked tiles, or costly water damage down the road. Hiring a professional ensures the job is done right the first time, saving you the time, stress, and potential expense of fixing errors. A streamlined professional process is often the most cost-effective choice in the long run.
How Tile Size and Pattern Affect Labor
Not all tile installations are created equal. The size, shape, and pattern of your tile have a direct impact on the labor required. Large, simple square tiles are generally the quickest and most affordable to install. On the other hand, intricate patterns like herringbone, chevron, or detailed mosaics demand more time, precision, and cuts. This added complexity increases labor costs. Similarly, small tiles (like penny rounds) or oddly shaped tiles take more effort to set perfectly. When you visit a design showroom, you can explore these options and get expert advice on how your favorite styles will influence your installation budget.
What Are the Hidden Costs of a Tile Project?
When you’re budgeting for a bathroom remodel, it’s easy to focus on the price of the tile you’ve fallen in love with. But the tile itself is only one piece of the puzzle. Several other essential steps, from demolition to finishing touches, contribute to the final cost. Understanding these “hidden” expenses from the start helps you create a realistic budget with no surprises. A professional quote from a design-build firm will account for these items, but if you’re trying to estimate costs on your own, be sure to factor in the work that happens behind the scenes. These steps are what ensure your beautiful new tile looks great and lasts for years.
Demo: Removing and Disposing of Old Tile
Before your new tile can be installed, the old material has to go. The process of removing and disposing of old tile is a labor-intensive job that adds to your project’s bottom line. Costs typically range from $2 to $7 per square foot, depending on what type of tile is being removed and how difficult it is to tear out. This phase also includes hauling away the debris, which can sometimes involve separate disposal fees. While it might be tempting to skim over this line item, proper demolition is the critical first step toward a flawless new installation.
Wall and Floor Preparation
Once the old tile is gone, the surface underneath needs to be prepped for what comes next. This is where you might uncover issues like water damage or an uneven subfloor—common problems in older bathrooms. If the subfloor needs repairs, it can cost between $40 and $65 per square foot to fix. It’s an expense you can’t skip, as installing new tile over a damaged or uneven surface will lead to cracks and costly problems down the road. A thorough contractor will inspect these surfaces carefully to ensure your new tile has a solid, level foundation.
Waterproofing and Underlayment
In a space with as much moisture as a bathroom, waterproofing isn’t just a good idea—it’s essential. This critical step involves applying a waterproof membrane or sealant to the walls and floor before the tile goes on, especially in shower areas. While it adds to the upfront cost, proper waterproofing is your best defense against leaks, mold, and water damage that can rot your home’s structure. Think of it as an investment that protects the integrity of your entire bathroom remodeling project and prevents much more expensive repairs in the future.
Grout, Trim, and Finishing Touches
The small details at the end of a project can have a surprising impact on your budget. Grout, sealant, trim pieces, and thresholds are all necessary to complete the look and function of your new tile. Depending on the type you choose, grout and sealant can add another $1 to $3 per square foot to your total. These finishing materials aren’t just for looks; they seal the gaps between tiles to block out moisture and dirt, making your installation durable and easy to clean. When reviewing a quote, make sure these finishing touches are included in the scope of work.
What Common Budgeting Mistakes Should You Avoid?
A beautiful bathroom renovation starts with a realistic budget. But it’s easy to get tripped up by unexpected costs if you’re not careful. After managing thousands of remodels in San Diego, we’ve seen a few common pitfalls that can turn an exciting project into a stressful one. By knowing what to watch for, you can create a financial plan that sets you up for success from day one.
Underestimating the Total Cost
One of the biggest mistakes is focusing only on the price of the tile itself. It’s tempting to see a great price per square foot and build your budget around that number, but it rarely reflects the true final cost. A comprehensive budget includes everything from demolition and subfloor preparation to installation, waterproofing, and fixtures. This is why we map out every detail in our process, giving you a fixed-price proposal that covers the entire scope of work. This approach ensures there are no surprises, allowing you to feel confident in your investment from start to finish.
Forgetting Prep and Finishing Expenses
It’s the little things that often get left out of a DIY budget. Homeowners tend to remember the big-ticket items but forget the costs associated with getting the space ready and putting on the final touches. Expenses for demolition, disposing of old materials, purchasing new underlayment, waterproofing your shower, and buying grout, sealant, and trim can add up quickly. A professional quote should always itemize these costs so you can see exactly where your money is going. This transparency helps you avoid last-minute budget adjustments and keeps the project running smoothly.
Skipping a Contingency Fund
Even with the most detailed plan, surprises can happen. Once walls are opened up, we might discover hidden water damage, outdated plumbing, or structural issues that need to be addressed before new tile can be installed. Ignoring this possibility is a recipe for financial stress. We always recommend setting aside a contingency fund of 10–20% of your total project cost. Think of it as project insurance—if you don’t need it, great! But if you do, you’ll be so glad it’s there to cover unexpected but necessary repairs without derailing your renovation.
Prioritizing Style Over Long-Term Function
While a gorgeous, trendy tile can be exciting, it’s crucial to balance aesthetics with durability and maintenance. Choosing a high-maintenance material like porous natural stone for a busy family bathroom floor might lead to regret and costly upkeep later. Our designers help you find that perfect sweet spot: a tile that fits your vision and can stand up to daily life. Exploring our featured projects can give you inspiration for designs that are both stunning and practical for the long haul, ensuring you love your new bathroom for years to come.
How Can You Save Money on Your Bathroom Tile?
A beautiful tile renovation doesn’t have to break the bank. With a bit of strategic planning, you can achieve a high-end look while keeping your budget in check. The key is knowing where to spend and where you can save without sacrificing quality or long-term durability. Smart choices in materials, design, and project timing can make a significant difference in the final cost.
Focusing on value over the lowest price tag is the best approach. A well-installed, durable tile job will save you money on repairs and replacements for years to come. Here are a few practical ways to manage your bathroom remodeling costs and get the most out of your investment.
Choose Your Materials Wisely
Your tile choice is one of the biggest levers you can pull to control costs. While natural stone like marble or travertine is stunning, it comes with a premium price tag. Man-made materials like ceramic and porcelain offer incredible value and versatility. Because they can be produced in large batches, their price point is often much lower. Plus, modern porcelain can mimic the look of natural stone or wood so convincingly that it’s hard to tell the difference. Visiting a showroom lets you compare these options side-by-side to find a material that fits your aesthetic and your budget.
Keep the Design Simple
Intricate patterns like herringbone or mosaic layouts require more cuts and precision, which drives up labor costs. Opting for a simpler, more classic pattern—like a stacked or offset layout—can significantly reduce installation time and expense. For example, choosing a classic subway tile for your shower walls is a timeless and budget-friendly option that can save you a thousand dollars or more compared to a complex mosaic. A simple design doesn’t mean a boring one; you can still create a major impact with color, texture, and high-quality installation.
Handle Some Prep Work Yourself
If you’re comfortable with some light demolition, you can save a bit on labor by handling some of the prep work. Tasks like removing an old vanity, toilet, or mirror are often straightforward. Some homeowners even tackle removing the old tile themselves. However, be cautious. Any damage to the drywall or subfloor during demo will need to be repaired, potentially offsetting your savings. It’s best to have a clear conversation with your contractor first to see which tasks are safe for you to handle and which are best left to the pros.
Time Your Project Strategically
The biggest way to save money is to avoid costly mistakes. While a DIY tile job might seem cheaper upfront, errors in waterproofing, layout, or installation can lead to leaks, cracked tiles, and a complete do-over down the line. Hiring a professional tile contractor ensures the job is done right the first time. A professional team follows a clear process that protects your home and investment. You can also ask contractors if they have an off-season (typically late fall or winter) when they might offer more competitive pricing, but the real savings come from quality craftsmanship that lasts.
How to Get an Accurate Quote for Your Tile Project
Getting a clear, detailed quote is the single most important step toward a successful tile renovation. A thorough estimate acts as the roadmap for your project, aligning your vision with your contractor’s plan and ensuring there are no surprises along the way. It’s about more than just a final number; it’s about understanding exactly what you’re paying for, from demolition to the final polish. A trustworthy partner will provide a comprehensive breakdown that gives you confidence in your investment.
At King Remodeling, we believe in total transparency. Our fixed-price proposals are built on a detailed scope of work developed during our design phase, so you know the exact cost before the first tile is ever laid. This clarity is central to our process, ensuring your project runs smoothly from start to finish. When you’re comparing bids, it’s crucial to know what to look for and what questions to ask. A well-structured quote isn’t just a formality—it’s the foundation of a stress-free remodel.
Key Questions to Ask Your Contractor
When you sit down to review an estimate, having a few key questions ready can make all the difference. Start with the most important one: “What does this quote include and, just as importantly, what does it exclude?” A professional quote should itemize every step, including demolition, surface preparation, waterproofing, all materials (tile, grout, sealant), labor, and final cleanup. If any of these are missing, ask why. You should also inquire about the specific materials being used. A line item for “tile” isn’t enough; you need to know the type, source, and price per square foot to compare apples to apples. This is where visiting a showroom can help you finalize selections and lock in pricing.
Red Flags to Watch for in an Estimate
As you gather quotes, keep an eye out for warning signs that could signal future problems. A major red flag is a vague or verbal-only estimate. Any reputable contractor will provide a detailed, written document that outlines the full scope of work. Be cautious of anyone who pressures you to sign a contract on the spot. A professional will give you time to review everything thoroughly. Another warning sign is an unusually low bid. While it might seem tempting, a price that’s significantly lower than others often means corners are being cut, whether it’s with subpar materials or inexperienced labor. Finally, if a contractor seems unwilling to discuss a detailed plan for your bathroom remodel, it’s best to walk away.
How to Read a Quote: Labor vs. Materials
A tile project quote is typically broken down into two main categories: materials and labor. The materials portion covers more than just the tile itself; it includes the backer board, waterproofing membranes, thin-set mortar, grout, and any finishing pieces like trim. The cost here can vary dramatically based on your selections, from classic porcelain to high-end natural stone. Labor costs cover the skilled work of the installation team. This includes preparing the surfaces, meticulously setting each tile, grouting the joints, and sealing the finished product. The complexity of the tile pattern and the size of the tiles can also impact labor costs, as intricate designs like herringbone require more time and precision. A clear quote will separate these costs so you can see exactly where your money is going.
Create a Realistic Budget for Your Renovation
A successful renovation starts long before the first tile is laid. It begins with a realistic budget that acts as a roadmap for your entire project. Thinking through your finances upfront helps you make confident decisions, avoid surprises, and ensure the final space is exactly what you dreamed of. A well-crafted budget isn’t about limiting your vision; it’s about bringing it to life thoughtfully and without unnecessary stress. By planning carefully, you can align your design goals with your financial comfort zone, setting the stage for a smooth and predictable remodeling experience.
Why You Need a Contingency Fund
One of the most common remodeling mistakes is failing to plan for the unexpected. A contingency fund is a portion of your budget—typically 10% to 20% of the total project cost—set aside specifically for unforeseen issues. During demolition, your contractor might discover hidden water damage, outdated electrical wiring, or structural problems that need to be addressed before new tile can be installed. Without a contingency fund, these discoveries can derail your project or force you to make compromises elsewhere. Think of it as project insurance; it provides peace of mind and ensures you can handle surprises without financial strain.
How Your Timeline Impacts the Final Price
Your project timeline has a direct effect on the final cost. Rushing a renovation often leads to expensive decisions, like paying for expedited shipping on materials or overtime for labor. More importantly, a tight deadline gives you less time to properly vet contractors and secure a team you trust. The best professionals are often booked months in advance, and waiting for the right partner is always worth it. A well-planned timeline, established with your design-build team, allows for thoughtful material selection and efficient scheduling. Our end-to-end process is designed to create this predictability from day one.
Set Your Priorities: Must-Haves vs. Nice-to-Haves
When you start dreaming about your new bathroom, it’s easy for the wish list to grow quickly. To keep your budget in check, it’s essential to separate your non-negotiable “must-haves” from your “nice-to-haves.” A must-have might be a curbless walk-in shower for accessibility, while a nice-to-have could be a specific designer faucet or imported tile. Making a list of your priorities helps you focus your spending on the elements that matter most. This is where professional guidance is invaluable. In our San Diego showroom, our designers can help you explore options that deliver high-end style without compromising your budget.
Related Articles
- Bathroom Tiles Combination: A Complete Guide
- Small Bathroom Renovation Cost: A 2026 Guide
- Labor Cost to Remodel Bathroom: A Full Breakdown
- How to Hire a Bathroom Renovation Contractor
Frequently Asked Questions
What’s a realistic starting budget for a full bathroom tile renovation in San Diego? While the tile itself can range from a few thousand dollars, it’s just one part of a complete bathroom remodel. For a full project in San Diego—including design, demolition, plumbing, fixtures, and professional installation—homeowners often invest between $15,000 and $30,000 or more. The final number really depends on the size of your space and the materials you choose. The best way to get a true cost is with a detailed, fixed-price proposal that accounts for every single element of your project.
Why is professional installation so important if I’m trying to save money? Think of professional installation as an investment in your home’s long-term health. The labor cost covers much more than just placing tiles in a straight line. It includes critical prep work like leveling the subfloor and applying a flawless waterproofing system. A small mistake in these early stages can lead to cracked tiles, leaks, and mold—problems that are far more expensive to fix down the road than getting it done right the first time.
Can I save money by buying the tile myself and just hiring a team for installation? While it might seem like a savvy way to cut costs, sourcing materials yourself can actually complicate the project. When a single design-build team handles everything, we can guarantee that the right amount of tile is ordered, that it’s compatible with all the setting materials, and that the entire job is covered under one warranty. This integrated approach prevents logistical headaches and ensures a smooth, accountable process from start to finish.
What’s the single biggest “hidden cost” I should prepare for? The most common surprise we find is what’s hiding behind the old tile. Once we open up the walls and floor, we can uncover issues like hidden water damage or an uneven subfloor, which are very common in older bathrooms. These problems must be properly repaired to provide a stable foundation for your new tile. This is exactly why having a 10-20% contingency fund is so important—it ensures these necessary fixes don’t derail your budget.
How is a fixed-price proposal different from a basic estimate? A basic estimate is often just a ballpark guess that can easily change as the project progresses, leaving you vulnerable to unexpected costs. A fixed-price proposal, on the other hand, is a guaranteed price based on a detailed design plan and your finalized material selections. It means you know the exact cost of your entire renovation before any work begins. This approach eliminates financial surprises and gives you the peace of mind to enjoy the process.