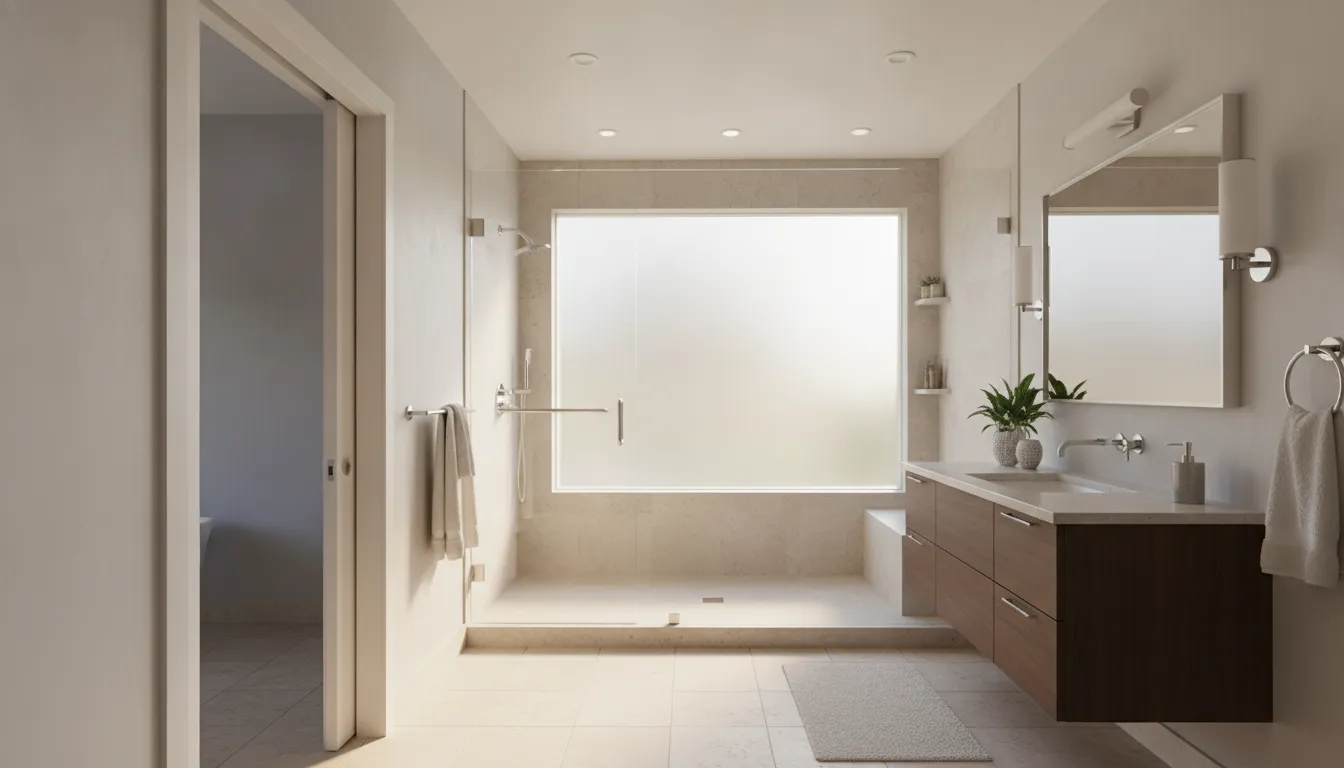
Accessible bathroom design makes a daily routine safer, easier, and more comfortable without making the room feel clinical. The best plan starts with the people who will use the space. It then brings together clear pathways, stable support, easy-to-use fixtures, thoughtful lighting, and a shower that does not create a trip hazard.
Schedule an accessible bathroom design consultation with King Remodeling.
For San Diego homeowners, an accessible remodel can solve a current mobility need or prepare a home for aging in place. It can also make the bathroom easier for children, guests, and anyone recovering from an injury. This guide explains the main choices and shows how to turn them into a coordinated remodeling plan.
Accessible bathroom design starts with the user
An accessible bathroom is not defined by one product or one standard layout. It is a room planned around a person’s reach, balance, strength, mobility device, and preferred routines. A feature that works well for one person may create a barrier for another.
ADA standards versus a residential plan
The Americans with Disabilities Act standards provide useful reference points for clear floor space, turning space, fixture height, and grab-bar placement. However, private homes are generally different from public accommodations. A residential plan should use relevant guidance while fitting the homeowner, the existing structure, and local requirements.
Exact needs can also change over time. For that reason, a strong plan combines immediate solutions with flexible features that are easier to adapt later.
| Planning approach | Main purpose | Best use in a home |
|---|---|---|
| ADA reference standards | Create consistent access in covered spaces | Useful dimensions and design benchmarks |
| Universal design | Make spaces easier for many people to use | Comfort, flexibility, and long-term usability |
| User-specific design | Support one person’s routines and abilities | Personalized fixture locations and clearances |
Begin with a practical needs review
Before choosing tile or fixtures, walk through a normal bathroom routine. Note where a person pauses, reaches, turns, sits, or needs support. Include any walker, wheelchair, shower chair, or caregiver in the review. These details shape the layout more effectively than a generic checklist.
King Remodeling can translate those needs into a buildable plan. Its design-build process also identifies structural, plumbing, drainage, and waterproofing limits before selections are finalized. Learn how the team coordinates each stage in the King Remodeling process.
How do you plan an accessible bathroom layout?
King Remodeling plans a useful layout around a clear route from the doorway to every fixture. It should reduce tight turns and keep commonly used items within easy reach. Planning enough open floor area is often more important than adding extra products.
- Document the user’s routine. Identify mobility devices, transfer methods, reach range, balance concerns, and whether a caregiver may assist.
- Measure the full approach. Check the hallway, doorway, floor transitions, and clearance around the toilet, sink, and shower.
- Choose fixture locations. Place fixtures so doors, drawers, and shower glass do not block the clear route.
- Plan support points. Decide where grab bars, seating, and stable counters can help during movement and transfers.
- Review emergency access. Make sure a fallen person would not prevent the bathroom door from opening.
- Test the plan before building. Mark fixture edges on the floor and move through the space with the devices that will be used.
Doorways and floor transitions
A wider doorway can make entry easier for a walker, wheelchair, or caregiver. Pocket doors and outward-swinging doors may preserve usable floor space, but the right choice depends on wall construction and the surrounding room. Handles should be easy to grip and operate.
At the floor, avoid abrupt changes in height. A smooth transition reduces trip hazards and makes rolling movement easier. The route should also remain clear when cabinets and doors are open.
Turning and transfer space
Open floor space lets a person turn, approach fixtures, and transfer safely. The required amount depends on the person and mobility device. A designer may use accessibility standards as a starting point, then adjust the plan after reviewing actual movement and caregiver needs.
Small bathrooms can still become more usable. A wall-mounted vanity, carefully placed toilet, or open shower may recover valuable room. See these walk-in shower layout ideas for examples of how fixture placement changes a compact room.
Build a safer zero-threshold shower
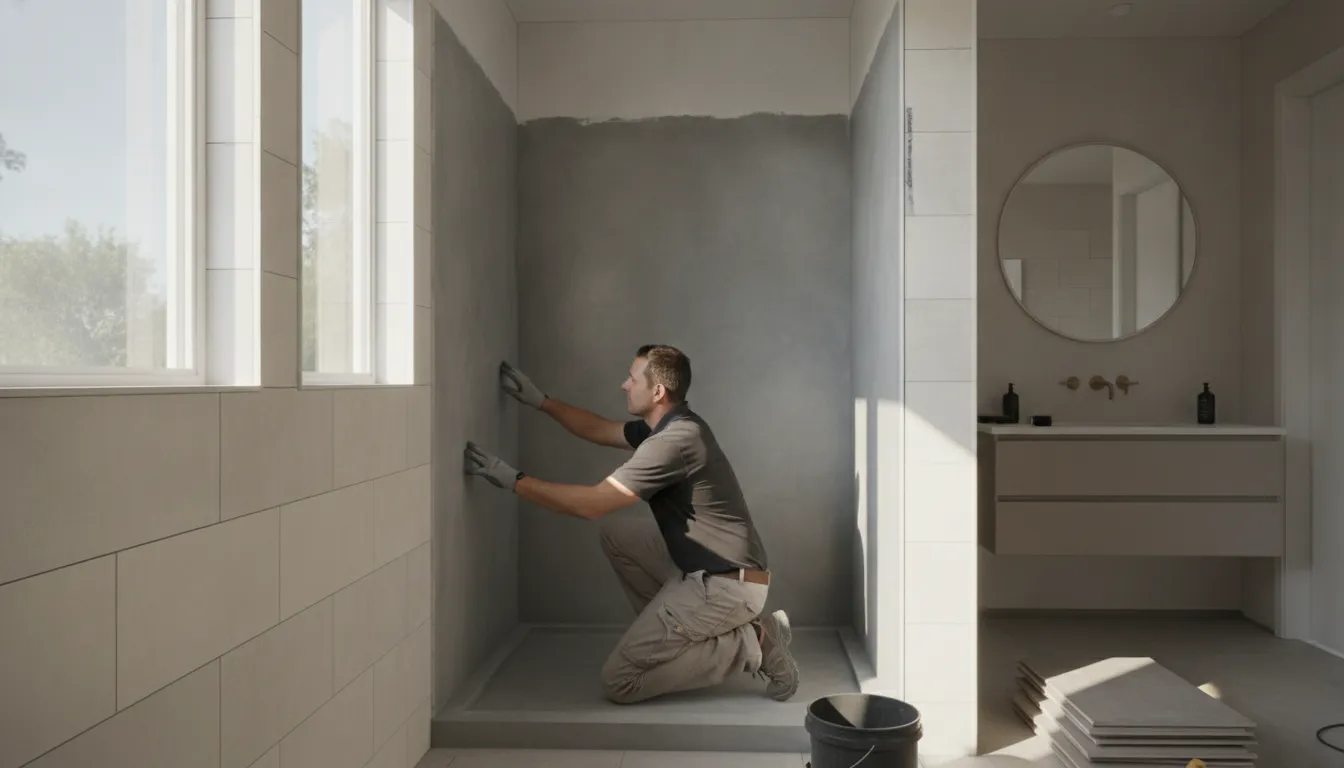
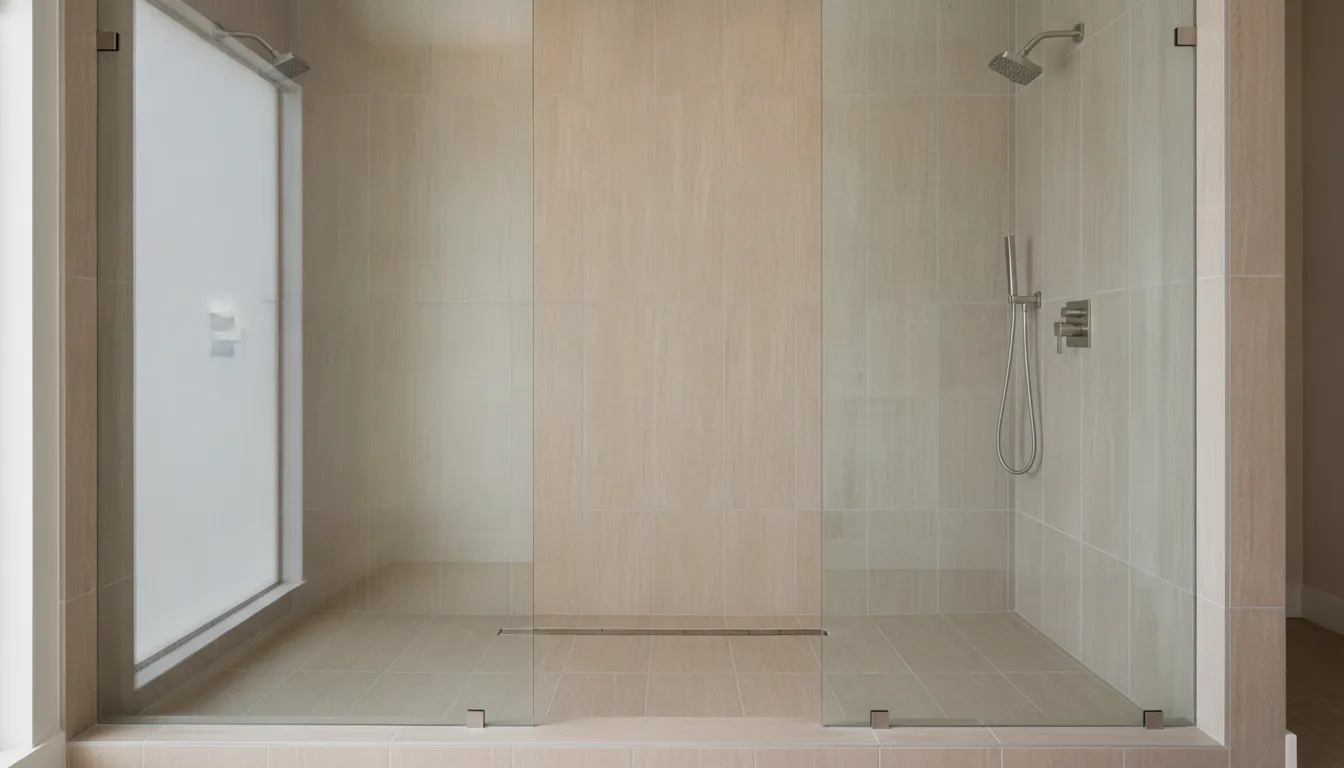
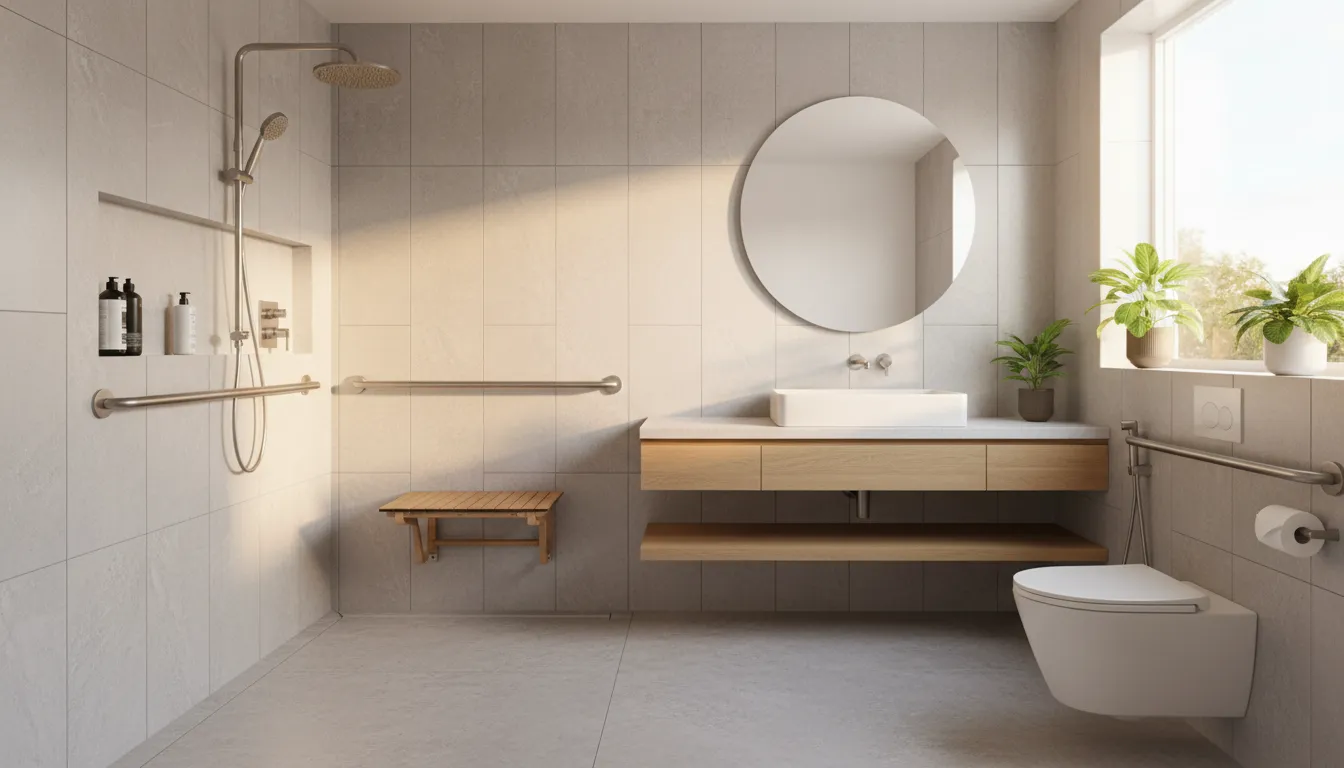
A zero-threshold shower removes the curb that a person must step over. It can support rolling access, reduce a common trip point, and make caregiver assistance easier. Yet a curbless entrance only works when drainage, floor slope, and waterproofing are designed as one system.
Coordinate drainage and waterproofing
The shower floor must guide water toward the drain while keeping the entry easy to cross. The room may need a recessed shower area, a linear drain, or changes to the subfloor. Water spray, shower size, and glass placement also affect how well the room stays dry.
Waterproofing must extend through every vulnerable area, including corners, penetrations, and transitions. This is one reason a zero-threshold shower should be planned before demolition rather than treated as a late product change.
Add support where it is needed
Grab bars need secure attachment to framing or approved backing. During a full remodel, adding wall blocking creates flexibility for current and future bar locations. A fold-down seat or built-in bench can also help, but its size and position should match the user’s transfer method.
Controls should be reachable before a person enters the water stream. A handheld showerhead on an adjustable slide bar can support both seated and standing use. Recessed niches should be reachable without bending or stretching.
Keep the shower attractive
Accessible shower details can blend into a modern design. Coordinated grab-bar finishes, large-format wall tile, simple glass, and a well-placed bench can create a calm, cohesive room. Review these bathtub-to-shower conversion ideas when exploring the look and function of an open shower.
Choose accessible toilets, sinks, and fixtures
King Remodeling helps homeowners select fixtures that reduce strain and support stable movement. Height, reach, clearance, and control style matter more than a label on the box. Whenever possible, test fixtures in person before ordering them.
Toilet height and support
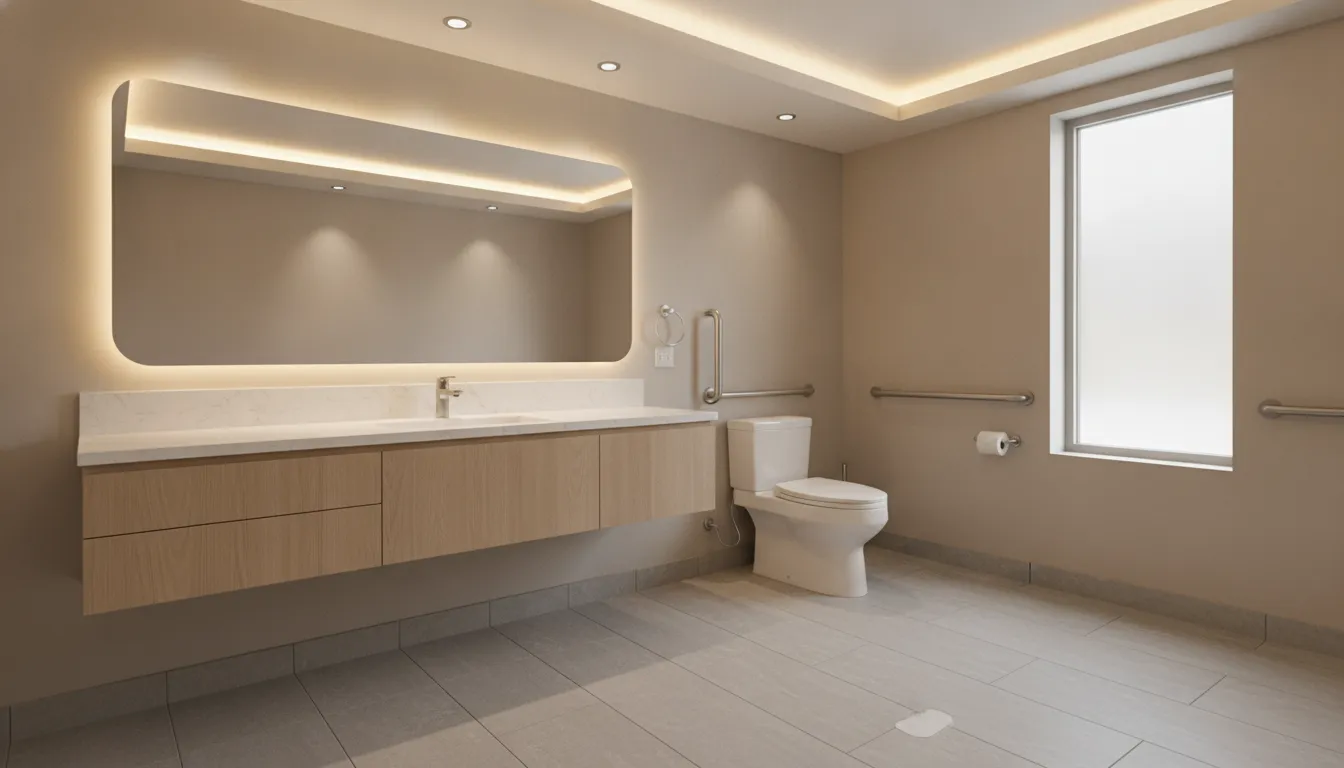
A comfort-height toilet can make sitting and standing easier for many adults. It may not suit every user, especially someone who is shorter or follows a specific transfer method. The surrounding clear space and grab-bar position must work together with the selected toilet.
A side wall can provide a strong location for support. If the layout does not include one, other solutions may be possible, but they require careful structural planning. Toilet-paper holders and flush controls should stay within easy reach without interfering with movement.
Open and reachable vanity design
An open-knee-space vanity can let a seated user approach the sink. Pipes should be protected from contact, and the counter should fit the person’s reach. A wall-mounted or adjustable mirror can improve visibility from different positions.
Lever faucets and touchless controls require less grip strength than small knobs. Drawers often make stored items easier to see than deep cabinets. Frequently used products should be placed between comfortable reach limits rather than high above the counter or near the floor.
Controls that are easy to use
Large switches, simple controls, and clear labels can improve daily use. Place outlets and switches where a seated or standing user can reach them safely. If smart controls are included, keep a simple manual option available.
Improve safety with flooring, lighting, and storage
Many important accessibility choices are easy to overlook because they are not major fixtures. Flooring, lighting, contrast, ventilation, and storage can determine whether the finished room feels safe and easy to use every day.
Choose stable, slip-resistant surfaces
Bathroom floors should provide dependable traction when dry and wet. Compare the intended use and care instructions for each material rather than relying on appearance alone. Matte or textured surfaces may provide a steadier feel than highly polished finishes.
Smaller shower-floor tiles can create more grout joints and follow the required slope. However, grout also needs cleaning. The best choice balances traction, drainage, maintenance, and the homeowner’s comfort.
Use layered, low-glare lighting
Even lighting helps a person see water, edges, controls, and floor transitions. Combine general ceiling light with focused lighting at the vanity and shower. Night lighting can make the route easier to follow without turning on a harsh overhead fixture.
Contrast can help important features stand out. For example, a grab bar that is easy to distinguish from the wall may be easier to find quickly. Avoid busy patterns or strong glare that can make depth and edges harder to read.
Keep storage within comfortable reach
Place daily items where they can be reached without deep bending, twisting, or climbing. Pull-out drawers, open shelves, and shallow cabinets can improve visibility. Keep the floor clear of baskets, loose mats, cords, and other trip hazards.
Good ventilation also matters. It helps manage moisture and supports a more comfortable room. Select controls that are simple to reach and understand.
Talk with King Remodeling about coordinating a safer bathroom layout, fixtures, and finishes.
How can a bathroom support aging in place?
Aging-in-place design prepares a bathroom to remain useful as strength, balance, eyesight, or mobility changes. It does not require predicting every future need. Instead, it creates a flexible base that can accept updates with less disruption.
Make smart choices behind the walls
Wall blocking for future grab bars is inexpensive to add while the walls are open. Photograph and document its location before the wall finish is installed. Similar advance planning can support a future shower seat, adjustable accessories, or a different vanity setup.
Plumbing and electrical locations also affect future options. A design team can consider whether the shower, toilet area, lighting, and outlets can support later changes without a major rebuild.
Design for many users
Universal design features often help everyone. A low-entry shower is easier when bathing a child or washing a pet. Lever handles help when hands are wet or sore. Better lighting, clear pathways, and reachable storage improve convenience for guests of many ages.
The room can still reflect the rest of the home. Visit the King Remodeling showroom to compare materials and fixtures while considering both appearance and usability.
Plan the project as one system
An accessible remodel involves more than swapping fixtures. Layout, framing, drainage, waterproofing, electrical work, lighting, finishes, and storage all affect one another. Coordinating the work through one design-build plan can reduce conflicts and make decisions clearer.
Plan an ADA bathroom remodel with confidence
Homeowners often use the phrase ADA bathroom remodel when they want a safer and more accessible home bathroom. The first step is to clarify whether the goal is strict compliance for a covered property, guidance based on ADA dimensions, or a personalized aging-in-place design.
Create a clear project brief
Write down who will use the bathroom, which barriers exist now, and what changes may be needed later. Include mobility devices, caregiver access, preferred shower method, storage needs, and style goals. Share this brief with the design team before layout work begins.
Next, confirm the existing conditions. Framing, floor depth, plumbing location, window placement, and ventilation can change what is practical. A realistic scope should also account for permits and any local code requirements.
Review the complete design before construction
Review the layout, fixture specifications, support locations, finish materials, and lighting plan together. Confirm that open doors, drawers, and shower glass will not block movement. If possible, mark the proposed layout at full scale and test the clearances.
King Remodeling provides design, material selection, project management, and construction for San Diego bathroom projects. Learn more about its bathroom remodeling services when you are ready to turn accessibility goals into a coordinated plan.
Frequently asked questions
Does a private home bathroom have to meet ADA standards?
Private residences are generally different from public spaces covered by the ADA. However, ADA standards can provide useful planning references. A homeowner should also consider the specific user’s needs, applicable building codes, and professional guidance.
What is the most important feature in an accessible bathroom?
There is no single best feature for every person. A clear, usable layout is often the foundation because it affects access to every fixture. The design should then add the right shower, support points, lighting, and controls for the user.
Can a small bathroom become accessible?
A small bathroom can often become safer and easier to use through careful fixture placement, a more open shower, improved doorway access, and compact storage. Full wheelchair access may require moving walls or expanding the room, depending on existing conditions.
Can grab bars look good in a remodeled bathroom?
Yes. Modern grab bars are available in many finishes and styles that coordinate with faucets and shower hardware. Their secure installation and correct placement matter most, so appearance should be considered alongside structural support and user needs.
When should accessibility be planned during a remodel?
Accessibility should be part of the earliest design phase. Early planning lets the team coordinate layout, framing, drainage, plumbing, and electrical work before materials are ordered or walls are closed.
Start your accessible bathroom remodeling plan
A safer bathroom can also be comfortable, attractive, and easy to maintain. The strongest results come from a plan built around the user and coordinated before construction begins. Request an accessible bathroom remodeling consultation with King Remodeling to explore a personalized design for your San Diego home.