An unsafe bathroom can turn one missed step into a life-changing injury. The right remodel protects independence without making your home look clinical or institutional.
Accessible bathroom design creates a safer, easier-to-use space through thoughtful clearances, stable support, barrier-free bathing, slip-resistant surfaces, and fixtures placed for the people using them. For San Diego homeowners aging in place, that often means widening the doorway, improving lighting, and planning enough room to move. A low-threshold or curbless shower, slip-resistant flooring, well-placed lighting, and easy-to-reach controls can reduce daily strain and common fall hazards. The 2010 ADA Standards provide useful benchmarks for public facilities, including clearances, fixture heights, and grab bar placement. Private homes generally are not required to comply, but a remodeler can adapt those guidelines to current mobility, future needs, and personal comfort.
Before selecting tile or fixtures, the right plan must account for the room and the homeowner’s daily routine. Next, “Accessible bathroom design starts with the layout” explains how doorway width, clear floor space, and fixture placement create a safe foundation. Here’s how.
Accessible bathroom design starts with the layout
A good accessible bathroom design begins with movement, not fixtures or finishes. Plan how someone enters, turns, reaches each feature, and leaves without backing into an obstacle. The best layout feels simple because each route is clear and each feature is easy to find.
Clear routes and turning room
Start by mapping the main path from the bathroom door to the toilet, sink, and shower. Keep hampers, open cabinet doors, and decorative furniture outside that path. Clear floor space should remain useful when another person is nearby to help.
Turning room matters, but a circle on a floor plan does not tell the whole story. Test the layout with the mobility aid the resident uses. A walker, wheelchair, or transfer chair may need a different approach to each fixture.
Small rooms can still work well when every feature earns its place. A compact vanity, wall-mounted storage, or shower in place of a tub may free needed space. Review accessible bathroom layout planning ideas before changing plumbing or walls.
Doorways and everyday movement
A wide doorway helps people enter without catching a hand, wheel, or walking aid on the frame. Its usable opening matters more than the labeled door size. Check the opening with the door fully open and account for trim, handles, and hinges.
Door swing also shapes the room. An inward-swinging door can block floor space or make emergency help harder if someone falls behind it. A pocket door or outward-swinging door may improve access when the wall and hall allow it.
Place controls and storage where they are easy to see and reach from a stable position. Avoid layouts that require sharp turns between fixtures. Keep the path to the toilet clear at night, and give each task a logical place.
ADA benchmarks and home needs
The ADA is a helpful reference, but it is not a complete plan for every private bathroom. The 2010 ADA Standards set minimum access rules for public accommodations and certain government facilities. A private home should also reflect the resident’s body, habits, mobility, and likely future needs.
Use ADA benchmarks as a starting point, then confirm local code requirements with the project team. During design, mark clear zones and door swings on the plan. Then walk through common tasks to find conflicts before construction begins.
How do you design a safer accessible shower?
A safer shower starts by removing barriers and making each action easier to manage. This matters because bathroom falls are more likely to cause injury than falls elsewhere in the home. Plan the full shower before choosing tile, fixtures, or finishes.
Entry and layout planning
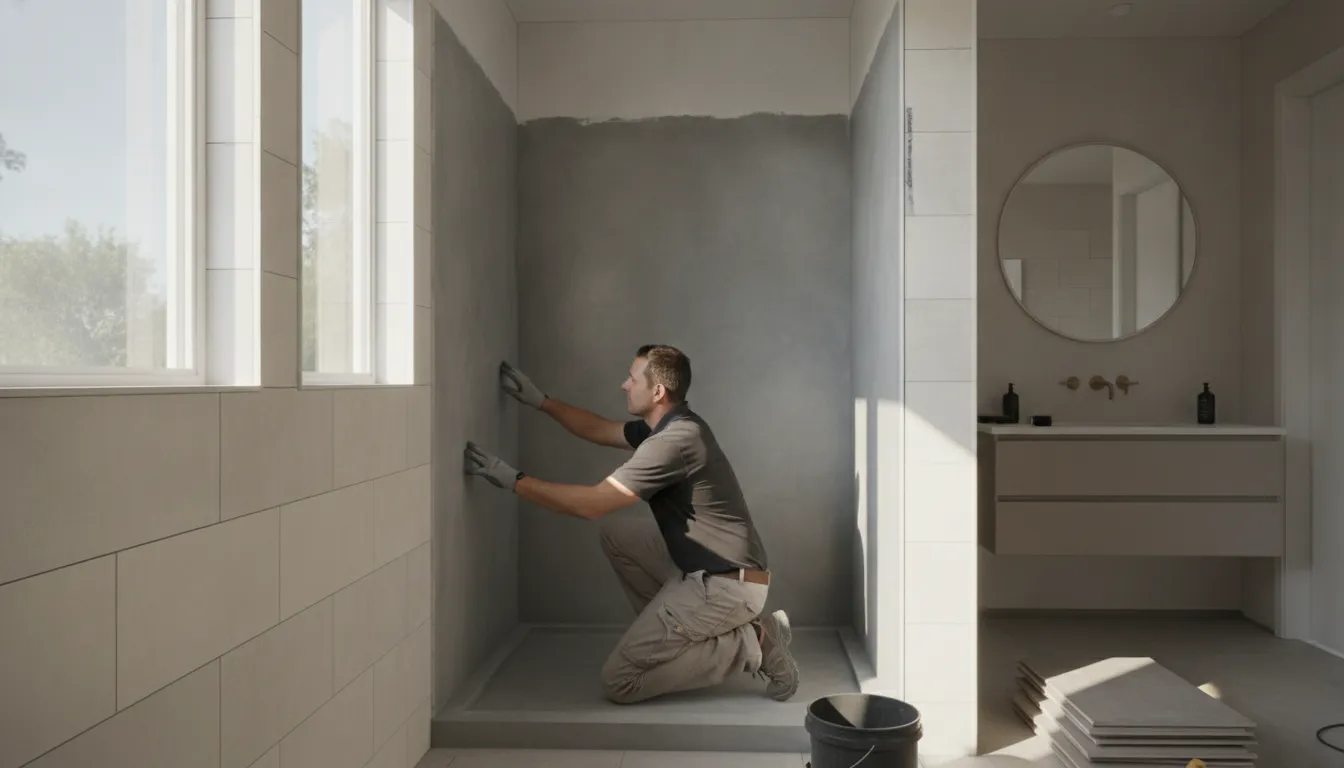
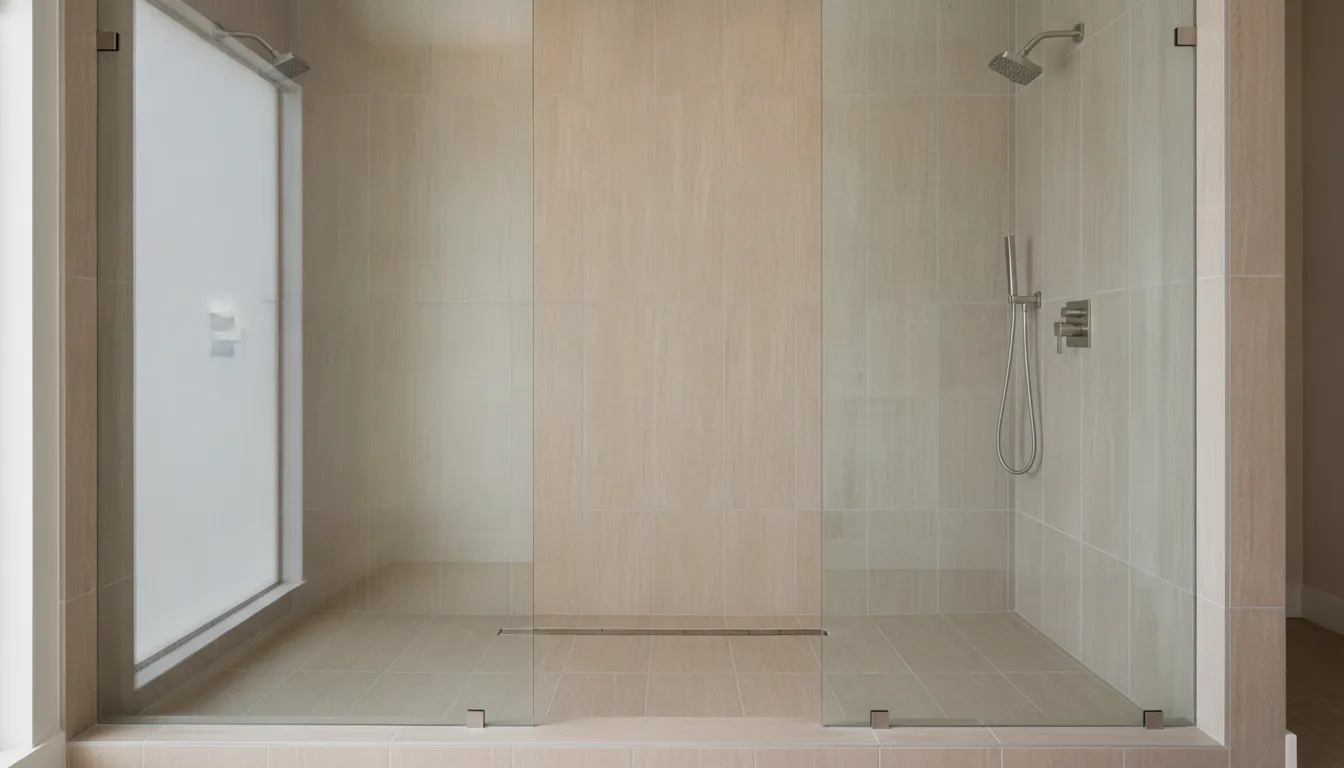
A curbless or zero-threshold entry removes the raised edge that can catch a foot, walker, or wheelchair. It also gives the shower a clean look. Review accessible walk-in shower features while deciding how the entry should work within the room.
-
Map the approach to the shower. Leave a direct, open path that avoids tight turns and nearby door swings.
-
Set an entry width based on the person and mobility aid using the space. Test the planned opening before construction begins.
-
Choose a stable seat location. Confirm that the user can reach controls, soap, and the hand-held shower without stretching.
-
Place controls near the entry and within easy reach of the seat. This lets the user start the water without standing beneath it.
-
Plan the drain, floor slope, and glass together. The finished layout should contain water without adding a curb or loose barrier.
This sequence supports accessible bathroom design because it begins with movement, not decoration. It also helps the design and construction teams catch conflicts before plumbing and waterproofing work starts.
Seat, controls, and support
A built-in bench can offer steady support, while a folding seat may preserve more open floor space. Choose the type around the user’s balance, transfer needs, and preferred bathing routine. A loose stool can shift, so it should not serve as the main safety plan.
Pair the seat with a hand-held shower on an easy-to-grip mount. Keep the hose clear of feet and wheels. Add solid wall backing where future grab bars may be needed, even if they are not installed now.
Drainage and trip hazards
A zero-threshold shower depends on careful drainage. The floor must guide water toward the drain while staying comfortable underfoot. Select slip-resistant flooring, and avoid abrupt changes between the bathroom floor and shower surface.
Remove other trip hazards from the route, including loose mats, raised tracks, and poorly placed storage. Good lighting should make the entry, seat, controls, and floor edges easy to see. For private homes, ADA Standards can be a useful reference, but they govern covered public and commercial facilities.
Choose toilets, grab bars, and vanities for everyday ease
Fixtures shape how safely and easily someone can use the bathroom each day. Good accessible bathroom design starts with the person’s reach, balance, mobility, and transfer needs. The 2010 ADA Standards set minimum rules for public and commercial facilities, not every private home. Still, they offer a useful reference when planning an aging-in-place remodel.
Grab bars and solid wall support
Plan each grab bar around the movements it must support. A horizontal bar beside the toilet can help with sitting, standing, and side transfers. Shower bars can support entry, washing, and movement near a built-in seat. The user’s height, stronger side, and usual movement pattern should guide final placement.
For adult facilities covered by ADA rules, horizontal grab bars sit 33 to 36 inches above the finished floor. That height is measured to the top of the gripping surface, as detailed in the grab-bar placement standard. A private home’s best placement may differ, so test reach and grip before the walls close.
Install solid wood blocking or another rated support system behind the wall finish wherever a bar may go. This step gives fasteners a firm base and lets the bar handle a person’s weight. Add blocking for both current bars and likely future positions. A towel bar is not a substitute because it is not made or mounted for body support.
Toilet height and reachable controls
A comfort-height toilet can reduce the effort needed to sit and stand. Yet height alone does not settle the choice. A seat that helps one person may make transfers harder for another. Test the planned height with the main user before ordering.
Leave open space beside the toilet if a caregiver or wheelchair transfer may be needed. Keep the flush control, toilet paper, and nearby storage within an easy reach. Controls should not require twisting, a tight pinch, or a long stretch. These small choices can make daily use safer without giving the room an institutional look.
Vanity access and knee clearance
A seated user needs clear knee and toe space below the sink. A wall-mounted vanity or an open section under the basin can provide that access. Protect exposed pipes from contact, and choose a shallow basin that leaves room below. Lever handles or a single-handle faucet are often easier to use than small knobs.
Place the mirror, outlet, faucet, soap, and storage where the main user can reach them without leaning too far. Drawers beside the knee space often work better than deep cabinets below the sink. During accessible bathroom layout planning, check fixture clearances together. A useful vanity should not narrow the path to the toilet or shower.
ADA bathroom remodel vs. universal design
ADA, universal design, and aging-in-place remodeling solve related problems, but they are not interchangeable. The right approach depends on who uses the bathroom, how needs may change, and whether a code applies. Each can guide an accessible bathroom design, yet each sets a different goal.
ADA standards as a benchmark
The 2010 ADA Standards set minimum access rules for public accommodations, commercial facilities, and state or local government facilities. Because that listed scope does not include private homes, a typical residential bathroom remodel may not need full ADA compliance. Local building rules and project details can still affect what is required.
Even when the ADA does not legally apply, its measurements offer a useful planning baseline. They help a designer think through clear floor space, fixture reach, safe transfers, and room to move. A homeowner can use those benchmarks selectively while choosing finishes that suit the rest of the home.
| Approach | Main goal | Typical setting | Design focus |
|---|---|---|---|
| ADA-compliant design | Meet defined access standards | Public and commercial facilities | Required clearances, reach ranges, and fixture placement |
| Universal design | Serve the widest range of users | Homes and shared spaces | Easy use without an institutional look |
| Aging-in-place remodeling | Support changing needs at home | Private residences | Safety, comfort, and future adaptability |
Universal design for everyday use
Universal design aims to make a bathroom easy to use for children, adults, guests, and people with limited mobility. It does not follow one fixed checklist. Instead, it favors choices such as lever handles, good lighting, simple controls, and storage that is easy to reach.
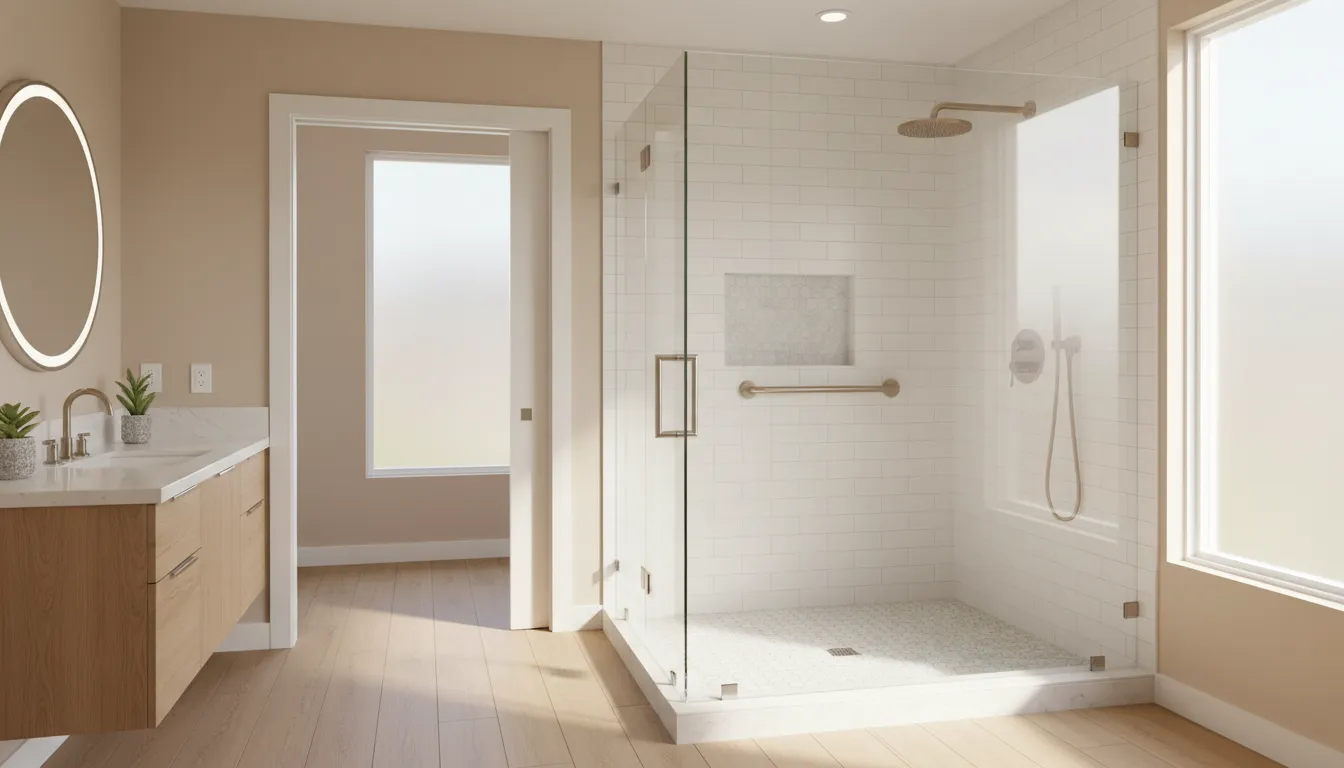
This approach can blend access features into a modern residential space. For example, a wide entry and open shower can improve movement without making the room feel clinical. Careful accessible bathroom layout planning is useful when fitting these features into a smaller San Diego bathroom.
Aging-in-place priorities
Aging-in-place remodeling is more personal. It starts with the current homeowner, then plans for likely changes in balance, strength, reach, or mobility. The design may include wall blocking for future grab bars, slip-resistant flooring, a handheld showerhead, and space for seated bathing.
Some homeowners need these features now, while others want the room prepared for later updates. A tub conversion can also reduce a high step at the shower entry. Reviewing low-threshold shower accessibility can help clarify how that change affects daily use.
The three approaches can overlap within one private bathroom. A design may borrow ADA measurements, use universal fixtures, and address one homeowner’s future needs. The practical plan should reflect the household, the room, and any rules that apply to the project.
Make safety features feel like intentional design
Safety does not need to make a bathroom look clinical. In a thoughtful accessible bathroom design, each useful feature can support the room’s color, texture, and overall style. That approach matters because bathroom falls are more likely to cause injury than falls elsewhere in a home.
Surfaces that support steady movement
Start with flooring that feels secure underfoot, even when wet. Choose a slip-resistant finish with enough texture for traction, but avoid deep grooves that trap dirt. Large areas of consistent flooring can also make the room feel calm and open.
Carry that balance into the shower, vanity, and wall finishes. Matte tile, solid-surface counters, and easy-clean grout reduce visual clutter and make upkeep simpler. When planning accessible walk-in shower features, coordinate the shower floor with the main floor instead of treating it as a separate zone.
- Use matte or low-sheen surfaces where water and bright light meet.
- Choose simple grout lines and smooth counters for easier cleaning.
- Repeat finish colors across handles, fixtures, and support features.
Lighting and contrast that guide the eye
Layered lighting works better than relying on one bright ceiling fixture. Combine soft overhead light with focused light at the mirror, shower, and key pathways. Select frosted shades or indirect fixtures to limit harsh glare on tile, glass, and polished counters.
Color contrast can make important edges easier to see without using loud colors. A vanity that stands apart from the wall can define its shape. The same idea works for the shower seat, toilet, controls, and floor transitions.
Keep the palette tied together through warm wood, stone tones, or a repeated accent color. This creates clear visual cues while preserving a polished residential look. Contrast should feel purposeful, not added as an afterthought.
Ventilation and details that belong
Plan ventilation early, along with the lighting and finish layout. Place fan controls where they are easy to reach, and choose a quiet model that suits the room. Good airflow helps the bathroom feel comfortable after a hot shower.
Finish the design with hardware that looks chosen, not prescribed. Grab bars can match the faucets, while a built-in bench can use the same tile as a feature wall. These choices turn accessibility into part of the design language, rather than an institutional layer placed over it.
Plan an aging-in-place bathroom before needs change
Accessible bathroom design works best when it reflects both daily routines and possible future needs. Before choosing finishes, note who uses the room and where movement already feels tight. Then discuss how a cane, walker, wheelchair, or caregiver might change the space needed around each fixture.
Current routines and future mobility
Walk through the bathroom with your contractor and describe each step, from opening the door to reaching towels. Note difficult turns, slippery transitions, low storage, and fixtures that require bending. This review helps the team separate urgent safety changes from upgrades that can wait.
Measure the whole room before settling on a new layout. A compact bath may need a different door swing, more open floor area, or a new shower location. Reviewing accessible bathroom layout planning can help San Diego homeowners prepare useful questions before a design meeting.
- Who uses the bathroom now, and what movements are difficult?
- Could a mobility aid or caregiver need space here later?
- Which storage, controls, and fixtures must be easy to reach?
- Which changes are essential now, and which are future-ready?
Work hidden behind the walls
Ask the contractor to plan for features that may be added later. Structural blocking behind finished walls can support future grab bars without opening the wall again. Discuss likely bar locations before tile goes in, based on the user’s reach, balance, and transfer needs.
The 2010 ADA Standards set minimum access rules for certain new and altered facilities. A private home may have different requirements, so treat those standards as a discussion point. The final plan should fit the homeowner, the room, and local project rules.
Plumbing and drainage also shape what is practical. Ask whether a low-threshold or curbless shower will require drain changes, floor work, or a revised slope. Explore low-threshold shower accessibility before deciding whether a tub conversion fits the long-term plan.
One clear remodeling plan
Bring a phased checklist to the contractor discussion, even if the goal is one remodel. It keeps future needs visible while helping the team define the present scope. Ask the contractor to explain tradeoffs, permit needs, inspection steps, and any limits found during the site review.
- Confirm the preferred layout and clear paths through the room.
- Mark blocking locations before walls, tile, and finishes are installed.
- Verify plumbing, drainage, waterproofing, and floor-slope feasibility.
- List permits and inspections that apply to the chosen scope.
- Rank must-have features, future-ready work, and optional finishes.
- Confirm which planned details help avoid repeated demolition later.
A complete scope should show what will be installed now and what will be prepared for later. That may mean adding blocking now but waiting on grab bars. It may also mean adjusting plumbing during the remodel, before access needs make another major project harder to manage.
What should be on your accessible bathroom checklist?
A useful pre-construction checklist turns accessible bathroom design goals into clear choices before demolition begins. Review each item with the person who will use the room. Their reach, balance, mobility aid, and daily routine should guide the plan.
Layout and shower access
Start by testing the path from the bedroom or hallway to every bathroom feature. Confirm that the door, floor space, and fixture positions allow easy movement. For a tight room, careful accessible bathroom layout planning can help reduce barriers without wasting space.
- Check the doorway width, swing direction, thresholds, and clear path into the room.
- Confirm enough open floor space for the user’s current and possible future mobility needs.
- Choose a curbless or low-threshold shower with a wide entry and room for safe help.
- Plan the shower seat, handheld showerhead, controls, shelves, and drain before framing starts.
Mark the shower controls and storage locations at heights the user can reach from standing or sitting. If replacing a tub, review how low-threshold shower accessibility affects drainage, waterproofing, and the nearby floor.
Support, fixtures, and finishes
Decide where support may be needed now and later. Add solid wall blocking during construction, even where grab bars will not be installed at once. The 2010 ADA Standards set minimum access rules for covered public and commercial facilities. A private home plan should still fit its user.
- Record grab bar locations, lengths, heights, and wall-blocking details on the construction plan.
- Check toilet height, side clearance, flush control, and nearby support placement.
- Select an easy-to-use faucet, reachable vanity storage, and knee space when needed.
- Choose slip-resistant flooring, low-glare finishes, and surfaces that are simple to clean.
Test sample handles and fixtures with wet hands when possible. Lever controls are often easier to use than small knobs. Also check that floor transitions stay smooth and do not create a trip point.
Lighting, ventilation, and final verification
Plan even lighting for the full room, plus focused light at the vanity and shower. Place switches where they are easy to find and reach. Use night lighting to make late visits safer without harsh glare.
- Confirm task lighting, night lighting, switch locations, outlet access, and ground-fault protection.
- Size and place ventilation to manage moisture, then confirm controls are easy to use.
- Review waterproofing, drainage slopes, blocking, and fixture locations before walls are closed.
- Have the finished plan checked by the contractor and any relevant accessibility or care professional.
Before construction starts, walk through the plan at full scale with tape or floor markings. Verify every reach, turn, and transfer point. This final check can reveal conflicts that drawings alone may not show.
Frequently Asked Questions
What is the recommended size for an accessible bathroom?
There is no single recommended size for every accessible bathroom. The room must fit the user’s mobility needs, fixtures, and safe travel paths. A wheelchair-accessible layout should allow comfortable entry, turning, and approaches to the toilet, sink, and shower. Before remodeling, measure the mobility device and existing room, then test the proposed layout with a design professional.
How wide should an accessible bathroom door be?
An accessible bathroom doorway should typically provide at least 32 inches of clear width for wheelchair access, according to this accessible bathroom remodel guide. Clear width is the usable opening when the door is open, not the frame-to-frame measurement. A pocket door or outward-opening door can also preserve interior maneuvering space and simplify entry.
How high should grab bars be in an accessible bathroom?
For adult use, the 2010 ADA Standards specify horizontal grab bars with gripping surfaces 33 to 36 inches above the finished floor. That range is a useful residential planning reference, but the best position also depends on the user’s height, reach, and transfer method. Secure every bar to proper wall blocking or another approved structural support.
What is the recommended height for an accessible toilet?
An accessible toilet seat is commonly positioned 17 to 19 inches above the finished floor, as described in this accessible bathroom design guide. The right height should support safe sitting, standing, and transfers for the intended user. Also consider nearby grab-bar placement, side clearance, and whether a caregiver may need room to assist.
What kind of sink or vanity works best for accessible design?
An accessible sink or vanity should provide a comfortable approach, easy-to-reach controls, and enough open space below for the intended user. Wall-mounted or open-bottom designs often work well for seated access. Choose lever-style or touchless faucets, protect users from exposed hot pipes, and place mirrors, outlets, and storage within a practical reach range.
Ready to Plan a Safer Bathroom for the Future?
Waiting to improve an aging bathroom can make daily routines harder and leave your family facing rushed decisions later. Starting now gives you time to consider the layout, choose suitable features, and prepare for changing mobility needs. A thoughtful plan can support greater independence while keeping the space comfortable and useful for everyone in your home.
Ready to prepare your San Diego home for changing needs without making rushed choices later? Schedule a remodeling consultation to discuss your priorities, layout options, and a practical project path. Bring questions about current routines, future mobility, and features that could make the bathroom easier to use. Contact King Remodeling now so your plan can take shape before accessibility becomes an urgent concern.