A beautiful bathroom should support you on your best days and your most difficult ones. Thoughtful accessible bathroom design reduces barriers, improves confidence, and makes daily routines easier without making the room feel clinical.
Ready to plan a safer bathroom? Schedule a consultation with King Remodeling today.
The strongest plan starts with the people who will use the room. It considers balance, reach, vision, mobility devices, caregiving needs, and how those needs may change. Then it brings layout, surfaces, fixtures, and lighting together in one cohesive design.
For San Diego homeowners planning an aging-in-place bathroom or an ADA-informed remodel, the goal is not simply to add grab bars. The goal is to create a safer, comfortable room that still feels like home.
Accessible bathroom design starts with the layout
Layout decisions determine whether every other accessibility feature works. A room can have a curbless shower and comfort-height toilet. Yet remain difficult to use if the path between them is narrow or the door blocks the clear floor area.
Plan clear paths and turning room
Start by mapping how someone enters, turns, approaches the vanity, transfers near the toilet, and reaches the shower. The ADA Standards use a 60-inch-diameter circle or a T-shaped space as a benchmark for wheelchair turning. A private home generally does not have to meet commercial ADA rules, but that benchmark is useful when a wheelchair user needs independent access.
Door clear width matters too. Many accessible plans target at least 32 inches of clear opening. A pocket door or an outward-swinging door can preserve interior floor space and prevent a fallen person from blocking the door.
Use space planning before construction
Precise measurements help reveal conflicts before demolition begins. A 3D rendering can show whether a mobility aid fits, whether a drawer blocks a path, and whether grab bars land where the user needs them. King Remodeling combines space planning, material selection, and construction, so accessibility decisions can be coordinated from the start.
Homeowners with a compact room can explore an accessible bathroom layout with a walk-in shower before deciding whether walls or doorways need to move.
How do you design a safer accessible shower?
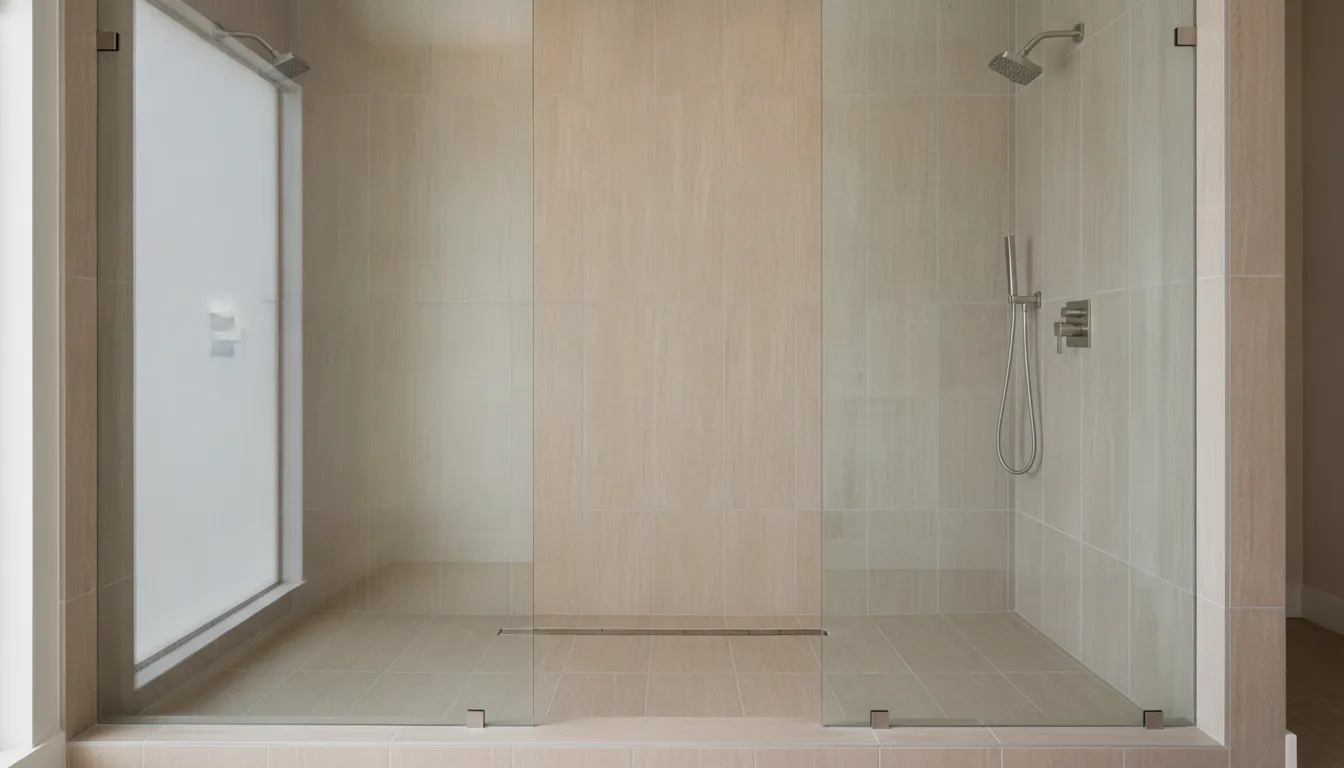
The shower is often the highest-priority part of an accessible remodel because stepping over a tub wall or raised curb can become difficult. A zero-threshold or curbless shower removes that barrier and creates a smoother route for people using walkers or wheelchairs.
Coordinate the slope, drain, and waterproofing
A curbless entry is not simply a standard shower without a curb. The floor must be planned so water moves toward the drain and stays out of the rest of the bathroom. The framing, waterproofing, drain location, shower screen, and tile selection all work together. Addressing these details early prevents a safer entry from creating a water-control problem.
Add support where it is useful
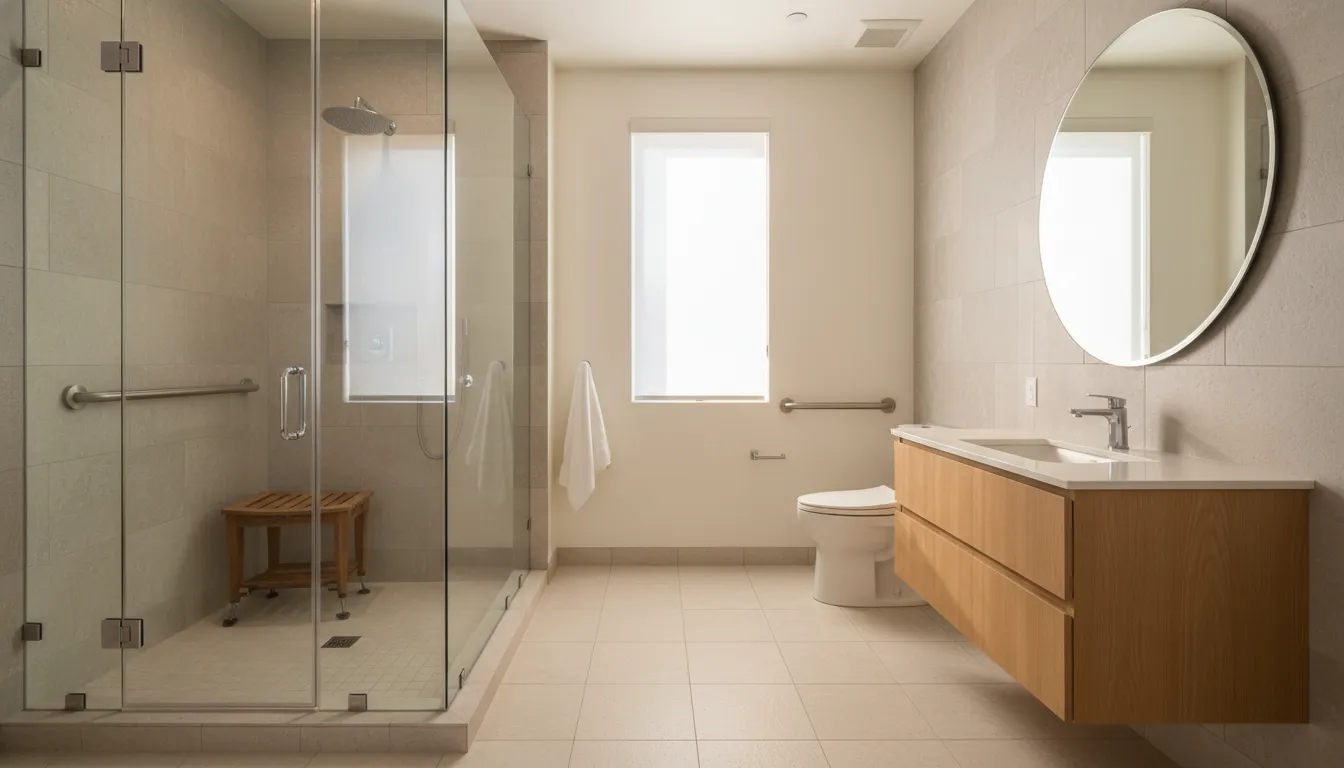
A built-in or fold-down bench supports seated bathing and gives a standing user a place to rest. A handheld showerhead on a slide bar serves people of different heights and can be reached while seated. Controls should be easy to operate without standing under the water while it warms.
Grab bars must be anchored securely, so add structural blocking inside the walls even if bars will be installed later. Positioning should respond to the user’s reach and transfer method. A towel bar is not a substitute for a properly installed grab bar.
If an existing tub has become a barrier, review examples of converting a bathtub to a walk-in shower. The right conversion can provide easier entry while making the room feel more open.
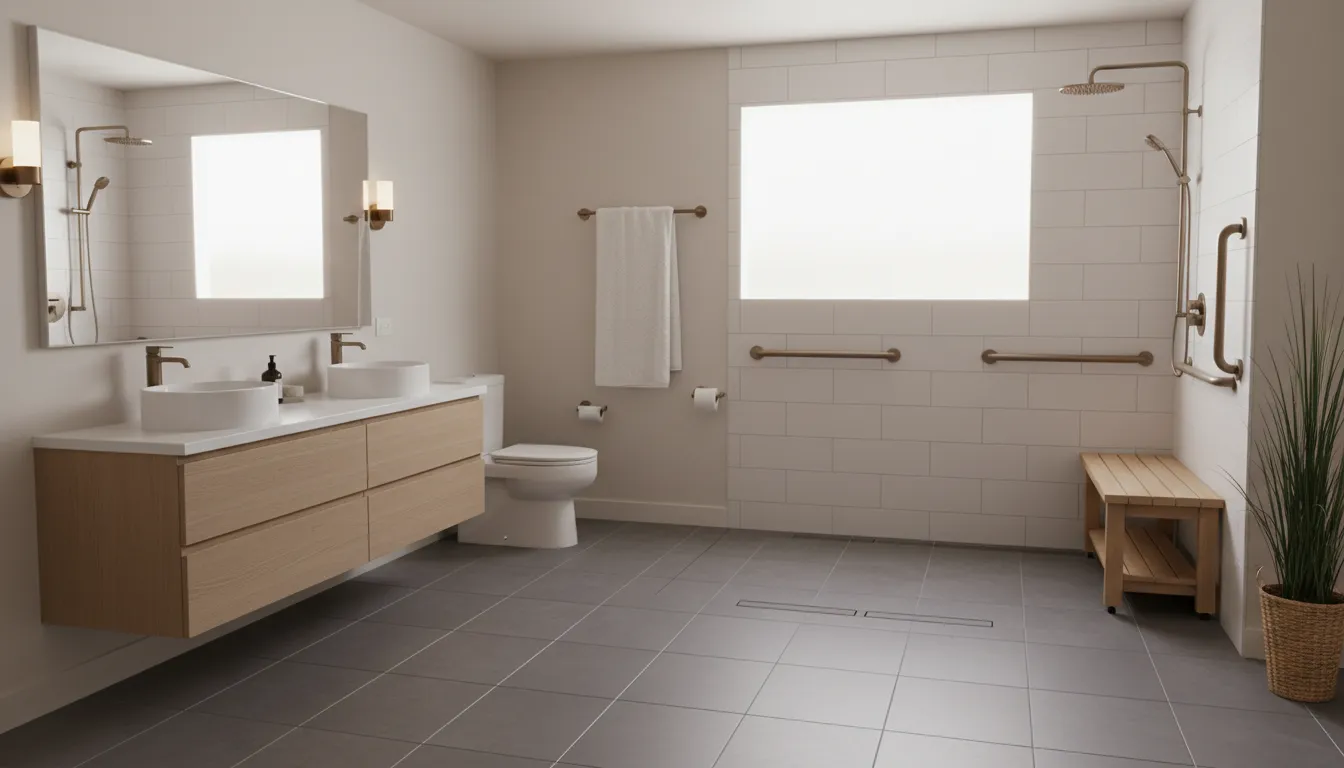
ADA bathroom remodel benchmarks and home-friendly options
ADA measurements were developed primarily for public and commercial facilities. They offer valuable reference points, but a residential design should be tailored to the homeowner. A transfer setup that works well for one person may be uncomfortable for another.
| Feature | ADA-informed benchmark | Home-friendly planning option |
|---|---|---|
| Turning area | 60-inch circle or compliant T-shaped space | Provide the most generous clear area the room allows |
| Doorway | At least 32 inches of clear width in common accessible conditions | Use a wider opening, pocket door, or outward swing |
| Toilet seat | 17 to 19 inches above the finished floor | Select a comfort-height model based on the user’s needs |
| Toilet grab bars | Rear and side bars with prescribed dimensions and mounting heights | Install blocking and place bars for the user’s transfer pattern |
| Vanity | Accessible knee and toe clearance with reachable controls | Use an open or adaptable vanity with protected plumbing |
| Shower | Specific transfer or roll-in configurations | Plan a curbless entry, stable seat, reachable controls, and handheld spray |
Focus on safe transfers
The toilet area needs enough room for the intended approach and assistance level. ADA guidance places toilet seats 17 to 19 inches above the finished floor. Comfort-height residential toilets often fall in a similar range, but taller is not automatically better. Seat height should support the user’s legs and transfer method.
ADA guidance also specifies detailed dimensions for rear and side grab bars. In a home, a designer can use those dimensions as a starting point, then coordinate placement with the user and appropriate professionals.
Make the sink easier to use
An open-underneath vanity can provide seated knee clearance. Pipes should be protected from contact, and frequently used items should remain within easy reach. Lever or touchless faucets reduce the grip and twisting needed to control water. A mirror that extends lower on the wall lets both seated and standing users see comfortably.
Choose safer surfaces, lighting, and controls
Small design details can have an outsized impact on safety. Flooring should provide reliable traction when wet, feel comfortable underfoot, and remain practical to clean. Ask about a tile’s slip-resistance rating and how grout lines or texture affect maintenance.
Create visual clarity without glare
Contrast helps users distinguish edges and fixtures. A toilet that contrasts with the floor, a vanity that contrasts with the wall. Or a trim detail at the shower entrance can make the space easier to understand. Avoid high-gloss surfaces that create glare or make water harder to see.
Layered lighting improves visibility. Combine even ambient light with focused vanity lighting and a well-lit shower. Night lighting near the floor can make the route easier to follow without turning on a bright ceiling fixture.
Select controls that are easy to operate
Lever handles, rocker switches, and easy-grip cabinet pulls require less dexterity than round knobs. Place outlets, switches, shower controls, and storage where they can be reached without bending deeply or stretching across a wet area. Anti-scald controls add protection when temperature sensitivity or reaction time is reduced.
Accessible does not mean institutional. Matte porcelain tile, warm wood tones, integrated benches, decorative lighting, and attractive grab bars can create a calm, spa-like bathroom that supports everyday independence.
How should you plan an aging-in-place bathroom remodel?
An aging-in-place plan prepares the bathroom for changing needs while protecting the way it works today. Prioritize improvements that reduce immediate risk, then build flexibility into the areas that are expensive to change later.
- Identify current and likely future needs. Discuss balance, strength, reach, vision, mobility equipment, and whether a caregiver may assist in the room.
- Fix the biggest barriers first. A hard-to-enter shower, slippery floor, poor lighting, or narrow doorway usually deserves attention before decorative upgrades.
- Plan the structure for future support. Add wall blocking for grab bars and confirm the floor system can support a curbless shower while walls are open.
- Choose adaptable fixtures. A handheld showerhead, flexible storage, removable vanity cabinet, and adjustable lighting can serve changing needs.
- Coordinate every selection. Confirm that doors, drawers, fixtures, and controls do not interfere with clear paths or transfers.
- Review the completed room. Test reach, lighting, drainage, and clearances before the final walkthrough is complete.
Planning ahead can make the next remodel less disruptive. For example, structural blocking is inexpensive to add while the walls are open but difficult to install after tile is finished.
Accessible design choices that protect long-term value
Accessibility improvements can benefit more than one person. A curbless shower, brighter lighting, lever handles, and a well-organized layout make daily routines easier for children, guests, and adults carrying an injury. These features can also help a home adapt as a household changes.
Invest first in work behind the finishes
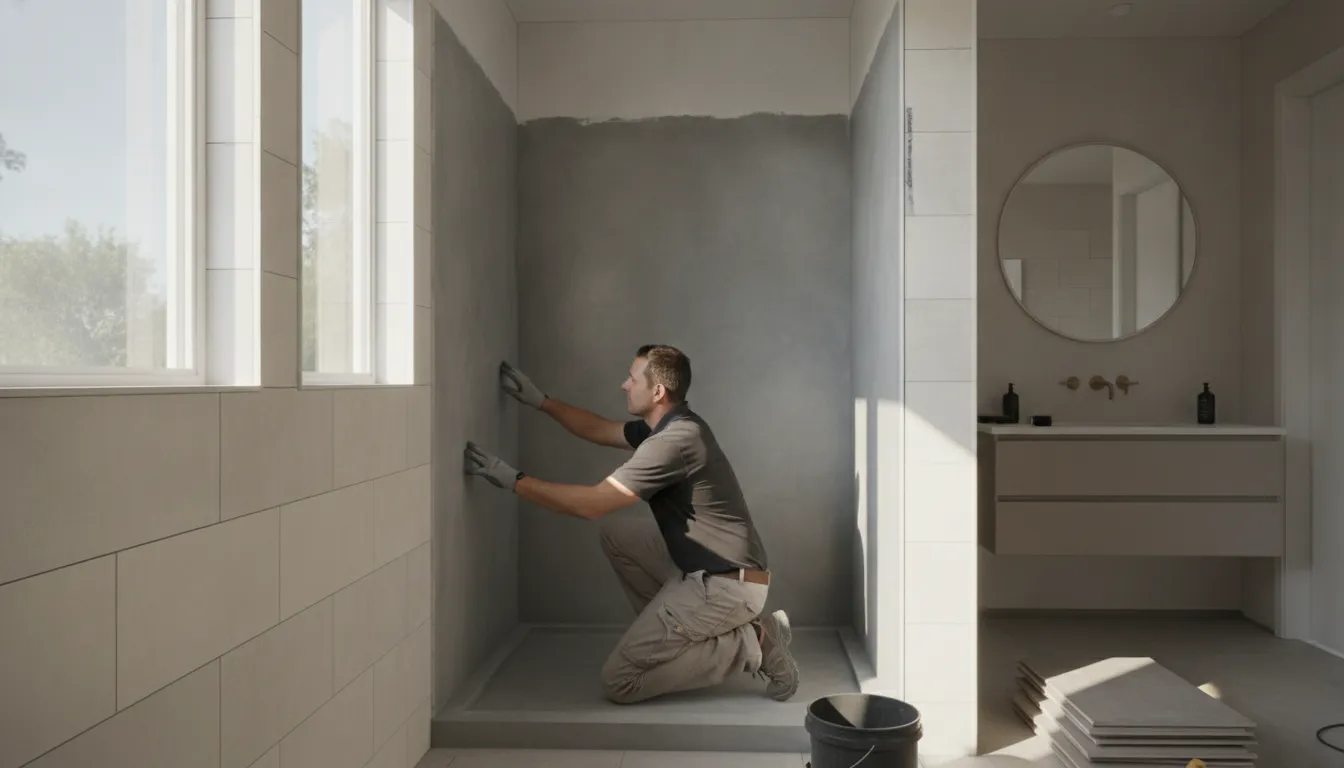
Prioritize construction details that are difficult to revisit. Proper shower waterproofing, floor slope, wall blocking, electrical placement, and doorway framing should come before decorative upgrades. Once tile and cabinetry are installed, changing concealed work becomes more disruptive and costly.
A coordinated scope also prevents one improvement from creating another obstacle. For example, a wider shower is less helpful if the glass door narrows its entry. A taller toilet may not improve transfers if a nearby vanity blocks the user’s approach. Reviewing the full plan as one system protects the function of the finished space.
Choose durable, maintainable materials
Accessible surfaces need regular cleaning, so materials should balance traction with ease of care. Very rough tile can offer grip but become harder to clean. Large-format tile may reduce grout, but its installation and slope must work with the selected drain. Discuss these tradeoffs before choosing a finish based only on appearance.
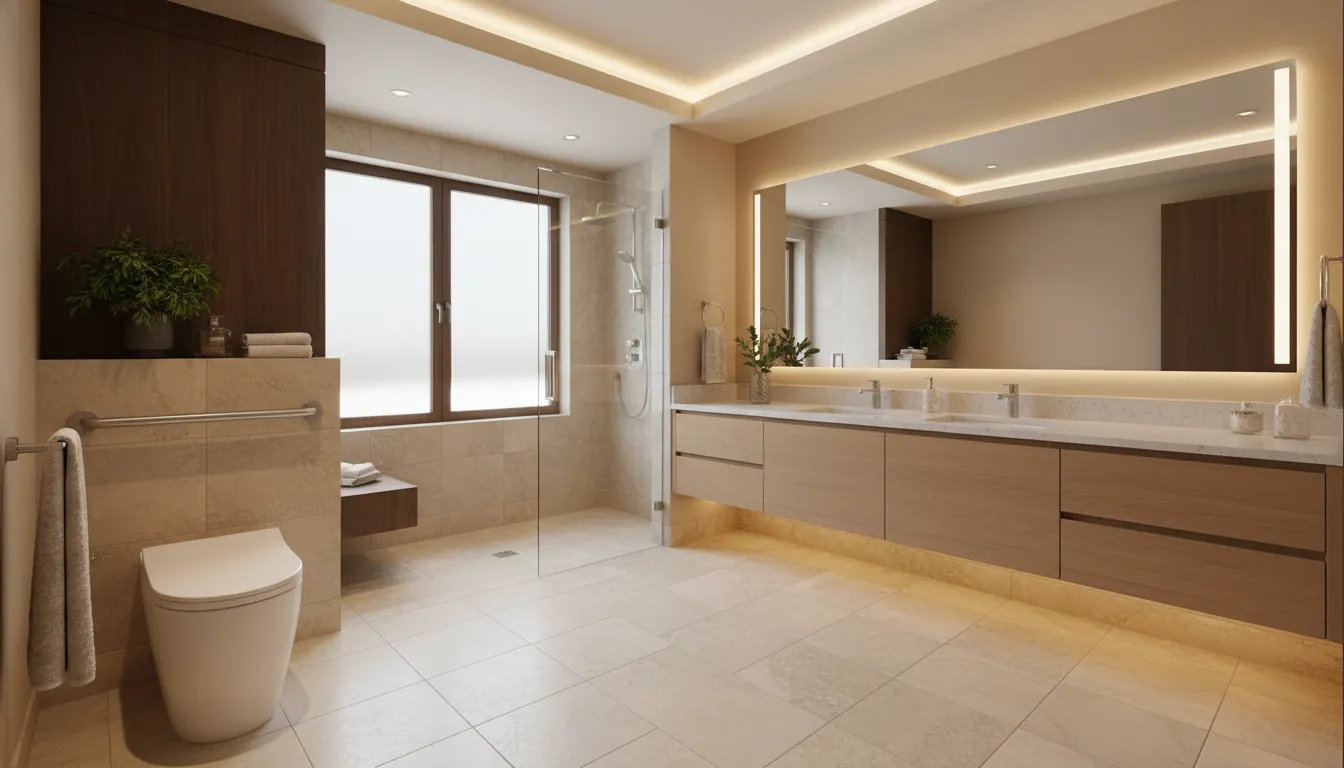
Want expert help coordinating layout, fixtures, and finishes? Explore King Remodeling’s bathroom remodeling services.
Good design also leaves room for repair and adjustment. Accessible plumbing controls, replaceable shower components, and standard-size fixtures can simplify future maintenance. This practical approach helps the bathroom remain comfortable and dependable over time.
From consultation to accessible bathroom construction
A successful accessible remodel needs more than a list of products. It needs a coordinated design-build process that turns personal needs into a clear scope of work.
Start with a needs and space assessment
During consultation, discuss who uses the bathroom, what feels difficult today, and what may change. Measure the room, adjacent areas, and existing plumbing. If accessibility depends on expanding a doorway or moving a fixture, the design team can assess those choices before materials are ordered.
Visualize the design and select materials
3D renderings make it easier to evaluate paths, fixture positions, storage, and the overall look. Material selection should happen alongside accessibility planning because tile dimensions, drain systems, shower glass, vanities, and hardware all affect the final layout.
King Remodeling’s integrated approach brings design, materials, and construction together. Homeowners can also learn more about the company’s bathroom remodeling services in San Diego and how the team coordinates a renovation.
Build and verify the details
During construction, verify the placement of backing, plumbing controls, outlets, and other concealed components before walls close. At the final walkthrough, test every important movement and control. A technically correct fixture is only useful when the intended person can reach and operate it comfortably.
Frequently asked questions
Does a private home’s bathroom have to be ADA compliant?
Most private single-family homes are not required to follow the ADA standards that apply to public accommodations. However, ADA measurements can provide useful planning benchmarks. Residential accessible design should also reflect the user’s body, mobility, transfer method, and caregiving needs. Confirm any applicable local code requirements with your design-build professional.
What is the most important feature in an accessible bathroom?
There is no single feature for every user. Removing a difficult shower threshold, improving traction, adding secure grab bars, widening a doorway, or improving lighting may provide the biggest benefit. A needs assessment helps identify the barrier with the greatest effect on safety and independence.
Can a small bathroom be made accessible?
Yes, although a compact room may require careful tradeoffs. Replacing a swinging door, choosing a wall-mounted or compact fixture, converting a tub to a shower, and repositioning storage can improve clear space. Some homes need a doorway change or modest expansion to support wheelchair access.
Can grab bars look stylish?
Yes. Modern grab bars are available in finishes and profiles that coordinate with faucets and shower hardware. The essential requirement is secure anchoring and appropriate positioning. Decorative appearance should never come at the expense of load support.
Plan an accessible bathroom for your San Diego home
A safer bathroom should also feel comfortable, polished, and personal. King Remodeling brings design, material selection, and construction together, helping you plan accessibility features around your home, preferences, and future needs.
Schedule an in-home consultation to discuss accessible bathroom design and see how thoughtful space planning can create a bathroom that works beautifully for years to come.